Creating eye-catching Instagram filters can boost your social media presence and unlock new creative possibilities. Thanks to Meta Spark Studio, anyone can design and share effects without any coding skills. Whether you’re a beginner eager to learn or a social media enthusiast looking to stand out, this guide will walk you through the process step by step. Get ready to turn your ideas into engaging AR effects that your followers will love.
Creating Instagram filters with Meta Spark Studio is accessible and straightforward. Focus on planning your idea, learn the basics of the platform, and test your effects across devices. No coding needed, just creativity and patience to craft shareable AR effects that can go viral and elevate your social media game.
Why Meta Spark Studio Is a Game-Changer for Beginners
Meta Spark Studio is a free, user-friendly platform designed to make AR creation simple. Its intuitive interface allows you to design effects with drag-and-drop tools. Unlike complex software requiring programming knowledge, Meta Spark Studio encourages creativity through visual scripting and presets. This makes it ideal for those just starting out in augmented reality. Plus, the community and tutorials available online help you get up to speed quickly.
Step-By-Step Guide to Creating Instagram Filters
Follow these straightforward steps to craft your own effects:
1. Set Up Your Workspace
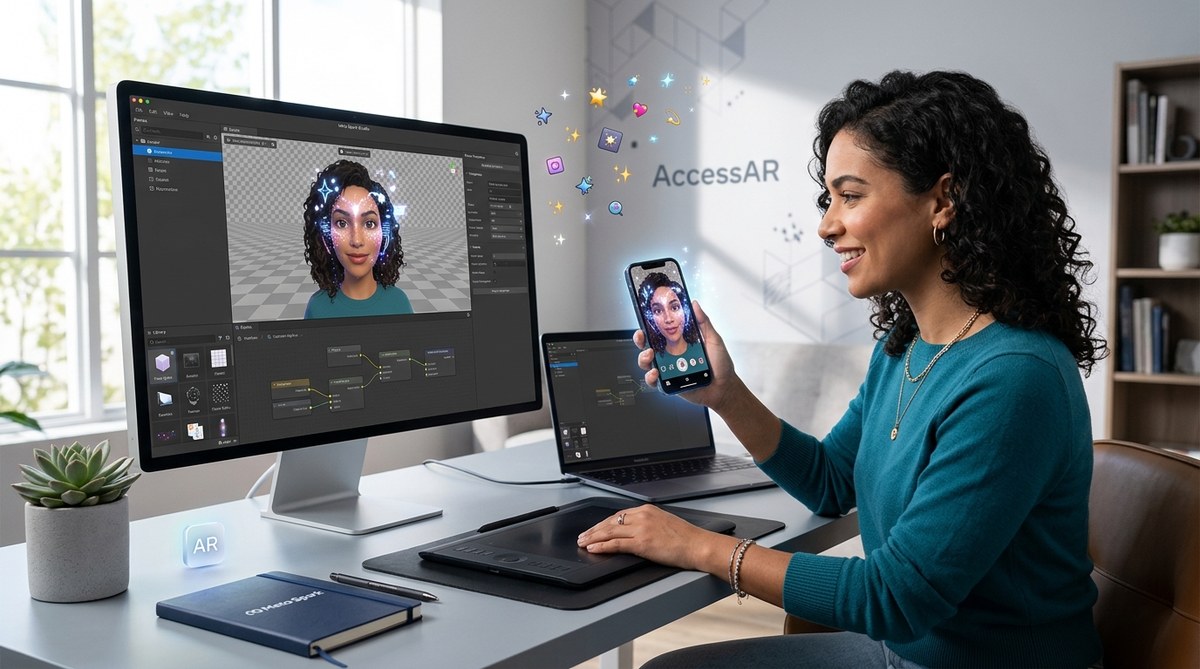
First, download and install Meta Spark Studio from the official Meta for Developers page. Open the software and create a new project. Familiarize yourself with the workspace, which includes panels for assets, scene, and preview.
2. Conceptualize Your Effect
Think about what kind of filter you want to create. It could be a fun face mask, a background overlay, or an interactive element. Sketch your idea or write down the key features. Planning helps streamline the process.
3. Gather Assets and Design Elements
Create or find assets such as images, 3D objects, or sounds. You can import your own files or use free resources available online. Keep in mind that simpler effects tend to perform better and are easier to share.
4. Build Your Effect
Using the drag-and-drop interface, add your assets to the scene. For face effects, you’ll want to attach objects to specific facial landmarks. For world effects, position elements in the environment. Meta Spark Studio offers templates and presets to speed up development.
5. Add Interactivity and Animations
Enhance your filter by adding interactions like tap gestures or animations. You don’t need any coding to do this. Use the visual scripting tools to assign actions to user inputs or facial expressions.
6. Test Across Devices
Preview your effect within Meta Spark Studio or export it to your mobile device. Testing on different devices ensures compatibility and smooth performance. It’s crucial to check how your effect looks and behaves in real life.
7. Publish and Share
Once satisfied, upload your filter to the Facebook Spark AR Hub. Follow the submission guidelines to get your effect approved. After approval, share your effect on Instagram and other social platforms to reach your audience.
Tips for Creating Shareable and Viral Effects
- Stay on trend: Incorporate popular themes or challenges.
- Keep it simple: Effects with clear visual impact perform better.
- Add interactivity: Tap gestures or facial triggers increase engagement.
- Use high-quality assets: Clear, vibrant images attract attention.
- Encourage sharing: Design effects that are fun to use and share.
Expert advice: “Always test your effects on different devices and lighting conditions. What looks good on your phone might not work as well elsewhere.” This ensures a consistent experience for all users.
Common Techniques and Mistakes to Avoid
| Technique | Mistake to Avoid |
|---|---|
| Using high-resolution assets for clarity | Overloading effects with too many assets causing lag |
| Attaching objects to facial landmarks | Forgetting to test on various face types for compatibility |
| Incorporating simple animations | Overcomplicating effects, making them slow or confusing |
| Previewing effects in different environments | Ignoring device limitations or lighting differences |
Enhancing Your AR Creations Without Coding
Meta Spark Studio provides a range of features to make effects more engaging:
- Face tracking: Attach effects to facial features for fun expressions.
- Scene effects: Position objects in the environment for immersive backgrounds.
- Audio triggers: Sync sounds with user actions.
- Interactivity: Use tap or facial gestures to activate effects.
Keep in mind common pitfalls like overloading effects with complex animations, which can slow performance. Always optimize assets and test thoroughly.
Resources To Boost Your AR Filter Skills
- Tutorials: Meta offers official tutorials, and many creators share tips on platforms like YouTube.
- Templates: Use free templates to jumpstart your designs.
- Community: Join AR creator groups to exchange ideas and get feedback.
- Practice: Regularly experiment with new effects to improve your skills.
Moving From Beginner to Pro with Meta Spark Studio
Once comfortable creating effects, challenge yourself with more advanced projects. Experiment with 3D objects, custom shaders, and more complex interactions. Consistent practice and community engagement will help you develop unique effects that stand out.
Your Next Steps Toward Creating Impactful Instagram Effects
Designing and sharing filters is a fun way to express yourself and grow your social media presence. Remember, no coding is necessary—just your imagination and some patience. Start with simple ideas, learn the platform’s tools, and gradually build up your skills. The more effects you create, the better you’ll understand how to craft effects that resonate with your audience.
Bring Your Creativity to Life with AR
Creating Instagram filters using Meta Spark Studio is accessible to everyone. With a little practice, you can design effects that entertain, inspire, and even go viral. Whether you’re aiming to boost your personal brand or just have fun, this platform opens up endless possibilities. Keep experimenting, sharing, and engaging with the community. Your next viral effect might be just a few clicks away.
Unleash Your Inner AR Designer
Don’t wait to turn your ideas into reality. Grab your assets, explore Meta Spark Studio, and start creating effects that tell your story. With patience and creativity, you can make effects that are not only fun to use but also shareable across Instagram and beyond. Happy designing!