
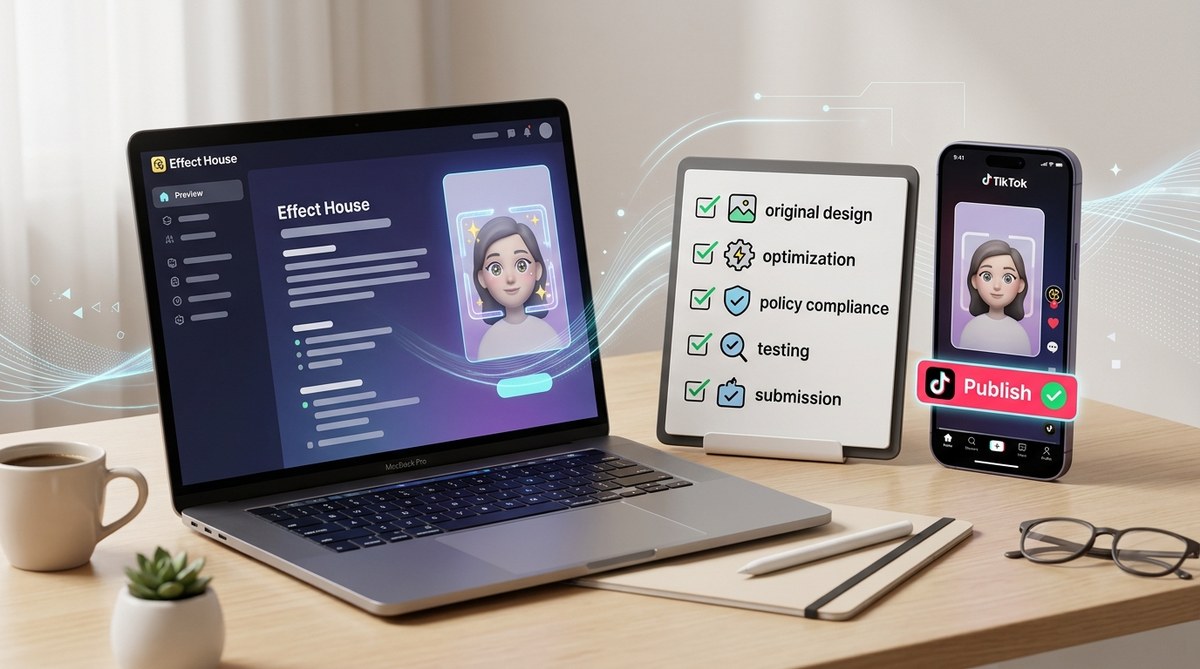
You have spent hours tweaking your effect in Effect House. The face tracking is smooth. The colors pop. You tested it on three different phones. Now comes the real challenge: getting it into TikTok’s official library.
Submitting an effect to Effect House is the bridge between your creative vision and millions of potential users. It sounds straightforward, but many creators trip up on small details. A missing icon. A confusing name. A file that exceeds the size limit. These tiny errors can delay approval or cause rejection.
This guide walks you through every step to submit effect to effect house successfully. We cover the pre-submission checklist, the actual submission flow, common mistakes, and what happens after you hit “Send.” By the end, you will know exactly what the TikTok review team expects.
Submitting your effect to Effect House requires more than a working prototype. You must prepare assets, optimize performance, fill out the submission form accurately, and follow TikTok’s content policies. The checklist in this guide covers everything from icon size guidelines to avoiding common rejection reasons. Follow each step to increase your chance of getting published.
Why Getting Your Effect into Effect House Matters
TikTok’s Effect House is the official platform for creating and submitting custom effects. Once approved, your effect becomes available to TikTok users worldwide. That opens the door to millions of potential impressions, brand collaborations, and community recognition.
But the submission process is not automatic. TikTok reviews every effect for quality, performance, and safety. A rejection can feel discouraging, but it is usually fixable. Knowing the submission rules upfront saves time and frustration.
If you are new to the platform, start with the Complete Beginner’s Roadmap to Publishing Your First TikTok Effect. It covers the entire pipeline from idea to approval.
Pre-Submission Checklist: What to Prepare Before You Submit
Before you open the submission form, make sure you have the following ready. Missing any of these items will block your submission.
- Effect file (.effect) – The final exported package from Effect House. Ensure no broken assets.
- Icon image – 200×200 pixels, PNG format, under 1 MB. Use a clear visual of your effect.
- Title – Between 2 and 64 characters. Make it descriptive but catchy.
- Description – Up to 500 characters. Explain what the effect does and how to use it.
- Category – Choose from Beauty, Funny, Interactive, or others. Pick the most accurate.
- Creator attribution – Your TikTok username must match the one linked to your Effect House account.
- Compliance check – No copyrighted music, logos, or brand names. No political or hateful content.
Double-check your effect’s performance on a low-end Android device. TikTok’s review team tests on a variety of hardware. If your effect lags on a mid-range phone, it will likely be rejected.
For more on building effects that perform well, read 10 Underrated Effect House Features That Will Transform Your TikTok Creations.
Step-by-Step Process to Submit Your Effect to Effect House
The submission process is handled entirely inside Effect House. Here is the exact sequence of steps.
-
Export your effect. In Effect House, go to File > Export. Choose the export option that includes all assets. Save the file as a .effect file on your computer.
-
Open the Submission Panel. Click the “Submit” button in the top toolbar. If you do not see it, make sure you are signed in with your TikTok account.
-
Upload the effect file. Drag or browse to select the .effect file you exported. The system will validate it automatically. If it finds errors, you will see a message. Fix them before proceeding.
-
Add your icon. Click the icon placeholder and upload your 200×200 PNG. Make sure the image is not blurry or stretched.
-
Fill in the details. Enter your title, description, and category. Keep the title simple. Avoid clickbait or misleading words. The description should help users understand the effect.
-
Select visibility settings. You can choose to submit as “Public” (visible to all) or “Private” (only you can test it). For first-time submissions, choose Public if you want it in the library.
-
Review and submit. A summary screen shows all your details. Read everything again. Pay attention to the pixel count of your icon and any warnings. Click “Submit.”
-
Wait for a confirmation email. TikTok will send an email to the address associated with your Effect House account. This confirms your submission is in the queue.
After submission, your effect enters the review queue. Typical review times vary from a few hours to several days. You can track the status inside Effect House under the “My Effects” panel.
Expert tip: Always test your effect on multiple devices before submitting. Record a short video of it working correctly and keep it handy. If your effect gets rejected, you can use that video to troubleshoot or appeal. The review team sometimes provides feedback, but not always. A test video helps you spot issues they might flag.
Common Submission Mistakes and How to Fix Them
The table below lists the most frequent reasons effects get rejected and the simple fixes.
| Mistake | Why It Causes Rejection | How to Fix It |
|---|---|---|
| Icon too small or wrong format | TikTok requires a sharp, square PNG at exactly 200×200. Any other size or format fails validation. | Export your icon from Effect House or design it in Photoshop. Use PNG with no transparency issues. |
| Effect file exceeds 10 MB | Large files load slowly on mobile networks. TikTok caps effect packages at 10 MB. | Optimize your textures. Compress audio files. Remove unused assets. |
| Missing or vague description | Users need to know what the effect does. A blank or generic description leads to rejection. | Write two or three sentences that explain the interaction. Example: “This effect adds neon glasses that change color when you raise your eyebrows.” |
| Copyrighted content | Using brand logos, music, or characters without permission violates TikTok’s terms. | Replace any third-party assets with your own creations or use royalty-free resources. |
| Poor performance on older devices | The effect must run smoothly on a range of phones, including low-end models. | Reduce polygon counts, simplify shaders, and test on a device released more than three years ago. |
If your effect gets rejected, do not panic. Read the rejection reason carefully. Most rejections are fixable within minutes. Then resubmit. You can resubmit as many times as needed.
Need inspiration for effects that people actually use? Check out How to Make TikTok Effects That Actually Get Used by Thousands.
What Happens After You Submit Your Effect
Once your effect enters the review queue, here is what happens on TikTok’s side.
- Automated validation. The system checks file size, icon dimensions, and metadata. If anything fails, you get an immediate error.
- Manual review. A human reviewer tests the effect on a device. They look for bugs, performance, and content policy violations.
- Approval or rejection. Within a few days, you receive an email with the result. If approved, your effect appears in TikTok’s effect library. If rejected, you get a reason (sometimes generic).
- Live status. You can see the status in Effect House under “My Effects.” It will show “In Review,” “Approved,” or “Rejected.”
While you wait, use that time to plan your promotion strategy. Approved effects need exposure to gain traction. Consider creating a TikTok video that showcases your effect and includes a direct link to try it. Share it on your other social channels too.
For more on building buzz, read From Zero to 100K Uses: A Case Study in TikTok Effect Virality.
Five Tips to Increase Your Approval Rate
Follow these best practices to make your submission more likely to pass review.
- Keep it simple. Effects with one clear interaction perform better than cluttered designs. Users love effects they can understand in seconds.
- Test on both iOS and Android. TikTok’s user base is split roughly evenly. An effect that works only on iPhone will get rejected.
- Avoid extreme movements. Effects that cause rapid screen shaking or disorienting visuals can trigger rejection for safety reasons.
- Use the official Effect House templates. Templates are pre-optimized and follow TikTok’s guidelines. They give you a head start.
- Stay up to date with platform changes. Effect House updates its review criteria periodically. Check the official documentation or follow community forums.
If you are deciding between AR platforms, you might be interested in Effect House vs Spark AR: Which Platform Should TikTok Creators Choose?
Turning Your Submitted Effect into a Portfolio Piece
Getting your effect approved is a big win. But it is just the beginning. Each published effect becomes part of your portfolio. Brands and agencies look for creators with a track record of approved, high-quality effects. You can use your Effect House submissions to land freelance projects or full-time roles.
Document your process. Save screenshots of the design stage. Record user testing videos. Write down the analytics (number of uses, shares, and impressions). All of this becomes evidence of your skill.
For guidance on turning AR creation into income, read Monetizing Your TikTok AR Skills Without a Massive Following.
Your Effect Deserves a Place in TikTok’s Library
Submitting your effect to Effect House does not have to be intimidating. The process is designed to be straightforward, but the details matter. Prepare your assets, follow the steps, and avoid the common pitfalls. Every creator gets rejected at some point. Use feedback to improve and resubmit. Your best effect might be the next one.
Now open Effect House, export your creation, and start the submission. Millions of TikTok users are waiting to try what you built.