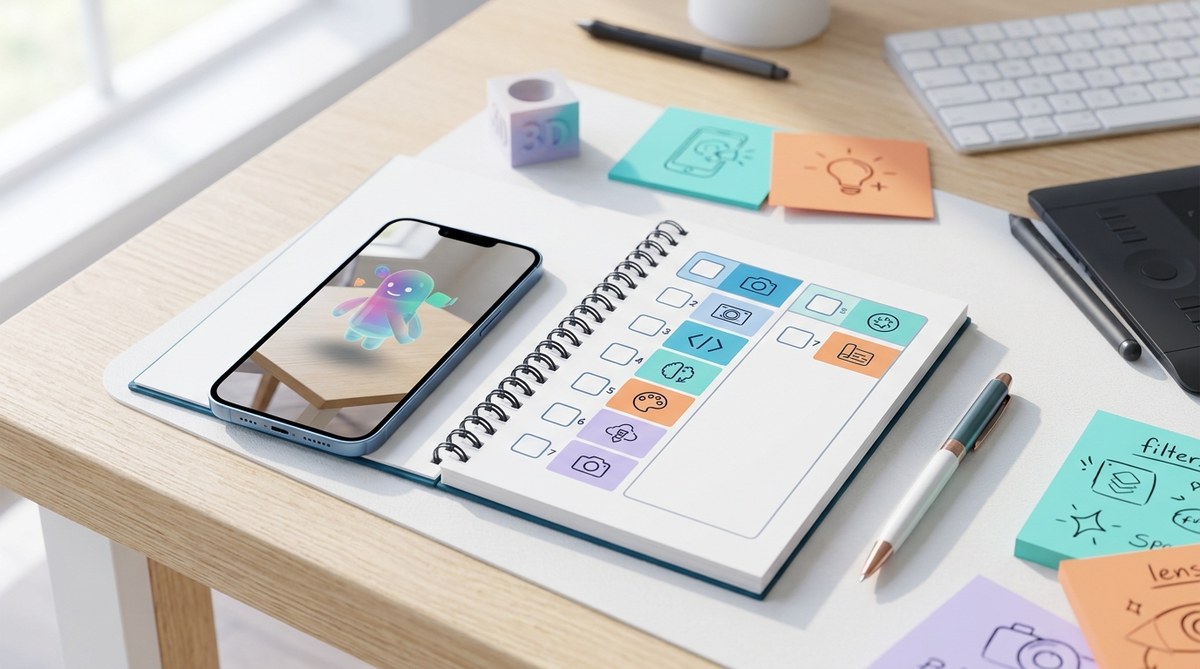
Jumping into augmented reality creation might seem overwhelming at first. With so many tools, platforms, and techniques available, knowing where to start is tricky. That’s where a structured, beginner-friendly challenge can make all the difference. Over just a week, you can build confidence, learn essential skills, and create your very first AR effects. This guide walks you through a practical 7-day AR creator challenge designed specifically for beginners eager to dive into the world of augmented reality.
A structured 7-day AR creator challenge simplifies learning, provides clear goals, and helps beginners produce their first effects with confidence, even without prior experience.
What makes a beginner AR challenge effective?
A good beginner challenge is straightforward and broken into manageable steps. It encourages hands-on learning and celebrates small wins. Over a week, you’ll learn the basics of AR effect design, familiarizing yourself with tools and platforms like Spark AR or Effect House. This approach minimizes overwhelm and builds a solid foundation for future projects.
Day 1: understand what augmented reality is and set your goals
Start by grasping what AR really means. AR blends digital content with the physical world, creating interactive experiences. Spend some time watching examples of popular AR filters on platforms like Instagram, TikTok, or Snapchat. Notice what makes certain effects engaging or fun.
Next, define what you want to achieve by the end of this challenge. Are you interested in creating filters for fun, for branding, or as a portfolio piece? Setting clear goals will keep you motivated and focused.
Action step: Write down your goals and favorite AR effects. This will guide your learning process.
Day 2: choose your AR creation platform and learn the basics
Pick a beginner-friendly AR platform like Spark AR Studio or Effect House. Both offer free tools, tutorials, and active communities.
Spend today familiarizing yourself with the interface. Watch introductory tutorials on how to navigate the workspace and understand core features. For example, Spark AR provides a helpful Getting Started Guide.
Tip: Keep it simple. Focus on understanding how to import assets, add effects, and test your project.
Day 3: create your first simple effect
Today’s goal is to make a basic AR effect, such as a face filter with a fun accessory or color overlay.
Follow a step-by-step tutorial to import a 3D object or image. Position it over the face or scene. Experiment with resizing, rotating, and applying simple animations.
Helpful tip: Use free assets from platforms like Effect House’s library or Spark AR’s asset store to save time.
“Starting with simple effects builds confidence and helps you understand how different components interact.” — AR creation expert
Day 4: add interactivity to your effect
Make your AR effect more engaging by adding interactive elements. This could be a tap gesture that changes the effect or a trigger based on facial expressions.
Follow a tutorial on adding tap interactions, which are usually straightforward in platforms like Spark AR. For instance, you might make a hat appear when users tap the screen.
Scanning tip: Look for tutorials that demonstrate adding click or tap gestures to effects, as interactivity is key to making effects viral.
Day 5: refine your effect and test it on different devices
Now that your effect has basic interactivity, focus on refining it. Tweak the positioning for different face shapes or environments. Test your effect on various devices to ensure consistency.
Use platform simulators or send your effect to friends for feedback. Pay attention to issues like lag, misalignment, or poor graphics.
Tip: Keep your design simple. Overloading effects can cause performance issues on lower-end devices.
Day 6: prepare your effect for publishing
Today, learn how to publish your AR effect. Follow platform-specific instructions to export and submit it for approval.
Make sure your effect complies with platform policies. For example, avoid inappropriate content and ensure your assets are optimized for quick loading.
Check the analytics and insights after publishing to understand how users engage with your effect, which can guide future projects.
Expert advice: “Publishing is a vital step. Pay attention to guidelines and test thoroughly before submitting.” — AR industry veteran
Day 7: share your creation and plan your next steps
Congratulations! You’ve made your first AR effect. Share it on your favorite social media platforms or with friends. Encourage feedback and engagement.
Reflect on what you learned this week. Identify areas for improvement and think about new ideas or effects you want to create next.
Consider joining online communities like Facebook groups or Reddit forums dedicated to AR creation. These are great for inspiration and support.
Bullet list for quick reference:
- Share your effect widely.
- Gather feedback and iterate.
- Explore advanced features in your chosen platform.
- Practice regularly to improve your skills.
- Follow AR creators you admire for inspiration.
- Keep experimenting with new ideas.
- Stay updated with platform tutorials and updates.
Techniques and common mistakes in AR creation
| Technique | Mistake to Avoid |
|---|---|
| Using optimized assets | Overloading effects with high-poly models that slow down devices |
| Testing on multiple devices | Failing to check effects across different hardware for consistency |
| Keeping effects simple | Adding too many interactive elements that confuse users |
| Following platform guidelines | Submitting effects with inappropriate or copyrighted content |
| Using tutorials | Relying solely on copying without understanding the process |
Expert tips for AR beginners
“Consistency is key. Practice often, even if it’s just for 15 minutes a day. Over time, your skills will grow faster than you expect.” — seasoned AR creator
Celebrate your progress and plan your next project
Completing this 7-day challenge is just the beginning. You now have a foundational understanding of how to create, refine, and publish AR effects. Use this momentum to experiment further.
Try creating effects based on your hobbies, seasonal themes, or personal style. The more you practice, the more natural it will feel to bring your ideas to life.
For additional guidance, check out tutorials on adding 3D objects or advanced animation techniques in Lens Studio or Spark AR.
Your journey into augmented reality starts now
Taking the first step into AR creation can feel intimidating, but breaking it down into manageable days makes it approachable. Remember, every expert was once a beginner. Keep experimenting, share your work, and stay curious. Before long, you might be designing effects that go viral or even earning income from your creations.
Happy creating!