
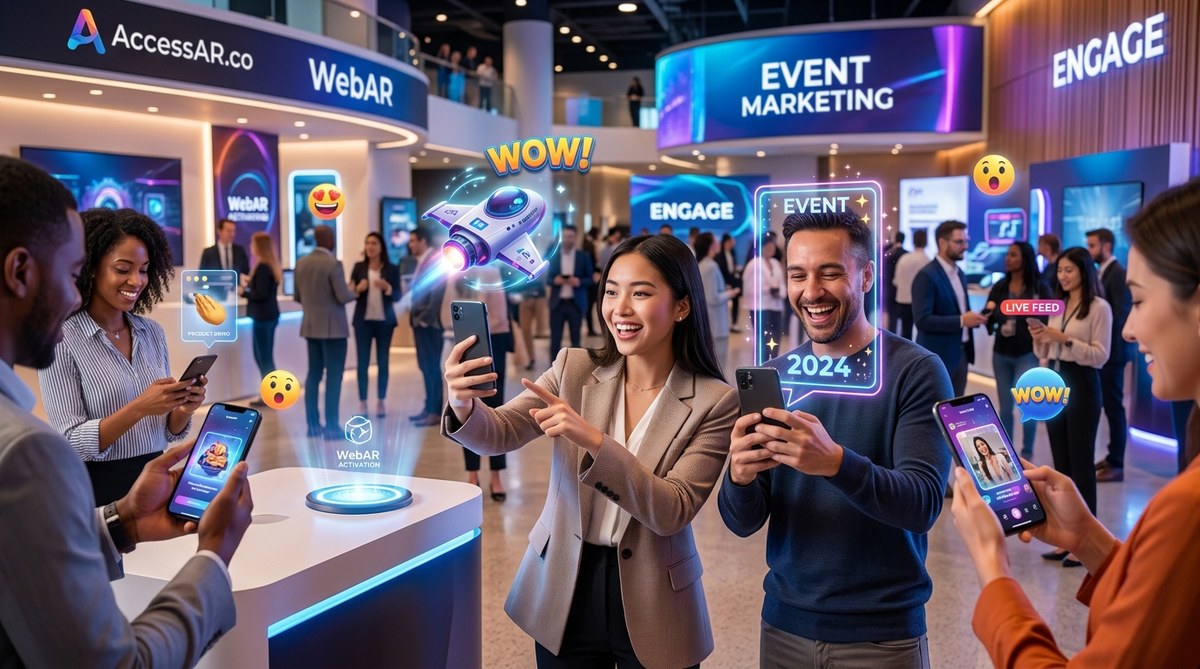
Picture this: you are walking through a convention hall and suddenly a product jumps off the poster and dances in midair. No headset, no app download. Just your phone camera and a QR code. That is the power of WebAR for event marketing. And it is not a futuristic gimmick. It is happening right now at trade shows, product launches, and music festivals across the United States.
WebAR (web-based augmented reality) lets you deliver interactive 3D content directly through a mobile browser. No app store, no install friction, no wait. Attendees scan a code or tap a link, and the magic begins. For event marketers and planners, this means you can turn a static booth into a living, breathing experience without requiring your audience to jump through hoops.
WebAR event marketing removes every barrier between your brand and your attendee. No app downloads. No special hardware. Just a browser and a link. This guide walks you through why WebAR works, how to plan your first experience, and which tools can get you from idea to launch in under a week. By the end, you will know exactly how to create an immersive moment that your crowd will talk about long after the event ends.
Why Event Marketers Are Choosing WebAR Over Native Apps
Attendee attention is the scarcest resource at any event. You have seconds to grab it and minutes to hold it. Native AR apps kill that momentum. They require a download, an install, and often a login. WebAR skips all of that. A single tap opens the experience in the browser.
Consider the numbers from 2026. Mobile browser capabilities have matured to the point where WebAR can handle complex 3D models, face tracking, and even real-time occlusion. For example, if you are launching a new sneaker at a pop-up, attendees can point their phone at a flat poster and see the shoe floating right in front of them. They can rotate it, change colors, and even virtually try it on. All without leaving your booth.
The cost difference is also huge. Developing a native AR app for both iOS and Android can easily run $50,000 to $100,000. A WebAR experience built with a no-code platform can cost a fraction of that and launch in days. For event planners working with tight budgets and tighter timelines, that is a game-changer.
How to Build a WebAR Experience for Your Next Event
Creating your first WebAR activation does not require a computer science degree. Follow these five steps to go from concept to live experience.
-
Define the interaction goal. What do you want attendees to do? Try on a product? Unlock a hidden discount? Play a branded game? Every WebAR experience should serve a clear purpose. For a car launch, you might let people walk around a virtual model of the vehicle. For a food festival, a recipe that pops up when you scan the menu.
-
Choose your trigger. Most WebAR experiences start with a QR code or a URL. Print the code on banners, badges, table tents, or even lanyards. The key is placement. Put triggers where people naturally stop: registration desks, coffee stations, lounge areas. Do not make them hunt for it.
-
Select a creation tool. You do not have to code. Platforms like 8th Wall, Zappar, and Blippbuilder offer drag-and-drop editors. If you want to compare options, check out our guide on 7 No-Code WebAR Platforms That Let You Build AR Experiences in Minutes. These tools let you upload 3D assets, add animations, and set up interactions without writing a line of JavaScript.
-
Design for mobile-first. Most people will access your WebAR on a smartphone. Keep the 3D assets lightweight. Use compressed textures. Test on a mid-range Android device from two years ago. If it loads slowly on that, your attendees will bounce. A good rule of thumb: keep the entire experience under 3MB.
-
Test, then test again. Run through the experience on multiple browsers (Chrome, Safari, Samsung Internet). Check for lighting issues. Make sure the QR code is large enough to scan from three feet away. Then have a colleague who has never seen it try it out cold. Watch where they hesitate and fix those points.
Table: WebAR Techniques vs. Common Mistakes
| Technique | What It Does | Common Mistake | Better Approach |
|---|---|---|---|
| Marker-based AR | Uses a printed image to trigger the experience | Overcomplicating the marker with busy patterns | Use a clean, high-contrast logo or shape |
| World tracking | Anchors objects to surfaces (floor, wall, table) | Expecting perfect placement in bright outdoor light | Provide a visual guide to help the phone find a flat surface |
| Face tracking | Applies effects to the user’s face | Making the effect too subtle to notice | Use bold, shareable overlays that feel fun, not creepy |
| Image targets | Turns a poster or product into an interactive portal | Not considering that the target might move or be partially covered | Secure targets flat and avoid placing them near reflective surfaces |
| Location-based | Triggers an AR scene when the user walks to a GPS coordinate | Not accounting for GPS drift indoors | Use Bluetooth beacons or visual markers for indoor accuracy |
Real Campaigns That Prove WebAR Works
If you need inspiration, look at what brands have done in 2025 and 2026.
- A beverage company at SXSW placed QR codes on every cup and napkin. Scanning them turned the table into a mini basketball game. Attendees lined up for 20 minutes to play. The brand collected over 40,000 scans in four days.
- A home improvement retailer at the National Hardware Show used WebAR to let visitors see how a power drill would look in their own garage. The experience used world tracking to place a 3D drill on the floor. Visitors could walk around it, see the weight, and even hear the trigger sound.
- A cosmetics brand at a beauty convention created a virtual try-on for lipstick shades. Attendees scanned a code at the entrance and could test 12 colors on their own face without touching a tester. The result was a 70% increase in samples requested at the checkout counter.
These examples share one thing: they remove friction. The experience is a tap away, and it feels magical.
Three Rules for a Shareable WebAR Experience
Expert advice from a veteran AR strategist: “The best WebAR experiences at events are not about showing off technology. They are about solving a problem or creating a moment. If your attendee leaves with a smile and a photo to post, you have won. Focus on the emotional payoff, not the polygon count.”
Blockquote from Sarah Jenkins, former AR lead at a major festival production company. Her three rules:
– Make the first frame impressive. If the experience takes two seconds to load, show a preview still or a fast animation that keeps the user engaged.
– Add a call to action. After the AR moment, give them a reason to share. A GIF download, a discount code, or a poll.
– Keep the session short. Thirty seconds of interaction is plenty. Longer than a minute and you risk losing them to the next booth.
What to Avoid When Planning WebAR for Events
Even with the best tools, things can go wrong. Here are the most common pitfalls and how to avoid them.
- Ignoring the venue’s Wi-Fi. WebAR works on cellular data, but a crowded hall can slow 5G to a crawl. Always offer an offline fallback or a text-based version of the content. You can learn more about optimizing load times in Optimizing WebAR Load Times for Mobile Networks Under 4G.
- Not having a backup trigger. If your QR code gets damaged, have a short URL ready that you can display on a screen or announce from the stage.
- Forgetting the analytics. Every scan is a data point. Use a platform that tracks how long people stay, what they interact with, and whether they share. That insight helps you improve your next event.
- Making the experience too long. Attendees want a moment of wonder, not a tutorial. Keep the core interaction under 30 seconds.
Bringing the Wow to Your Next Event
You do not need a massive budget or a team of developers to create a WebAR experience that sticks. Start small. Pick one touchpoint at your next event. Maybe it is the registration desk or the product demo area. Build a simple 3D model or a virtual try-on. Test it with a few colleagues.
Once you see how easily people engage, you will find yourself planning bigger activations for the next event. And your attendees will start scanning your QR codes before you even ask.
So grab your phone, choose a platform, and build something that makes someone say, “Wait, how did they do that?” That is the reaction that turns a booth visitor into a brand advocate.