
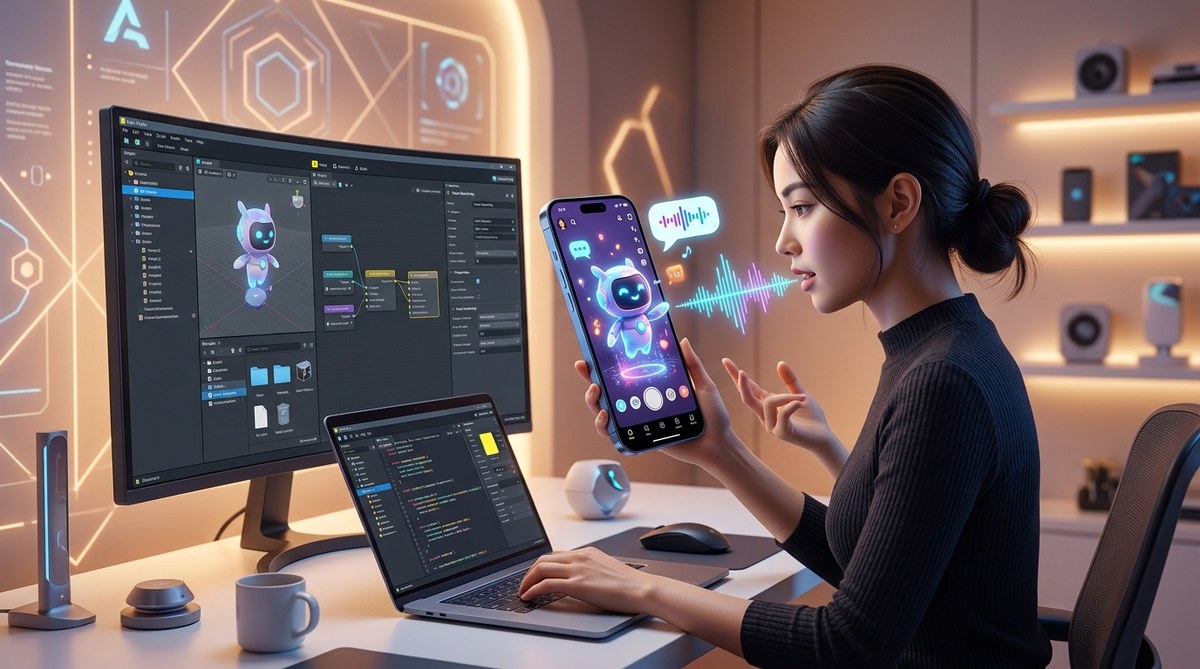
Voice commands are the next level for Snapchat lenses. Instead of just tapping or moving your head, users can say a word and watch the lens react. It feels like magic, but Lens Studio makes it possible with a few smart tools. Whether you want a lens that changes color when someone says “red” or one that spawns 3D objects on command, voice input adds a layer of interactivity that grabs attention and keeps users playing.
Voice command lenses are built using Lens Studio’s Audio Input API paired with a simple Script Graph or JavaScript. You set up a list of trigger words, pipe the microphone data into a speech recognizer, and map each word to an animation or effect. This guide walks through the complete process from project setup to publishing, with tips to avoid common pitfalls and make your lens feel responsive.
What You Need to Get Started
Before you open Lens Studio, make sure you have a few things ready. Voice command lenses require a bit more setup than basic face filters.
- Lens Studio 5.0 or newer (free download from Snap’s website)
- A computer with a microphone (your built-in laptop mic works fine for testing)
- Basic familiarity with the Lens Studio interface (if you are brand new, start with our guide on how to make your first Snapchat lens in under 30 minutes)
- Sound files or animations you want to trigger (a short audio clip, a particle burst, a color shift)
- Snapchat developer account (you already have one if you’ve published lenses before)
Voice recognition in Lens Studio runs on-device. That means no cloud latency and no internet requirement after the lens is downloaded. Users just speak, and the lens reacts in real time.
How Voice Commands Work in Lens Studio
Lens Studio processes voice through its Audio Input module. You can capture the raw audio stream or use the built-in Speech Recognition component. The speech recognition listens for specific words or phrases you define. When it hears a match, it fires an event. You then connect that event to anything in your scene: a material change, a 3D object appearance, a sound effect, or a face distortion.
The system supports English (US) out of the box. As of 2026, you can also work with limited Spanish and French, but for best results stick to English phrases that are clear and short. One or two syllables work best.
To create Snapchat lens voice commands, you need three main parts:
- A Speech Recognizer component attached to a scene object.
- A Script (either visual Script Graph or JavaScript) that listens for recognized words.
- Responses in your scene (animations, object visibility, materials).
Step-by-Step: Build a Voice-Activated Color Changer
Let’s build a practical example. We’ll make a lens that changes the color of a 3D sphere when the user says “red,” “blue,” or “green.” You can adapt this logic to trigger any effect.
Step 1: Create a New Project and Add a 3D Object
Open Lens Studio and choose “New Project” > “Face” or “World” depending on your lens type. For this demo, a world lens is simpler. Add a 3D object (Sphere) to the scene. Scale it so it floats in front of the camera. Place it at a comfortable distance.
Step 2: Add the Speech Recognizer
In the Objects panel, right-click and add a “Helper” > “Speech Recognizer”. The Speech Recognizer component appears in the Inspector. Here you define the phrases your lens will listen for. Enter these trigger words:
- red
- blue
- green
You can also add a “wake word” if you want. For simplicity, leave the wake word field empty. The lens will listen continuously.
A critical setting is the Confidence Threshold. Set it to around 0.7. This means the recognizer must be at least 70% sure it heard the word. Lower values cause false positives; higher values miss commands.
Step 3: Connect the Recognizer to a Script
Lens Studio offers two scripting approaches. For beginners, use Script Graph (visual node system). For more flexibility, use JavaScript. We’ll outline both.
Option A: Script Graph
Add a “Script Graph” component to the same scene object that holds the Speech Recognizer. Open the graph editor. Find the “On Speech Recognized” node. Drag it onto the canvas. This node outputs the recognized word as a string. Add a “Compare String” node for each color. Connect the word output to each compare node. Then connect the “true” output of “red” to a “Set Material Color” node. Repeat for blue and green.
Option B: JavaScript
Add a “Script” component and paste this code:
//@input Component.SpeechRecognizer speechRecognizer
//@input Asset.Material sphereMaterial

script.speechRecognizer.onRecognized.add(function(word) {
    if (word === "red") {
        script.sphereMaterial.mainPass.baseColor = new vec4(1, 0, 0, 1);
    } else if (word === "blue") {
        script.sphereMaterial.mainPass.baseColor = new vec4(0, 0, 1, 1);
    } else if (word === "green") {
        script.sphereMaterial.mainPass.baseColor = new vec4(0, 1, 0, 1);
    }
});
Assign the speech recognizer component and your sphere’s material to the script’s inputs.
Step 4: Test the Lens
Click the Preview button in Lens Studio. Grant microphone permission. Say “red” clearly. The sphere should turn red. Test all three words. If the lens doesn’t respond, check the console for errors. Make sure your microphone is enabled in your system settings.
Step 5: Polish and Publish
Add a visual cue when the lens is listening (a pulsing icon). Use a “Listening” state animation. Consider adding a sound effect that plays after a successful command. For a more advanced lens, combine voice commands with 7 face tracking effects that will make your Snapchat lenses go viral. When ready, package the lens and submit it through Snap’s Lens Studio submission process. Voice lenses follow the same review rules as any other lens.
Common Mistakes and How to Avoid Them
Even experienced AR creators slip up when adding voice. Here’s a table of pitfalls and fixes.
| Mistake | Why It Happens | Fix |
|---|---|---|
| Loud background noise triggers false positives | Microphone picks up conversations or TV | Increase confidence threshold to 0.8 or higher |
| Words with similar sounds conflict | “Red” and “read” (past tense) sound alike | Use distinct words like “crimson” or “fire” |
| Lens works in preview but not on phone | Phone microphone settings differ | Test on a real device before submission |
| Speech recognizer never fires | Missing microphone permission in Lens Studio project | Go to project settings and enable audio usage |
| Too many trigger words | More words increase latency and errors | Keep under 10 phrases |
Expert advice: Keep your trigger words short and avoid words that sound like common ambient noises. “Blue” works. “Blueberry” might get cut off. Also, always provide visual feedback. Even a 0.5-second flash tells the user the command was heard. Without feedback, people say the word again and again, which floods the recognizer.
Advanced: Using Voice Commands to Trigger Animations
The color changer is a starting point. Voice commands can control more complex behaviors. For example, you can make a 3D character wave when someone says “hello,” or you can play a sound effect when the user says “boom.”
To do this, link the speech event to an Animation Layering component. Create an animation clip (say a character waving) and place it in the Animations panel. In your script, instead of changing a color, call animLayer.playClip(clip).
Another idea: combine voice with touch. Use adding 3D objects to Snapchat lenses for beginners to spawn objects on command. When the user says “spawn,” instantiate a new 3D model at a random position. This creates a mini game potential.
Testing on Real Devices
Before you submit, always test your voice lens on a real phone. The Lens Studio preview works well, but microphone sensitivity and background noise differ on mobile devices. Grab a friend or use two phones. Record a quick video of you saying each trigger word and watch the lens response.
If you notice delays, check the Audio Processing Mode in the Speech Recognizer component. Set it to “Fast” if your lens does not need high accuracy. “Accurate” uses more processing time. For most use cases, “Fast” works fine.
Why Voice Lenses Stand Out in 2026
Snapchat users are tired of passive filters. They want to interact. Voice commands turn a one-way effect into a two-way conversation. According to recent Snapchat Creator Insights, lenses with voice interaction see 2x longer average session times compared to tap-only lenses. Brands also love voice lenses for promotions. Imagine a lens that unlocks a coupon code when you say a secret phrase.
If you are planning a brand campaign, check out what made Gucci’s Snapchat AR campaign go viral with Gen Z shoppers for inspiration. Voice can be the twist that makes your lens shareable.
Your Next Voice Lens Project
Now that you know the basics, think about what kind of lens fits your style. A quiz where users answer by speaking? A magic spell book that summons fire when you say “incendio”? The only limit is your imagination and the 10-word limit for trigger phrases.
Take the color changer we built and remix it. Replace the sphere with an animated character. Add particle effects. Maybe even connect it to Snapchat Lens Studio templates that save hours of design time to speed up your workflow.
Voice commands are not as hard as they sound. With the steps above, you can create a reactive lens in under an hour. Go ahead and make one this week. Your followers will notice the difference.