
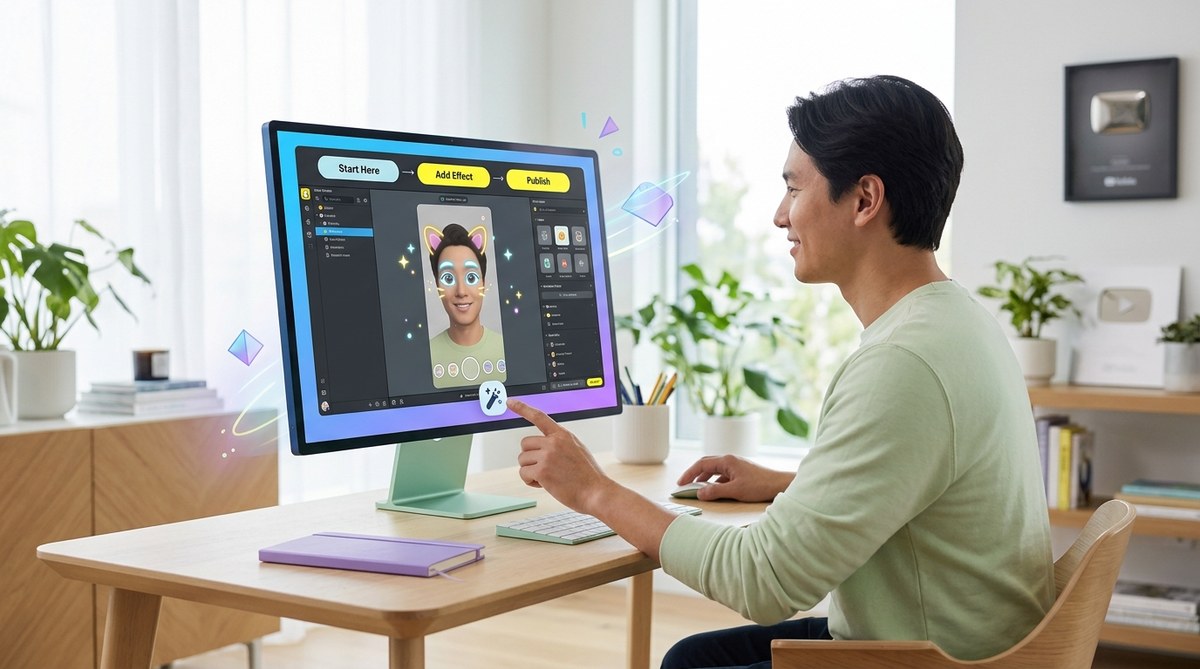
Creating your own Snapchat face effects can seem complicated at first. But with the right guidance, anyone can craft fun, engaging filters that stand out. Lens Studio, Snapchat’s free tool, opens up endless possibilities for beginners eager to make their mark in augmented reality. Whether you want to design silly masks, stunning visual effects, or interactive experiences, this guide will walk you through the essentials to start creating custom face effects confidently.
This guide simplifies creating custom face effects in Snapchat Lens Studio for beginners. It covers fundamental steps, tips, common pitfalls, and expert advice to help you craft filters that wow users and get approved quickly.
Why Creating Custom Face Effects Matters for Beginners
Snapchat filters are more than just fun additions. They are powerful tools for self-expression, branding, and even marketing campaigns. For beginners, learning to craft custom face effects builds valuable skills in AR design, coding basics, and user engagement. The more you experiment, the better your filters become. Plus, creating unique effects can turn into a side hustle or a way to showcase your creativity on social media.
Starting with Lens Studio is ideal because it’s free and user-friendly, especially for those new to AR. With patience and practice, you’ll discover how simple tools like face meshes, textures, and scripting can produce impressive results.
Getting Started with Snapchat Lens Studio
Before diving into design, it’s important to familiarize yourself with the basics of Lens Studio. Download the latest version from the official Snapchat website. The software provides built-in templates, tutorials, and a community forum to support your learning journey.
1. Setting Up Your First Project
Begin by opening Lens Studio and selecting “New Project.” For beginners, using a template can save time and give you a clear starting point. Choose a face effect template if available. This sets the foundation for creating a face filter that tracks user movements smoothly.
2. Understanding the Interface
Lens Studio’s workspace includes panels for assets, scene hierarchy, inspector, and preview. Spend time exploring each area. The preview window shows how your filter looks on different faces and lighting conditions. Use the library of assets to add textures, 3D objects, or sound effects.
3. Using the Face Mesh and Face Effects
The face mesh is the core of most face effects. It maps the user’s face so you can modify, decorate, or distort it. Find the face mesh object in the scene hierarchy and experiment with different textures or deformation effects. This is where creativity begins to shine.
Creating Your First Custom Face Effect
Now, let’s build a simple yet captivating face effect step by step. We’ll add a fun mask with animated elements to make your filter stand out.
1. Add a Face Mesh and Texture
Start by selecting the face mesh in your scene. Apply a custom texture or image you want to display. You can create textures in any image editor or find free assets online. Drag the texture into Lens Studio’s assets panel. Then, assign it to the face mesh material in the inspector panel.
2. Animate Your Effect
To add movement, use Lens Studio’s built-in animation tools. For example, animate a hat or glasses to follow the face’s movements. You can keyframe position, rotation, or scale. For more dynamic effects, add simple scripts to trigger animations based on user actions like blinking or smiling.
3. Incorporate Interactivity
Engage users by making effects interactive. For beginners, scripting might seem intimidating, but Lens Studio offers visual scripting tools called Patch Editor. Use it to link actions, like changing colors when a user taps the screen or smiles. This makes your filter more fun and shareable.
4. Preview and Test
Use the Snapchat camera or Lens Studio’s built-in preview to test your effect. Adjust as needed to improve responsiveness and visual appeal. Always test on different faces and lighting conditions to ensure consistency.
5. Export and Submit for Approval
Once satisfied, export your lens. Follow Snapchat’s guidelines for approval, ensuring your effect is appropriate and performs well. Submit your filter through Lens Studio’s publishing tools. After review, it can go live and be shared with friends or the public.
Tips for Improving Your Custom Face Effects
- Use high-quality textures for a more polished look.
- Keep effects lightweight to ensure quick loading and smooth performance.
- Experiment with different face tracking points for more precise effects.
- Watch tutorials from the Lens Studio community for advanced techniques.
- Regularly update your software to access new features and fixes.
“Remember, the key to creating standout face effects is to keep testing and refining. Use feedback from friends and the community to improve your designs.” — AR design expert
Common Techniques and Pitfalls
| Techniques | Mistakes to Avoid |
|---|---|
| Using high-resolution textures for clarity | Overloading effects with heavy assets causing lag |
| Leveraging built-in templates for speed | Forgetting to test on multiple faces and devices |
| Animating with the Patch Editor for interactivity | Ignoring Snapchat’s community guidelines for content |
| Keeping effects simple yet engaging | Not optimizing for different lighting conditions |
Final Thoughts: Your Journey to Creative AR Begins
Creating custom face effects in Snapchat Lens Studio offers a rewarding way to express yourself and connect with others. For beginners, start small, focus on learning the interface, and gradually add complexity as you grow confident. Remember, every expert started with simple projects. Keep experimenting, seek inspiration from the community, and don’t fear making mistakes. Your unique filters could be the next viral sensation or a new skill that opens exciting opportunities.
Keep Making and Innovating
The world of Snapchat AR is constantly evolving. Your creativity and willingness to learn will set you apart. As you gain experience, try combining multiple effects, experimenting with 3D objects, or even coding custom scripts. The more you practice, the easier it becomes to craft effects that captivate and delight.
Happy creating!