
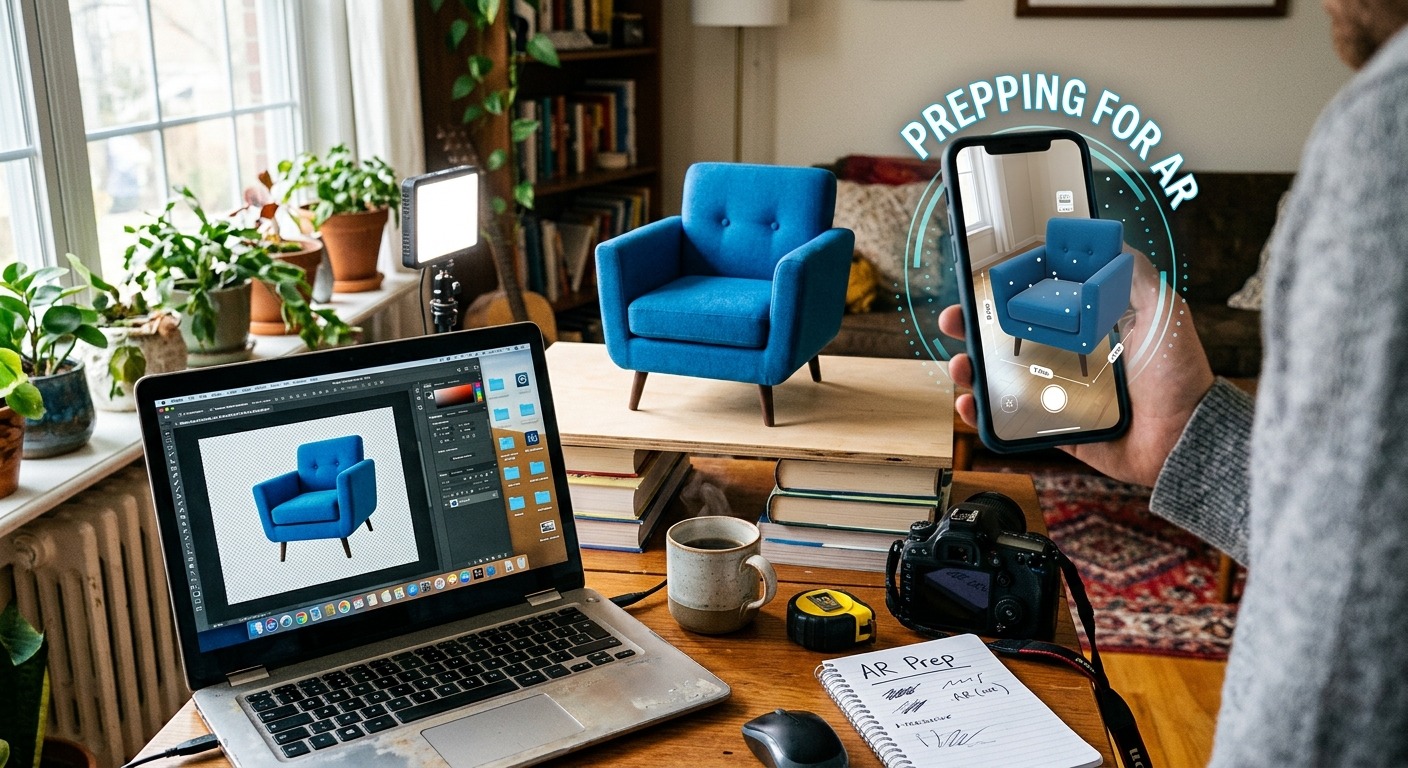
Your product photo is sitting in your camera roll right now. It is sharp, well-lit, and ready to become an AR overlay that customers can hold up to their face or drop onto their kitchen counter in a WebAR demo. The only thing stopping you is the background. Clutter, gradients, and plain white fills look fine on a product listing page, but inside Lens Studio or Spark AR they look like a floating rectangle glued onto someone’s living room. A clean, transparent-background PNG changes everything, and you do not need a designer to get there.
The Core Idea
Clean, transparent-background PNGs are the foundation of every AR product overlay. Without one, your asset carries a visible box into every AR scene. Getting there does not require Photoshop, a freelancer, or a monthly design subscription. Free browser tools handle background removal and file compression in minutes, and the result imports cleanly into any major AR platform with no extra steps.
Why Transparent PNGs Are the Foundation of AR Product Overlays
When you place an image into an AR experience, the platform layers it over the real world. JPG files cannot carry transparency. The format does not support an alpha channel, which is the part of the file that controls how opaque or invisible each pixel is. That means a JPG always arrives with its background baked in. You cannot separate the product from whatever it was photographed against.
PNG files work differently. Alpha-channel support is baked into PNG’s format specification at the structural level, which means every pixel can carry its own opacity value. That is what lets a product appear to float in midair, sit on a real surface, or follow a face without a visible box around it. AR platforms treat PNG as the standard for product overlays for exactly this reason.
If you try to use a JPG in Lens Studio or Spark AR for a product overlay, you will immediately see a white or colored rectangle around your product. That rectangle follows the AR anchor wherever it goes. No amount of tweaking inside the builder removes it. The fix has to happen at the image level before you open the AR platform at all.
Stripping the Background Right in Your Browser
You do not need to download anything. Modern browser-based tools handle background removal in seconds. Upload your photo, let the tool detect and cut the background, then download the result as a PNG with a transparent layer in place of whatever was behind your product.
A reliable background remover handles the hardest part automatically. The AI reads edges, contrast, and object shapes to separate the product from its surroundings. For most product photos shot against a plain surface, the result is clean enough to use immediately. For more complex shots, most tools include a brush for manual edge cleanup.
Here are signs your source photo will process cleanly without much manual work:
- The product has a clear contrast edge against the background
- The background is one consistent color or tone, not a pattern
- The photo is well-lit without heavy shadows falling onto the background
- The product does not have transparent sections, like a glass jar, that you want to preserve
Shadows are the most common sticking point. If your product casts a sharp shadow onto the background, the removal tool may leave a ghost of that shadow in the output PNG. For AR overlays, that ghost looks unnatural against a real-world scene. Reshoot on a white seamless backdrop with diffused lighting if you want the cleanest possible result straight out of the tool.
Why File Size Can Quietly Break Your AR Experience
A high-resolution PNG with transparency can easily reach 5MB or more. On a standard web page, that is slow but tolerable. Inside a WebAR experience or a Snapchat Lens, it is a serious problem. AR content loads in real time, often on mobile networks, while the device simultaneously processes camera input and renders a 3D scene. A bloated image asset adds load time that users feel right away. Many will close the experience before the product ever appears.
Most AR platforms publish strict file size limits. Snap Lens Studio caps the entire lens package at a size that a single uncompressed product photo can eat through on its own. Running your PNG through PNG compression before uploading can reduce the file size by 40 to 70 percent without any visible quality loss on a phone screen.
Compression works by removing redundant data from the file, not by cutting pixels. Your transparent layer survives intact. The edges stay clean. The output just loads faster. Compressing before upload is not optional for AR, it is a non-negotiable step in the prep workflow.
How PNG and JPG Stack Up for AR Use
| Feature | PNG | JPG |
|---|---|---|
| Alpha-channel transparency | Full support | Not supported |
| Background removal result | Clean transparent output | Background baked in, cannot remove |
| Typical high-res product file size | 2MB to 8MB uncompressed | 500KB to 2MB (already lossy) |
| After compression | Can drop 40 to 70 percent, lossless | Further lossy compression degrades quality |
| Suitable for AR overlays | Yes, preferred format | No, visible background on overlay |
| Works in Lens Studio and Spark AR | Full support, widely expected | Accepted but background is always visible |
Getting Your Compressed PNG Into a Real AR Builder
Once you have a transparent, compressed PNG in hand, importing it into most AR platforms takes about two minutes. The sequence below works across both Lens Studio and Spark AR without modification:
- Open your AR project and locate the assets or resources panel on the left or bottom of the interface.
- Drag and drop your PNG file directly into the assets panel, or use the import button to browse to the file.
- After import, check the preview thumbnail. A checkerboard pattern behind the product confirms the transparency layer is intact.
- Create a plane object or image object in your scene and assign the imported PNG as its texture.
- Scale and position the image so it aligns with your chosen AR anchor, whether that is a face tracker, a surface plane, or a target image marker.
- Run the platform’s live preview or simulator before publishing to check that edges look clean against a real background.
If the preview thumbnail shows a solid background instead of the checkerboard, the transparency did not survive. Go back and confirm the file is genuinely a PNG. Some phones save photos with a .png extension while encoding them as JPGs internally. Open the file in any metadata viewer and check the actual format before re-uploading.
Mistakes That Quietly Ruin the Final Effect
Most AR product overlay problems trace back to the source image. Catching them before you invest time building inside a platform saves a lot of frustration. Check your prepared PNG for these issues before import:
- A faint white or colored fringe along the product edge, left by an imprecise background cut
- Shadows or reflections partially removed, making the product look artificially sterile in a way that reads as fake
- File dimensions too large for the platform’s asset limits, forcing runtime downsampling that visibly reduces sharpness
- Compression artifacts along high-contrast edges, especially visible on curved products like bottles or lenses
- Transparent holes in areas that should be solid, like a hollow interior the tool mistakenly treated as background
The fringe issue is the most common and the most damaging. When a removal tool cuts close to an edge but not perfectly, a thin ring of the old background color remains. Against a real-world scene in an AR filter, that ring is immediately visible. The fix is to contract the selection mask slightly before downloading your result. Most browser removal tools include a refinement or feathering control for exactly this purpose.
The Asset Underneath Every Polished AR Demo
AR builders spend most of their attention on the interactive layer. The tracking logic, the animation triggers, the transitions. All of that effort lands on the image at the center of the experience. A poorly prepared product photo undermines every other decision in the build. A clean, compressed, transparent PNG takes ten minutes to produce using free browser tools, and it is the single step that separates a filter that looks professional from one that looks thrown together.
The tools are there. The process is repeatable. And nothing about it requires a design background, a paid subscription, or a contractor. Get the asset right first, then build the experience around it. Everything else in Lens Studio or Spark AR will be a lot easier when the foundation is solid.