
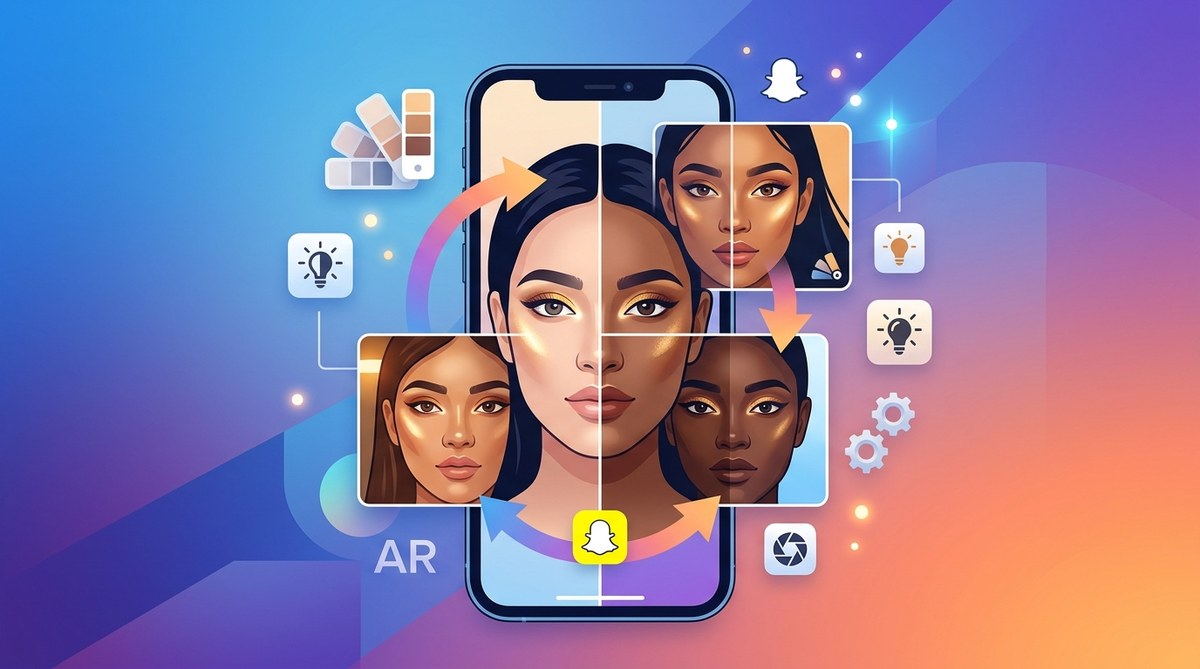
A Snapchat filter that looks flawless on one person can look completely washed out on another. You have probably seen it happen. A friend with a deeper skin tone tries a popular lens, and the effect either disappears against their face or turns them into a ghost. That is not a bad user experience. It is a design failure. And in 2026, with a global audience expecting representation, it is a failure you cannot afford.
The good news is that Snapchat Lens Studio gives you the tools to fix this. You just need to know where to look and how to use them. This guide walks you through the exact process of building a Snapchat Lens that adapts to different skin tones and lighting conditions. No guesswork. No frustrating test rounds that leave you wondering why the effect broke. Just a clear path to inclusive AR design.
Building an adaptive Snapchat Lens requires three core steps: choosing the right color space in Lens Studio, using dynamic skin detection to adjust filter intensity, and testing across multiple lighting environments. This guide provides a repeatable workflow that ensures your AR effects look great on every user, regardless of their skin tone or the room they are standing in.
Why Most Snapchat Filters Fail on Darker Skin
The problem is not malice. It is a lack of testing. Many creators design their lenses using only their own face or the faces of people with similar skin tones. They test in perfect lighting. The result is a filter that only works in those narrow conditions.
Here is what typically goes wrong:
- Color clipping in dark tones. When you apply a bright overlay or a strong color grade, the effect can crush the shadow details on deeper skin. The face loses its natural contours.
- Contrast falloff in bright light. A filter that looks subtle indoors can become invisible in direct sunlight. The opposite can also happen. A subtle effect can become harsh and unflattering.
- Hardcoded color values. If your lens applies a fixed pink blush or a blue highlight, it will look different on every skin tone. On lighter skin, it might look natural. On darker skin, it might look ashy or muddy.
These are not problems with the platform. They are problems with the design approach. And they are fixable.
The Core Techniques for Adaptive Design
You need to move away from fixed values and toward dynamic adjustments. Snapchat Lens Studio provides several systems that let your lens react to the person wearing it. Here are the three most important ones.
1. Use HSL and Luminance Instead of RGB
RGB (Red, Green, Blue) is the default color model in most design tools. But RGB does not care about human perception. It just mixes light. HSL (Hue, Saturation, Lightness) is much better for skin tone work because it separates the color information from the brightness.
When you adjust a filter using HSL, you can modify the saturation of a color without affecting how light or dark it looks. This is critical. It means you can add a warm tone to a face without washing out a deeper complexion.
In Lens Studio, look for the Color Correction component. Use the HSL sliders to target specific color ranges. For example, if you want to add a healthy glow, increase the saturation of the red and orange ranges slightly, but leave the luminance channel alone. This adds warmth without changing the perceived depth of the skin.
2. Use the Skin Segmentation Mask
Lens Studio includes a powerful Skin Segmentation feature. This creates a mask that isolates the skin areas on a face. You can then apply effects only to the skin, leaving the eyes, hair, and background untouched.
The real power comes when you use this mask to control effect intensity. Instead of applying a full-strength color overlay, use the skin mask as a multiplier. The effect will be stronger on lighter areas of the skin and weaker on darker areas. This creates a natural, blended result that adapts to the individual.
To set this up:
- Add a Skin Segmentation component to your project.
- Connect it to the Alpha input of your color overlay or texture.
- Adjust the Threshold and Blur settings until the mask covers the skin smoothly without hard edges.
This technique is the foundation of almost every inclusive lens on the market today.
3. Use Lighting Compensation with the Environment Lighting Component
Lighting conditions change everything. A lens that works in a softly lit bedroom can look terrible in a fluorescent office or under a streetlamp at night. The Environment Lighting component in Lens Studio helps you compensate for this.
This component reads the ambient light level from the camera feed. You can use its output to adjust the brightness or contrast of your effect in real time. If the environment is very bright, the effect can dial back its intensity. If the environment is dim, the effect can boost its presence.
Combine this with your skin segmentation mask, and you have a lens that automatically adjusts to both the person and the room.
Step-by-Step Workflow for an Adaptive Lens
Let us put these techniques together. This workflow will give you a repeatable process for any lens you build.
-
Start with a neutral base. Do not add any effects yet. Open Lens Studio and load a face reference model. Use the default camera test pattern to see how the face tracking behaves.
-
Add the Skin Segmentation component. Drag it into your project. Set the blur to around 10 to 15 pixels. This softens the mask so it does not create harsh edges around the jawline or nose.
-
Create your visual effect. This could be a color grade, a texture overlay, a virtual makeup layer, or a glow. Use HSL adjustments rather than direct RGB color fills. Keep your saturation values moderate. Extreme saturation will clip on darker skin.
-
Connect the skin mask to your effect. Use the mask output to control the opacity or blending of your visual effect. This ensures the effect only applies to the skin and adapts to the skin tone underneath.
-
Add the Environment Lighting component. Connect its brightness output to a multiplier node. Then connect that multiplier to the intensity of your effect. Now your effect responds to the room.
-
Test on multiple faces. This is the most important step. Use the Preview panel and switch between the available face models. Snapchat provides a diverse set of test faces. If you do not see enough variety, upload your own reference images.
-
Test in multiple lighting conditions. Point your test camera at a bright window, a dim corner, and a mixed lighting setup. Watch how the effect behaves. Adjust the Environment Lighting thresholds until the effect stays balanced.
Common Mistakes and How to Fix Them
Even experienced creators slip up sometimes. Here is a table of the most common mistakes and their fixes.
| Mistake | What happens | How to fix it |
|---|---|---|
| Using pure white or pure black overlays | Creates harsh contrast that looks unnatural on deeper skin tones. | Shift white to a warm cream and black to a deep brown. Use HSL to keep the lightness change subtle. |
| Forgetting to blur the skin mask | Hard edges around the face make the effect look like a sticker instead of a natural enhancement. | Increase the blur on the skin segmentation mask to at least 10 pixels. |
| Ignoring the environment lighting | The lens looks great indoors but washes out in sunlight or becomes invisible at night. | Add the Environment Lighting component and connect it to the effect intensity. |
| Testing only on one face model | The lens works for you but fails for everyone else. | Test on all available face models in Lens Studio. If possible, recruit friends with different skin tones to test the live lens. |
| Using fixed color values for blush or highlight | The same color looks different on every skin tone, often turning muddy or ashy. | Use the skin segmentation mask to tint the overlay based on the underlying skin color. |
“The best AR effects are the ones you do not notice are doing work. If a user has to adjust their phone or move to a different room to make your lens look good, you have already lost them. Design for the extremes, and the middle will take care of itself.”
This advice comes from a lead AR designer who has shipped lenses for major beauty campaigns.
Testing Your Lens in the Real World
Lens Studio’s preview is useful, but it cannot replace real world testing. Here is a checklist to run through before you submit your lens.
- Test the lens on at least three people with visibly different skin tones.
- Test in three lighting environments: bright indirect light, dim warm light, and mixed fluorescent light.
- Record a short video of each test. Watch the playback at normal speed. Look for moments where the effect flickers, clips, or disappears.
- Ask each tester to describe how the lens makes them feel. If they say it looks “off” or “weird,” dig into why. Their feedback is gold.
If you find an issue, go back to your Skin Segmentation and Environment Lighting settings. Those two components solve 90 percent of adaptation problems.
Building a Portfolio of Inclusive Work
Once you have mastered adaptive design, you can apply the same principles to any lens. A virtual makeup lens for a beauty brand. A color grading lens for a music festival. A glow effect for a wellness campaign. The techniques stay the same.
Your ability to build inclusive AR effects is not just a technical skill. It is a competitive advantage. Brands are actively looking for creators who understand this. If you can show a portfolio of lenses that work across skin tones and lighting conditions, you will stand out.
If you are just getting started with Lens Studio, check out our guide on how to make your first Snapchat lens in under 30 minutes. It covers the basics of setting up a project and publishing your first effect. For those ready to go deeper, our article on 7 face tracking effects that will make your Snapchat lenses go viral gives you creative ideas to pair with your adaptive techniques.
Wrapping Up Your Adaptive Lens Workflow
Building a Snapchat Lens that adapts to different skin tones and lighting conditions is not about writing complex code. It is about understanding the tools already inside Lens Studio. Skin Segmentation gives you a precise mask. HSL adjustments give you color control without brightness distortion. Environment Lighting gives you real time compensation for the room.
Combine these three, and you have a lens that works for everyone. That is the goal. Not a lens that works for one person in one room, but a lens that works for a thousand people in a thousand different spaces.
Now go open Lens Studio and build something that makes every user feel seen. The tools are ready. Your audience is waiting.