You want to create Instagram filters in Meta Spark Studio that people actually share. But there is a big difference between a filter that gets a few hundred uses and one that racks up millions. We sat down with three AR creators who have built effects for major brands like Nike, Sephora, and even that viral dog filter you saw last summer. They shared the exact workflows, shortcuts, and design principles they use every day. No fluff. Just the real process.
Top AR creators do not start with code. They build a strong concept, design assets in 2D tools, and use Meta Spark Studio’s patch editor to add interactivity. The secret to viral filters is testing on multiple devices early, optimizing texture sizes for 4G connections, and watching Instagram’s review guidelines like a hawk. Follow their pipeline and you can skip months of trial and error.
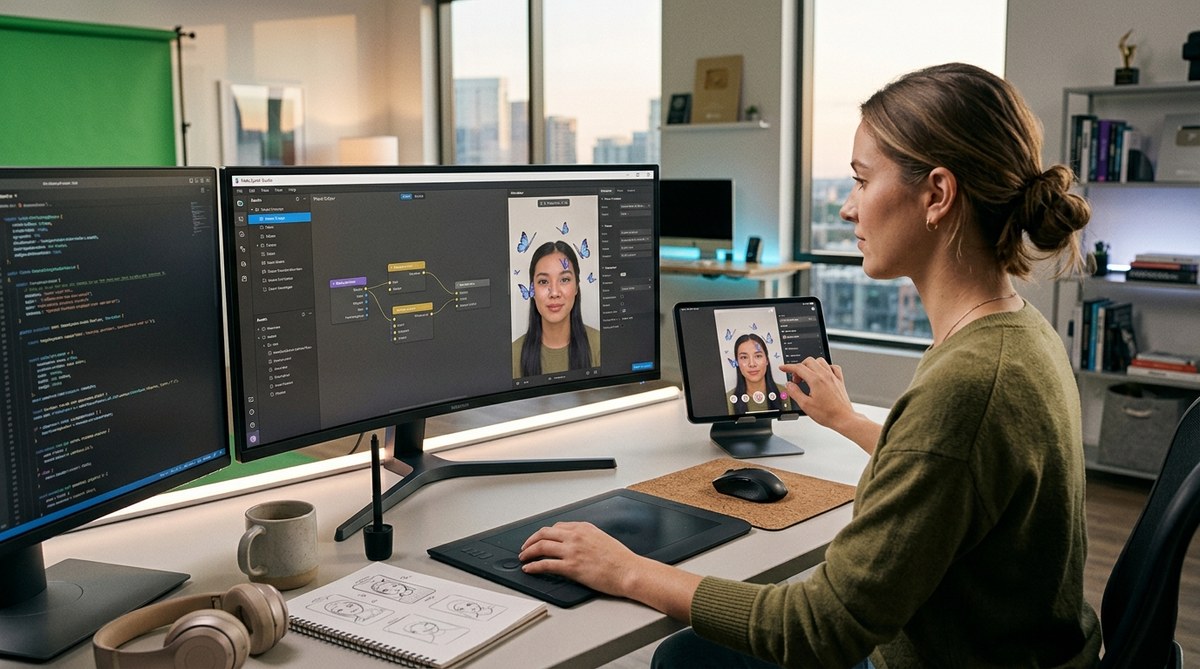
What Top Creators Do Differently in Meta Spark Studio
Most beginners open Meta Spark Studio and jump straight into the 3D scene. Pros do the opposite. They spend 70 percent of their time planning and prototyping outside the tool. They sketch the user experience on paper first. They ask: What emotion do I want the viewer to feel? Is the interaction a tap, a head tilt, or a mouth open? They build a single core interaction rather than a chaotic pile of effects.
Top creators also treat face tracking as a canvas, not a constraint. Instead of fighting the face mesh, they design assets that complement facial features. For instance, a beauty filter that subtly contours cheekbones using face tracking points. A game effect that triggers confetti when you raise your eyebrows. They master the face mesh and head anchor before adding any 3D objects.
Another differentiator is performance obsession. A filter that lags on a two year old iPhone will never go viral. Pros keep texture sizes under 1024×1024, avoid overlapping transparent layers, and use Meta Spark Studio’s performance analyzer to stay under 80 percent GPU usage. They test on low end Android devices, not just the latest flagship.
The 5-Step Pipeline Pro Creators Use to Build Filters Fast
Here is the exact workflow that three creators we interviewed follow for every filter. It is repeatable and you can start using it today.
-
Concept and Sketch
Define the one core action. Is it a face paint, a world effect, or an interactive game? Write a one sentence summary. Then sketch three frames of the user flow on paper or in Figma. This step takes 30 minutes and saves you five hours of rework. -
Design Assets in Photoshop or Illustrator
Export all PNG textures at 512×512. Use non destructive layers. Keep a master PSD file with every element separated. This makes it trivial to swap colors or resize later. Pro tip: Use vector shapes for anything that needs to scale cleanly on different face sizes. -
Build the Scene in Meta Spark Studio
Start with a blank project. Add the head anchor and face mesh. Drop in your first PNG. Connect it to the face texture or face mesh via the patch editor. Test immediately. Do not add a second element until the first one works perfectly. -
Add Interactivity with Patches
Use the Patch Editor to wire up tap gestures, mouth opening triggers, or timeline animations. Top creators keep the patch network clean by grouping related patches into sub patches. They label every patch so they can debug later. For example, a “blink trigger” group that resets an animation. -
Test on Real Devices and Optimize
Export a test link and send it to friends with different phones. Record screen captures and watch for dropped frames. Open the Performance Monitor in Meta Spark Studio. Reduce texture sizes if needed. Remove any patch that is not used. Only then do you submit for review.
Common Mistakes That Sabotage Your Filter’s Performance
During our research, we saw the same issues pop up again and again. Here is a table that breaks down the five most common mistakes, what they cause, and how to fix them.
| Mistake | Consequence | Fix |
|---|---|---|
| Using a 2048×2048 texture | Lag on older phones, high GPU load | Resize all textures to 512×512 or 1024×1024 max |
| Overloading the face mesh with 20 elements | Distorted face tracking, overlap glitches | Limit to 3-5 elements per effect; use layers sparingly |
| Forgetting to test in low light | Filter is invisible or jittery in dark settings | Test with a dimmed phone screen; add ambient light simulation |
| Ignoring Instagram’s review guidelines | Rejected submission, wasted time | Read the How to Publish Your First Instagram Filter and Get It Approved Fast guide |
| Not optimizing patch editor logic | Patches that run every frame even when idle | Use signal listeners and idle state patches to pause logic |
Expert Advice from AR Designers Who Have Been There
We asked Jenna, a creator whose filter reached 3 million uses in 2025, for her number one tip.
“Stop treating Meta Spark Studio like a 3D modeling tool. It is a real time experience builder. The best filters are simple. One trigger, one reaction. I see beginners try to cram a mini game, a face mask, and a color filter into one effect. That never works. Pick one magic moment and polish it until it feels butter smooth. Test that moment on five different faces. Then ship it.”
Jenna also shared her favorite hidden feature: the “Timer Patch”. She uses it to delay an animation so the user has time to open their mouth before the confetti fires. That tiny delay makes the effect feel responsive rather than jarring.
Another creator, Marcus, who builds AR campaigns for beauty brands, emphasized the importance of the “Face Rectangle” transform. He said most new users place 3D objects relative to the world instead of the face. That causes objects to float away when the user turns their head. Always parent your objects to the face anchor.
Tools and Assets That Speed Up Your Workflow
You do not need to build everything from scratch. Here are the tools and resources top creators rely on:
- Canva or Figma: For mocking up filter UI and exporting transparent PNGs. Both are free and let you collaborate with clients.
- Blender (free): For creating 3D objects like glasses or hats, then importing as FBX. Export with a low polygon count.
- TexturePacker: Combines multiple PNGs into a single sprite sheet to reduce draw calls.
- Meta Spark Hub: A community library of free patches and assets. Filters that use shared patches get approved faster sometimes because they are known to be stable.
- Real device cloud services: Use BrowserStack or AWS Device Farm to test on 20 device models without buying them all.
- Templates: Start with a pre built template from 10 Free Meta Spark Templates That Make You Look Like a Pro AR Designer to skip the boring setup.
How to Turn Your Filter into a Viral Favorite
Technical execution matters, but so does strategy. Filters go viral when they solve a social need: self expression, entertainment, or a challenge. Look at the top filters of 2026 so far. They are not just pretty. They are interactive. A filter that asks “What kind of pet are you?” and changes based on your head tilt gets shared because people want to compare results.
Use the analytics inside Meta Spark Studio to see which faces trigger the most interaction. Maybe left eyebrow raises are more popular than right ones. Tweak accordingly. Also, give your filter a shareable name and a compelling icon. The icon is the first thing people see in the Instagram effect tray. Make it recognizable at a tiny scale.
If you want to go deeper, read What Makes an Instagram Filter Go Viral in 2026 or consider Monetizing Instagram Filters: Turn Your AR Effects Into Client Projects. Both posts break down the business side.
Your First Step Toward Building Filters Like a Pro
The gap between an average filter and a top tier filter is not talent. It is process. Follow the five step pipeline. Avoid the mistakes in the table. Use the tools listed above. And always test, test, test. Your first few filters might not reach millions, but each one teaches you something. Keep iterating. Within a few months, you will build filters that feel effortless to users because you put the hard work into the background.
Now go open Meta Spark Studio and start with a single patch and a single texture. That is all it takes to begin.