
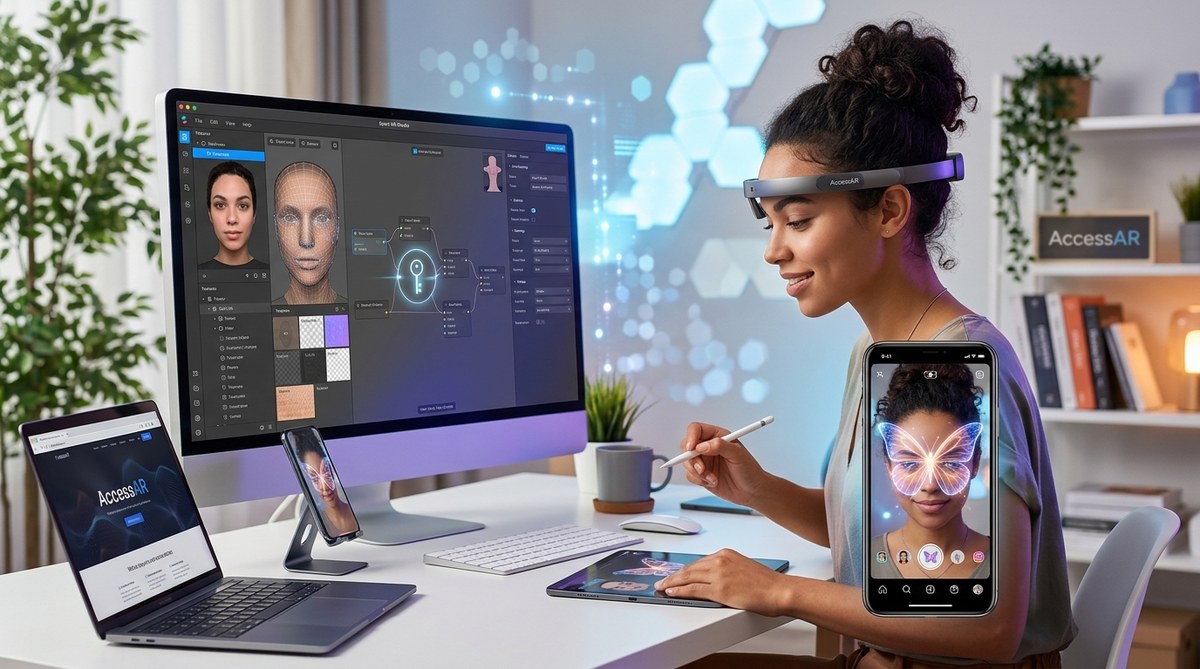
You already know how to build a basic Instagram filter. You can add a color grade, slap on a face mask, and publish it to the effect gallery. But something feels off. The filter looks like a sticker you glued on top of a photo. It does not feel like it belongs inside the Instagram app.
That gap between amateur and native is not about coding ability. It is about design philosophy. The best filters on Instagram do not fight the interface. They blend with it. They respect the camera, the lighting, and the user’s face. They feel like they were built by the Meta team themselves.
Let’s break down the exact techniques you need to close that gap.
Building Instagram filters that feel native comes down to three pillars: matching Instagram’s UI design system, optimizing performance for smooth 60 FPS playback, and using subtle face tracking that adapts to real-world lighting. When you master these, your filters stop looking like third-party overlays and start feeling like a natural part of the camera experience. Users will not think about the filter they will just enjoy the moment.
Why Most Filters Look Like Stickers
The biggest mistake new creators make is designing in a vacuum. You build a gorgeous effect in Meta Spark Studio on a 27-inch monitor, but you never test it on an iPhone 12 in a dimly lit coffee shop. When the filter hits a real face with shadows, it breaks. The tracking lags. The colors clip. The user swipes away in under a second.
Native-feeling filters share a common DNA. They are:
- Responsive to lighting changes. The effect does not disappear when someone walks into shade.
- Subtle with face deformation. The face mesh moves naturally, not like a rubber mask.
- Performance-optimized. They load instantly and run at 60 frames per second without overheating the phone.
- Visually consistent with Instagram’s UI. The font, the icons, the color palette all match the app’s design language.
If your filter fails any of these checks, it will feel like a third-party add-on. Let’s fix each one.
The 3-Step Process to Build Native Instagram Filters
1. Match Instagram’s Design System
Instagram uses a specific visual language. The fonts are clean and sans-serif. The icons are rounded and minimal. The colors are muted with occasional pops of the signature purple-to-orange gradient.
When you design a filter, study the native Instagram camera interface. Look at the buttons. Look at the text overlays. Look at how Instagram handles the shutter button and the gallery preview. Your filter should sit on top of that interface, not clash with it.
Here is a practical checklist:
- Use a neutral color palette that works on both light and dark backgrounds.
- Avoid thick borders or heavy drop shadows unless the filter is meant to be a frame.
- Keep text overlays in the top or bottom thirds, away from the center face area.
- Match Instagram’s rounded corner radius if you add any UI elements.
A filter that ignores these rules feels like it was imported from a different app. A filter that follows them feels like it shipped with the last update.
2. Optimize for Real-World Lighting
Your filter will be used in every possible lighting condition. Bright sunlight. Fluorescent office lights. Dim bedrooms. Club lighting with strobes.
Most beginner filters only look good in the perfect lighting of the Spark Studio simulator. To make your filter feel native, you need to test it in bad lighting.
Use the built-in lighting simulator in Meta Spark Studio. Toggle between “studio”, “sunset”, “night”, and “fluorescent” presets. If your filter breaks in any of these, adjust your exposure values and color correction settings.
A simple trick is to set your exposure slider to a middle value that works across all lighting types. Avoid clipping the highlights or crushing the blacks. If your filter adds a color tint, keep the tint intensity low enough that it does not completely override the camera’s white balance.
3. Prioritize Performance Above Everything
Nothing kills a native feel faster than lag. When a user opens your filter and the camera feed stutters, they immediately know something is wrong. The magic of AR disappears.
To keep your filter running smoothly:
- Limit the number of 3D objects in your scene.
- Use low-resolution textures where possible.
- Avoid complex scripts that run every frame.
- Disable unnecessary face tracking features if your filter does not need them.
Meta Spark Studio has a performance monitor. Watch it while you test. Your filter should stay at 60 FPS on a three-year-old iPhone. If it dips below 45 FPS, simplify.
Common Mistakes That Break the Native Illusion
| Mistake | Why It Hurts | The Fix |
|---|---|---|
| Heavy face mesh distortions | Faces look warped and unnatural | Use subtle mesh adjustments; keep landmarks visible |
| High-contrast overlays | Clips in bright or dark scenes | Reduce contrast and test in multiple lighting presets |
| Large texture files | Increases load time and memory usage | Compress images to 512×512 or smaller |
| Ignoring safe zones | Text or icons get cut off on different phone screens | Keep all UI elements inside the center 80% of the canvas |
| No tap interaction | Users expect some interactivity from native filters | Add a simple tap-to-change-color or tap-to-animate feature |
The Hidden Power of Subtle Animation
Native Instagram filters move. They are not static overlays. Even the simplest official filters from Meta have micro-animations that respond to the user’s face.
You do not need to build a complex game. A gentle pulsing glow on the cheekbones or a soft particle effect that follows the user’s head movement is enough. These small movements signal to the brain that the filter is alive and responsive.
In Meta Spark Studio, use the “face follow” behavior for your animations. This ties the effect to the user’s face position so it moves naturally when they tilt their head. If the animation stays locked to the screen while the face moves, the illusion breaks.
“The best AR effects are the ones you forget are there. If a user has to think about the filter, you have already lost them.” — AR designer at a major beauty brand
How to Test Like a Native App QA Team
Before you publish, run your filter through this gauntlet:
- The one-second test. Open the filter, look at the camera feed, and ask yourself: does this feel right in one second? If not, go back.
- The low-battery test. Use an older phone with less than 20% battery. Does the filter still run smoothly?
- The bad-hair-day test. Use the filter when you look tired, have no makeup, and the room is messy. Does it still look flattering?
- The portrait-vs-landscape test. Does the filter work in both orientations? Many filters break when the user rotates their phone.
If you pass all four, you are ready to publish. If you fail any, you have more work to do.
For more detail on the publishing process, check out our guide on how to publish your first Instagram filter and get it approved fast.
Your Native Filter Launch Plan
Here is a numbered checklist to follow for your next filter project.
- Design your filter assets in a 1:1 canvas ratio (9:16 for Stories, 1:1 for feed posts). Keep all key elements inside the safe zone.
- Import your assets into Meta Spark Studio and set up face tracking with a subtle mesh.
- Add one micro-animation tied to face follow behavior.
- Optimize all textures to under 1 MB each.
- Test in all four lighting presets and adjust exposure.
- Run the one-second test and the low-battery test.
- Publish and monitor your analytics in the first 48 hours.
If your impressions are low after launch, read our post on instagram filter analytics decoded: what your impressions really mean.
Making the Shift from Amateur to Native
The difference between a filter that gets used once and a filter that gets saved and shared is not complexity. It is subtlety. It is the feeling that the filter was always part of the app.
When you build your next Instagram filter, stop thinking like a designer adding effects. Start thinking like a product manager shipping a feature. Your filter is not a decoration. It is a tool that helps people express themselves. Treat it with that level of care.
Start with one of the 7 viral Instagram AR filter ideas you can build this weekend and apply these native design principles from the first click. Your audience will notice the difference even if they cannot name it.