Creating eye-catching AR filters is both an art and a science. While many creators stick to the basics, tapping into hidden AR filter features can take your designs to the next level. These features often remain under the radar but can make a significant difference in your workflow and output quality. Understanding and utilizing them can help you craft more dynamic, interactive, and shareable filters with less effort and more creativity.
Discover hidden AR filter features that can streamline your creation process, add interactivity, and elevate your filter designs. Mastering these tips helps you craft more engaging effects faster and more efficiently.
Uncovering the Power of Hidden AR Filter Features
Many AR content creators focus on the visible aspects of filter creation—like 3D objects, face tracking, or visual effects. Yet, the true magic often lies in the less obvious features that can dramatically enhance your workflow and the quality of your filters. These hidden features can help you automate tasks, add advanced interactivity, and troubleshoot more effectively.
Let’s explore some of these features that can truly transform how you build and refine AR filters.
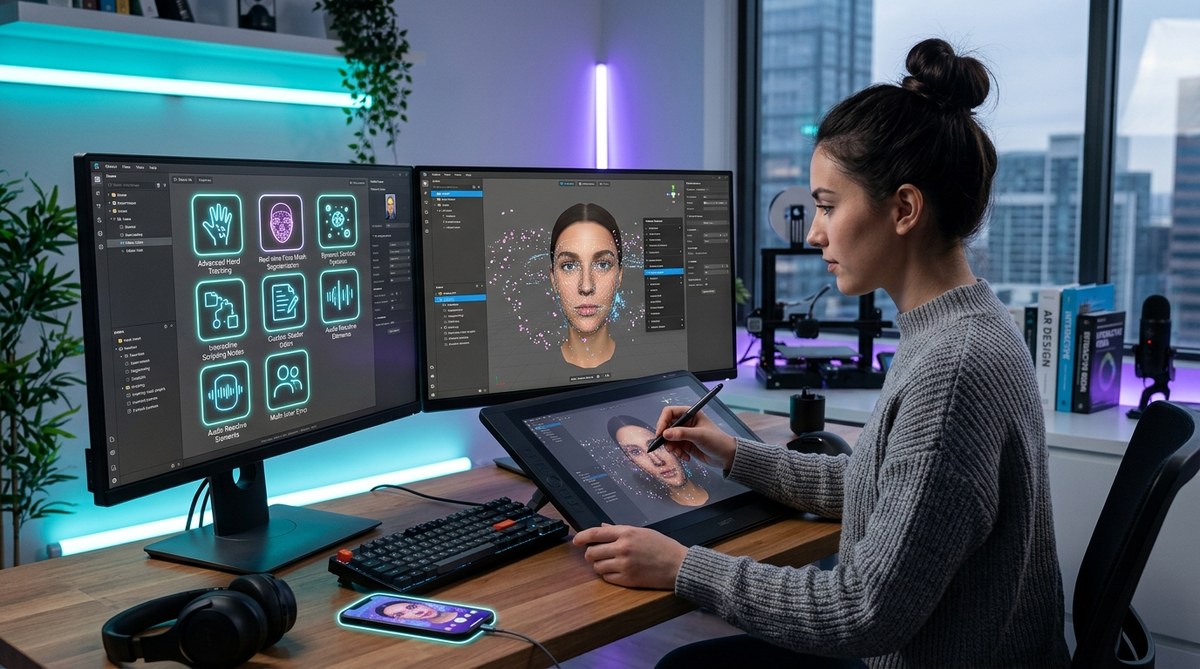
1. Advanced Face Tracking and Expression Triggers
One of the most powerful hidden features is the ability to set up complex face tracking and expression triggers. While basic face filters respond to simple movements, advanced triggers allow you to create effects that react to specific expressions or gestures.
For example, you can set a filter to change when the user smiles or raises their eyebrows. This opens doors for creating interactive experiences like virtual makeup that applies only when the user pouts or playful filters that activate with a wink.
How to use this feature:
- In platforms like Effect House or Lens Studio, locate the face tracking or expression detection module.
- Define specific triggers based on facial landmarks or expressions.
- Link these triggers to visual changes or animations.
Tip: Use the expression triggers to create surprises or humor that encourage sharing. For instance, a filter that reacts when the user sticks out their tongue can become viral.
2. Layered Effects for Seamless Transitions
Layering multiple effects is often overlooked but extremely useful. By stacking effects with different activation conditions, you can craft seamless transitions that respond to user interactions.
For example, a filter might start with a simple background change, then transition into a full face makeover when the user performs a specific gesture.
How to leverage this:
- Use the layering capabilities to combine effects.
- Set activation conditions for each layer, such as time, user actions, or facial expressions.
- Fine-tune transitions for smoothness.
Benefit: This technique makes your filters feel more polished and engaging, keeping users interested longer.
3. Custom Scripting for Automation and Interactivity
Many creators shy away from scripting, but simple scripts unlock a wealth of possibilities. Small scripts can automate repetitive tasks, add custom interactions, or even fetch real-time data.
For example, you can script a filter to change colors dynamically based on the time of day or user location.
How to get started:
- Use built-in scripting editors in platforms like Effect House.
- Follow tutorials on creating basic scripts for interactivity.
- Experiment with logic blocks to automate effects.
“Even a minimal understanding of scripting can drastically expand your AR filter capabilities, enabling effects that respond to real-world data or user behavior.”
4. Utilizing Hidden Asset Management Tools
Managing assets efficiently saves time and reduces errors. Many creators overlook built-in asset management tools that allow you to organize, reuse, and link assets across multiple effects.
Features like version control, asset linking, and batch importing help keep your project organized and scalable.
Pro tip: Use naming conventions and folders within your project to quickly locate assets during complex builds.
5. Masking and Clipping Techniques
Masking is an underrated feature that allows you to hide or reveal parts of your effects precisely. When combined with face or body tracking, masking can produce more realistic overlays.
For example, you can mask a hat to fit perfectly on a user’s head or hide unwanted background elements.
Best practices:
- Use shape masks or alpha channels to create clean edges.
- Animate masks for dynamic effects, like blinking or mouth movements.
6. Customizable Presets and Templates
Many platforms offer hidden preset effects or templates that can jumpstart your design process. These saved effects can be modified and combined to create complex filters faster.
By customizing templates, you ensure your filters remain unique while benefiting from proven designs.
How to access and modify:
- Browse the platform’s asset or template library.
- Duplicate a preset to work on it without affecting the original.
- Adjust parameters to match your creative vision.
7. Fine-Tuning with Performance Optimization Features
A hidden but vital aspect is understanding how to optimize your filters for smooth performance. Platforms often include features like level of detail adjustments, frame rate controls, and asset compression.
Using these tools ensures your filters perform well across devices, preventing lag or crashes that can ruin user experience.
Tips:
- Regularly test your filters on different devices.
- Use platform optimization suggestions to improve responsiveness.
- Avoid overloading filters with unnecessary effects or high-poly assets.
Techniques and Pitfalls at a Glance
| Technique | Mistake to Avoid |
|---|---|
| Using expression triggers for interactivity | Overcomplicating triggers that cause lag or unresponsiveness |
| Layering effects without proper activation control | Creating cluttered effects that feel inconsistent |
| Scripting for automation | Relying on complex scripts that slow performance |
| Asset management | Forgetting to organize assets, leading to confusion |
| Masking for realism | Using poor quality masks that create jagged edges |
| Custom templates | Copying effects without customizing, risking unoriginal results |
| Performance optimization | Ignoring device testing, leading to slow or crashing filters |
Expert Advice on Creating Stunning AR Filters
“The secret to impactful AR filters isn’t just in the visual design but in how you leverage hidden features to add interactivity and polish. Small scripting tweaks, thoughtful layering, and precise masking can make a filter stand out in crowded feeds.” — AR design expert
Applying Hidden Features to Your Workflow
- Start with a clear plan. Identify what interactions or effects will make your filter engaging.
- Use expression triggers to add reactive elements that surprise users.
- Combine layered effects for smooth, dynamic transformations.
- Incorporate scripting to automate repetitive tasks or connect to external data.
- Organize assets carefully to streamline your editing process.
- Use masking to refine visuals and make overlays look natural.
- Regularly test your filter on multiple devices to ensure performance stays high.
Your Next Step Towards Better AR Filters
Many of these hidden features are accessible via the same platforms you already use like Effect House or Lens Studio. Learning to unlock and apply them unlocks a new level of creativity. Don’t be afraid to experiment with scripting, layering, or masking—these small adjustments can have a big impact on your final product.
By incorporating these lesser-known tools into your workflow, you’ll craft filters that are more interactive, visually appealing, and easier to produce. Their power lies in their subtlety. Once mastered, they can help you develop filters that stand out and go viral.
Unlocking Growth Through Smarter AR Filter Techniques
Keep pushing the boundaries of your creations. Use hidden features not just to save time but to craft filters that truly resonate with your audience. The more you explore, the more innovative effects you’ll develop. Your users will notice the difference, and your skills will grow in tandem.
Warm up your creative engine, try out these features in your next project, and see how they can turn simple effects into compelling experiences. Happy creating!