
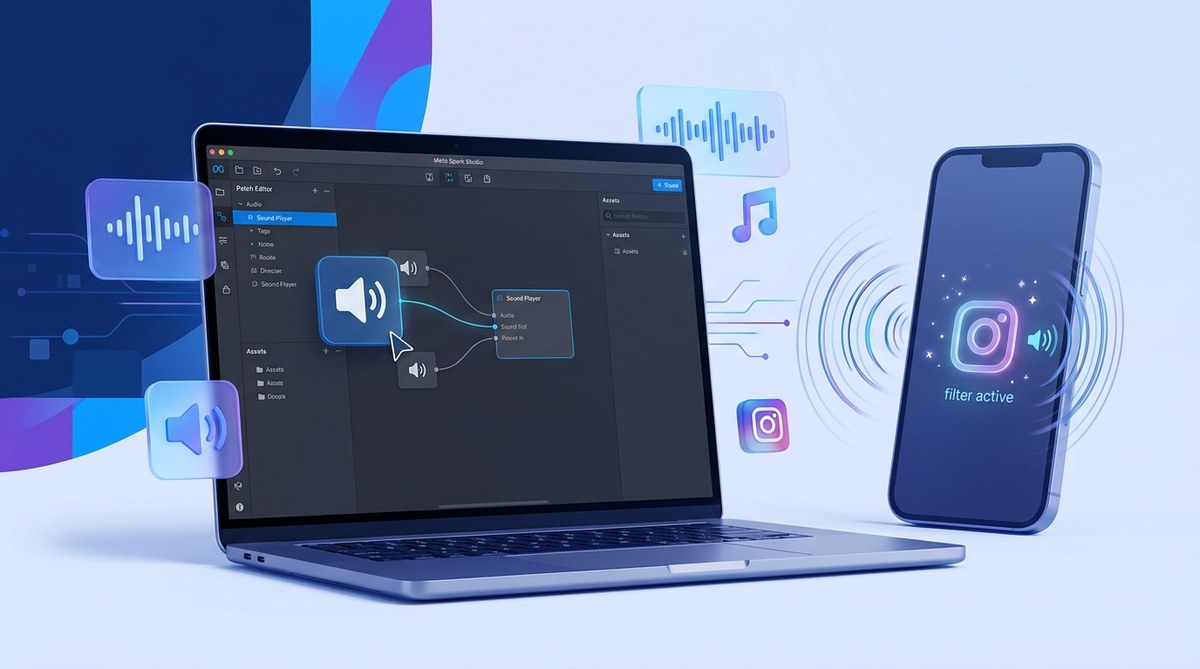
Adding audio to your Instagram filter changes everything. A silent AR effect can look polished, but one with the right sound feels alive. It makes people stop scrolling. It makes them tap “Try It.” And when the audio hits just right, it makes them share your filter with their friends.
I have seen creators spend hours perfecting a visual effect, only to launch it without any audio. The result? Flat engagement. Sound is the secret ingredient that turns a good filter into a viral one. Whether you want a subtle whoosh when someone opens their mouth or a full song that plays on loop, Meta Spark Studio gives you the tools to make it happen.
Let me show you exactly how to add sound to your Instagram filter in Meta Spark Studio. I will walk you through every step, from choosing the right file format to syncing audio with face movements.
You can add sound to any Instagram filter in Meta Spark Studio by importing an audio file into the Assets panel, dragging it onto the Scene, and connecting it to a trigger like a face gesture or tap. Audio files must be in M4A or WAV format and kept under 30 seconds. Looping is optional, and you can control volume with a simple patch in the Patch Editor.
Why Sound Matters for Instagram Filters
Instagram users scroll through dozens of filters every day. Most of them are silent. When your filter plays a sound, it breaks through the noise.
Think about the last time you saw a filter that played music when you raised your eyebrows. You probably tried it yourself. That is the power of audio. It creates a moment of surprise. It encourages interaction. And it makes the filter feel more like a mini experience than just a sticker overlay.
Sound also helps with discoverability. Filters that get used more often appear higher in the Instagram effect gallery. If your audio makes people laugh or react, they will use your filter again and again.
What You Need Before You Start
Before you open Meta Spark Studio, gather these things:
- An audio file in M4A or WAV format. Keep it under 30 seconds. Instagram has a hard limit on audio length for effects.
- Meta Spark Studio installed on your computer. Download it from the official Meta Spark website if you have not already.
- A basic filter project already open. You can start from a template or a blank project.
- Your Meta Spark account linked to your Instagram business or creator account. You need this to publish the filter later.
If you are brand new to Meta Spark Studio, check out our guide on Master Meta Spark Studio: Create Stunning Shareable Instagram Effects Without Coding before jumping into audio.
Step by Step: How to Add Sound to Your Instagram Filter
Follow these steps exactly. I have tested this workflow on Meta Spark Studio version 190 and it works every time.
1. Prepare Your Audio File
Open your audio editing software. Audacity works great and it is free. Trim your audio clip so it is under 30 seconds. Export it as an M4A file with AAC encoding. WAV files also work but they are larger and may slow down your filter.
Name your file something simple like “background_music.m4a.” Avoid special characters or spaces in the filename.
2. Import the Audio Into Your Project
Open your filter project in Meta Spark Studio. Look at the bottom of the screen for the Assets panel. If you do not see it, go to View and select Show Assets.
Click the plus icon in the Assets panel. Choose Import From Computer. Select your audio file. Meta Spark Studio will process it and show it in the Assets list.
3. Add the Audio to Your Scene
Drag the audio file from the Assets panel onto the Scene panel. You will see it appear as an Audio Clip object. Click on it to select it.
In the Inspector panel on the right, you will see options for the audio clip. Here you can set:
- Looping. Turn this on if you want the sound to repeat. Great for background music.
- Auto Play. Turn this on if you want the sound to start as soon as someone opens the filter.
- Volume. Set this between 0.0 and 1.0. Start at 0.5 and adjust later.
4. Connect Audio to a Trigger
Most filters do not play sound automatically. You usually want the audio to start when someone does something, like opening their mouth or tapping the screen.
To do this, you need the Patch Editor.
Click on the Audio Clip in the Scene panel. In the Inspector panel, find the Patch Editor button and click it. This opens the visual scripting interface.
You will see a blue node labeled “Audio Clip” with an output called “Play.” You need to connect this to a trigger.
For example, to play the sound when someone taps the screen:
- Right click in the Patch Editor and search for “Tap Gesture.”
- Add the Tap Gesture patch.
- Connect the “Trigger” output from Tap Gesture to the “Play” input on your Audio Clip node.
Now your sound will play every time someone taps the screen while using your filter.
5. Sync Audio With Face Movements
This is where things get fun. You can make sound react to specific facial expressions.
Add a “Face Gesture” patch to your Patch Editor. Choose a gesture like “Mouth Open” or “Brow Raise.” Connect the output of that gesture to the “Play” input of your Audio Clip.
When someone opens their mouth, the sound plays. When they close it, the sound stops if you set it to not loop.
For a deeper look at face tracking, read our guide on Face Tracking vs World Effects: Choosing the Right Instagram AR Format.
6. Test Your Audio
Click the Play button in Meta Spark Studio to test your filter with the webcam. Make sure the audio plays at the right time. Check the volume. If it is too loud or too quiet, go back to the Inspector and adjust the Volume property.
Test on a real phone too. The built in simulator does not always represent real phone audio perfectly.
Common Audio Mistakes and How to Fix Them
I have made every mistake on this list. Save yourself the headache.
| Mistake | Why It Happens | The Fix |
|---|---|---|
| Audio file too long | Instagram limits audio to 30 seconds | Trim your file in Audacity or any audio editor |
| Wrong file format | Meta Spark Studio needs M4A or WAV | Convert your file using a free online converter |
| Audio plays but no sound on phone | Phone is on silent mode | Add a note in your filter description to unmute the phone |
| Audio stutters or lags | File is too large | Use M4A format with lower bitrate (128 kbps works well) |
| Sound never triggers | Patch connections are missing | Double check your Patch Editor connections |
| Audio loops awkwardly | Loop point is not clean | Edit your audio file to have a seamless loop |
Pro tip from a veteran AR creator: Always test your filter on both iOS and Android devices. Audio can behave differently on each platform. I once published a filter that sounded perfect on my iPhone but was barely audible on a Samsung Galaxy. Save yourself that embarrassment.
Audio File Best Practices for Instagram Filters
Follow these rules to keep your filter running smoothly.
- Keep it short. 10 to 15 seconds is the sweet spot. Anything longer and users will get annoyed.
- Use royalty free music. Do not use copyrighted songs. Your filter will get rejected during review. Sites like Pixabay and Freesound have great options.
- Match the mood. A horror filter needs creepy sounds. A beauty filter needs soft, uplifting tones. The audio should reinforce the visual theme.
- Compress your file. Use AAC encoding at 128 kbps. This keeps quality high and file size low.
- Name your assets clearly. When you have multiple audio clips in a project, clear naming saves you from confusion.
For more filter ideas that work well with audio, check out 7 Viral Instagram AR Filter Ideas You Can Build This Weekend.
Advanced Audio Techniques
Once you have the basics down, try these advanced tricks.
Multiple Audio Layers
You can have more than one audio clip in a single filter. Use one for background music and another for sound effects. Just make sure they do not play at the same time unless you want a cacophony.
Use the Patch Editor to control which clip plays based on different triggers. For example, music plays when the filter opens, and a whoosh sound plays when someone blinks.
Volume Control With Face Distance
You can make the audio louder or softer based on how far someone is from the camera. Add a “Face Distance” patch to the Patch Editor. Connect it to the “Volume” input on your Audio Clip. Now the sound gets louder as the face gets closer.
Audio That Changes Over Time
Use a “Time” patch to trigger different audio clips at different moments. This works great for filters that tell a short story or have multiple phases.
Publishing Your Filter With Audio
When you are ready to publish, Meta Spark Studio will run a validation check. It will warn you if your audio file is too long or in the wrong format. Fix any issues before submitting.
During the review process, Meta checks that your audio does not contain copyrighted material. If you used royalty free sounds, you are safe. If you sampled a popular song, your filter will be rejected.
Once approved, your filter will appear on Instagram with the audio included. Users will hear it when they open your effect.
For a full walkthrough of the publishing process, read How to Publish Your First Instagram Filter and Get It Approved Fast.
What to Do If Your Audio Does Not Work
Sometimes things go wrong. Here is a troubleshooting checklist.
- Check your file format. Is it M4A or WAV? If not, convert it.
- Check the length. Is it under 30 seconds? Trim it if needed.
- Check the Patch Editor. Are the connections secure? A loose wire means no sound.
- Check your phone volume. Is it on silent? Ask a friend to test.
- Restart Meta Spark Studio. Sometimes the audio engine just needs a fresh start.
If none of these work, try importing a different audio file to see if the issue is with the file itself.
Your Next Step
Adding sound to your Instagram filter is one of the best ways to boost engagement. It makes your effect stand out in a crowded marketplace. It gives users a reason to try it, share it, and come back to it.
Start with a simple audio clip. Attach it to a tap gesture. Test it on your phone. Then experiment with face triggers and looping.
The more you practice, the more natural it will feel. Before long, you will be building filters that people actually want to use.
If you want to compare Meta Spark Studio with other AR tools, check out Meta Spark Studio vs Lens Studio: Which AR Platform Should You Choose?. And if you run into any roadblocks during publishing, our guide on Why Your Instagram Filter Keeps Getting Rejected and How to Fix It has your back.
Now go make some noise.