
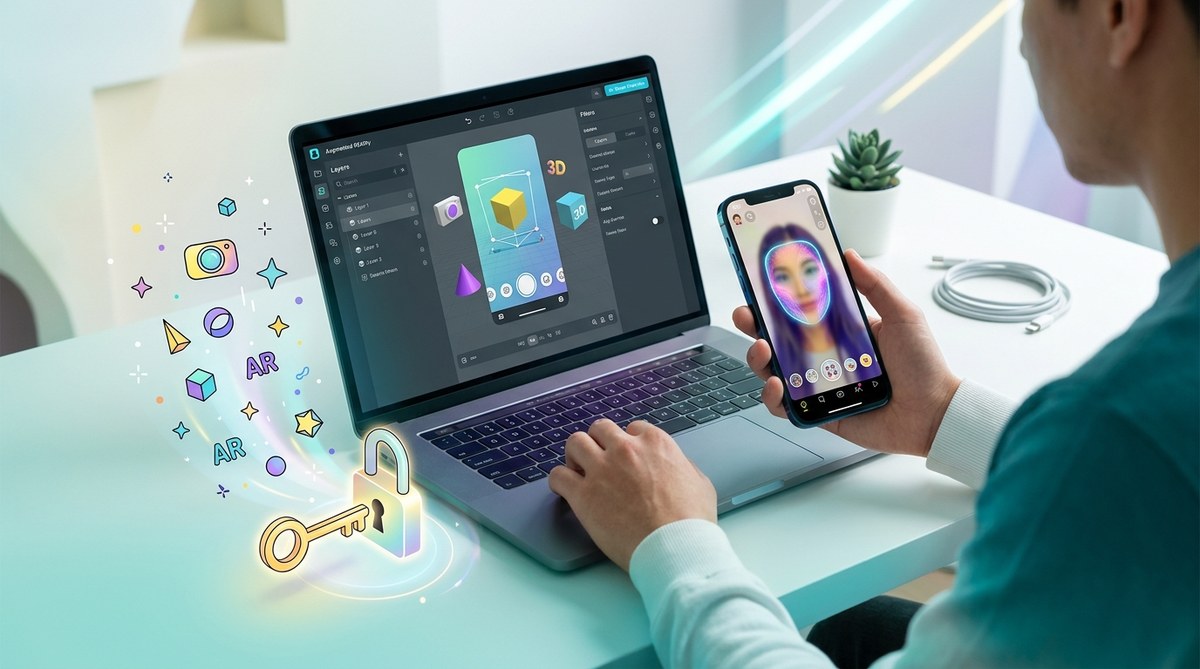
Creating a custom Snapchat filter is a fantastic way to add a personalized touch to events, promote a brand, or simply share a fun experience with friends. Snapchat filters are more than just overlays; they are a chance to express creativity and engage your audience in a playful way. Whether you’re planning a birthday party, a wedding, or a marketing campaign, knowing how to create your own filters can make your moment unforgettable.
Below, you’ll find a practical guide to help you craft eye-catching filters that stand out. From understanding the basics to using popular tools, this guide is perfect for beginners eager to dive into the world of augmented reality on Snapchat.
Mastering the art of creating custom Snapchat filters involves understanding design principles, using accessible tools, and following platform guidelines. With these steps, anyone can craft filters that are fun, memorable, and impactful for any occasion or brand.
Understanding the Basics of Snapchat Filters
Before jumping into the creation process, it’s helpful to grasp what makes a filter effective. Snapchat filters are visual overlays that users can apply to their photos or videos. They can include text, graphics, animations, and even interactive elements. The key to making filters that resonate is balancing creativity with clarity.
Snapchat offers two main types of filters: geofilters that are location-specific and general overlays for any time or place. For most beginners, starting with simple overlay filters is a good way to build confidence.
Step-by-Step Guide to Creating Custom Snapchat Filters
Creating your own filter involves a few essential steps. Here’s a straightforward process to get you started:
1. Conceptualize Your Design
Think about the purpose of your filter. Is it for a birthday, a wedding, a product launch, or just for fun? Decide on a theme, color palette, and any elements you want to include. Keep in mind that simplicity often works best, especially on small mobile screens.
2. Choose the Right Design Tools
Designing a filter doesn’t mean you need complex software. Many free and easy-to-use tools are available:
- Canva: Great for creating graphics with drag-and-drop simplicity.
- Adobe Spark: Offers templates and customization options.
- Pixlr: A browser-based photo editor suitable for detailed editing.
If you’re interested in more advanced options, Snapchat’s own Lens Studio is a powerful platform for creating interactive AR filters. However, for beginners, starting with graphic overlays is perfectly fine.
3. Create Your Filter Design
Design your filter with the following tips:
- Use high-resolution images, ideally 1080 x 2340 pixels.
- Incorporate transparent backgrounds for overlays.
- Keep text legible and minimal.
- Use vibrant colors to catch attention.
- Avoid overloading the design with too many elements.
You can find inspiration by browsing popular filters on Snapchat or social media platforms.
4. Upload and Submit Your Filter
Once your design is ready, head to Snapchat’s Create a Filter page, which guides you through uploading your design and setting your parameters:
- Choose your desired dates and location for geofilters if applicable.
- Upload your PNG file.
- Preview your filter to ensure it looks good on mobile screens.
After reviewing, submit your filter for approval. Snapchat reviews filters to ensure they meet community guidelines and standards.
5. Promote and Use Your Filter
After approval, your filter becomes available for users within your chosen location and time frame. Share your filter link on social media or include it in event invitations to maximize engagement.
Tips for Designing Filters That Stand Out
- Focus on simplicity. Overly complex designs can be distracting.
- Use bold, contrasting colors to grab attention.
- Incorporate branding elements if creating filters for marketing.
- Make it interactive with elements like tap-to-change effects, if using advanced tools.
- Test your filter on different devices before submitting.
Popular Platforms and Tools for Creating Snapchat Filters
While Snapchat’s own platform is the primary way to submit filters, several third-party tools can help streamline the design process:
- Canva: Ideal for quick, stylish graphics.
- Adobe Spark: Offers templates and easy customization.
- Lens Studio: Best for creating AR effects with animations and interactivity.
- Effect House: TikTok’s platform for creating effects that can sometimes cross over into Snapchat.
Comparing Techniques and Common Mistakes
| Technique | Best For | Common Mistake |
|---|---|---|
| Using high-resolution PNGs | Clear, professional look | Uploading low-res images that pixelate |
| Keeping designs minimal | Focused, eye-catching filters | Overcrowding with too many elements |
| Adding animations in Lens Studio | Interactive, engaging filters | Overloading effects, causing slow load times |
| Setting accurate geolocation | Location-specific filters | Incorrect or imprecise location settings |
Expert tip: Keep your design aligned with your brand or event theme. Simple, memorable filters tend to perform better and are more shareable.
How To Avoid Common Pitfalls
- Ensure your design adheres to Snapchat guidelines to avoid rejection.
- Test your filter on multiple devices for compatibility.
- Avoid copyrighted images or trademarks unless you have permission.
- Set realistic geofence boundaries to prevent your filter from appearing outside the intended area.
- Monitor your filter performance post-launch and gather feedback for future improvements.
Inspiring Examples of Creative Snapchat Filters
Some brands and event organizers have crafted filters that went viral by combining humor, bold visuals, and interactive elements. For example, a wedding filter with animated flowers or a product campaign with fun tap-to-reveal effects can generate significant engagement. Browsing platforms like YouTube or social media showcases many creative ideas that you can adapt for your own projects.
Final Thoughts on Creating impactful Snapchat filters
Learning to create custom Snapchat filters is a rewarding skill that blends creativity with technical know-how. Start with simple designs, use accessible tools, and always keep your audience in mind. As you gain experience, experimenting with animations and interactivity can elevate your filters to the next level. Remember that the key to a successful filter lies in its ability to resonate with users and encourage sharing.
Now is the perfect time to craft your own filters. Whether for personal celebrations or professional campaigns, your unique designs can bring joy and engagement to any occasion. Grab your favorite design tool and start experimenting today.
Keep the Creativity Flowing With Your Custom Filters
Creating standout filters requires practice and a willingness to experiment. Don’t hesitate to revisit your designs, try new ideas, and analyze what works best. With dedication, your filters will not only look great but also become a memorable part of your social media presence. Happy designing!