
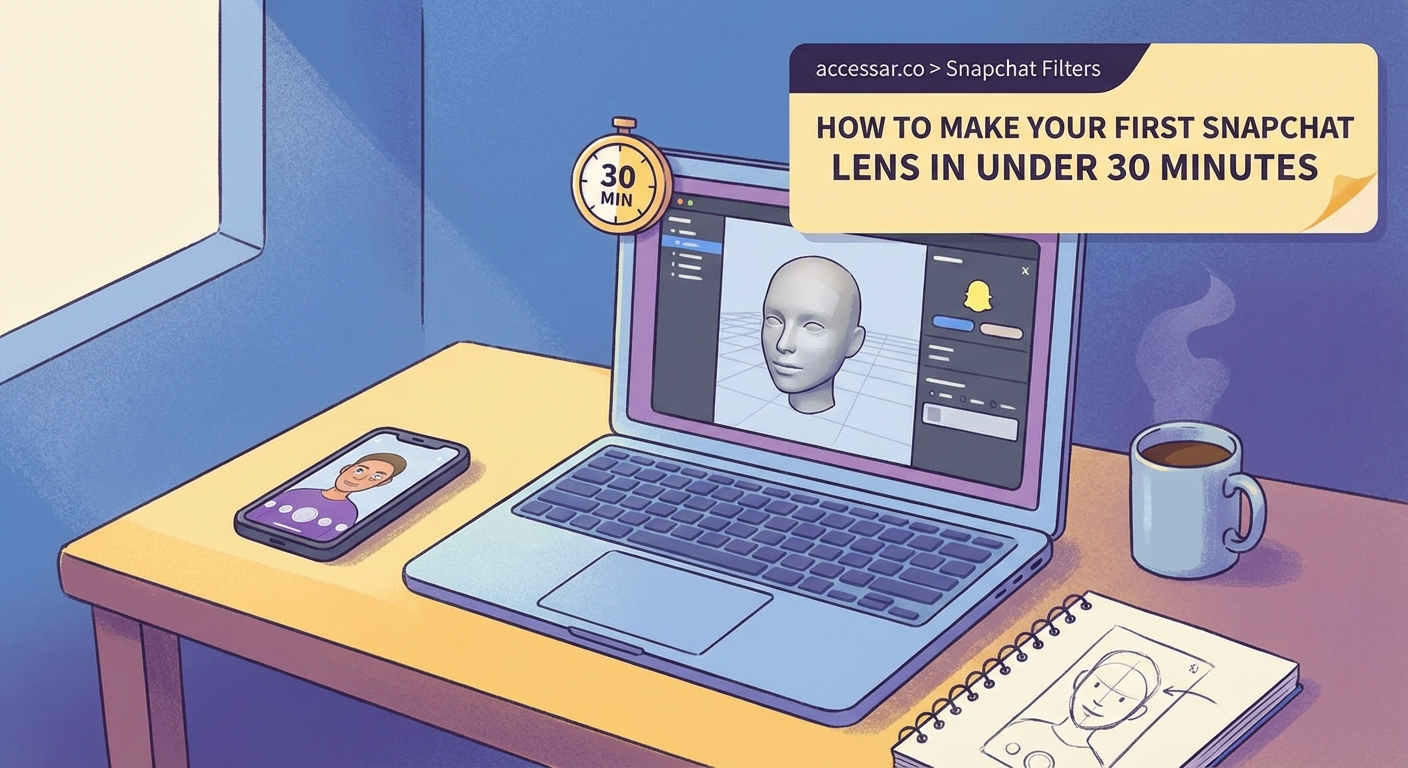
Creating your own Snapchat lens isn’t just for tech wizards or professional developers anymore. With Lens Studio, Snapchat’s free AR creation tool, anyone can design custom filters that track faces, respond to movements, and add wild effects to selfies. Whether you want to promote your brand, celebrate a birthday party, or just make your friends laugh, building a lens is easier than you think.
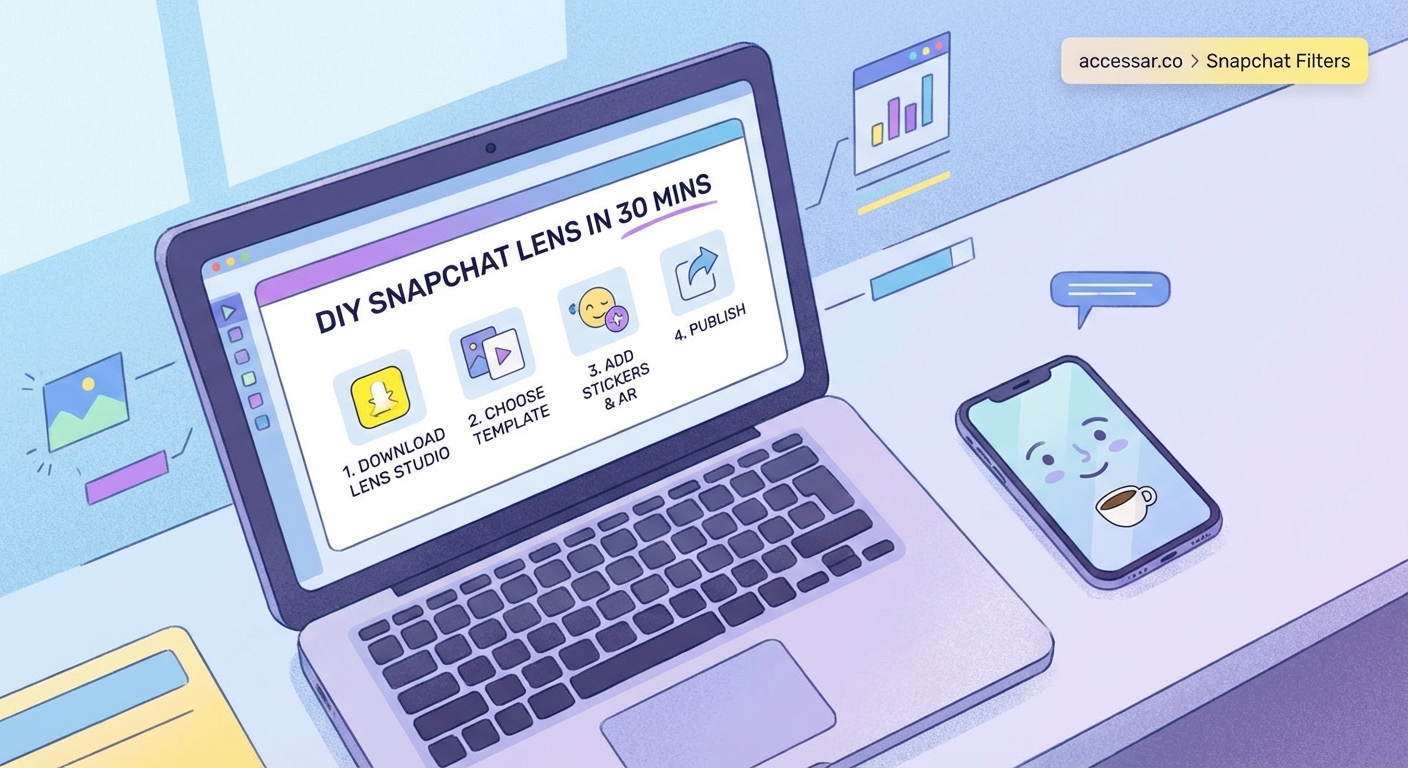
Making a Snapchat lens requires downloading Lens Studio, choosing a template that fits your vision, customizing it with your own images or 3D objects, testing it on your phone, and publishing it to share with others. The entire process takes less than an hour for beginners, and you don’t need any coding skills to create something impressive and shareable.
What You Need Before You Start
Before you jump into lens creation, gather a few essentials. You’ll need a computer running Windows or macOS. Lens Studio doesn’t work on tablets or phones, so a laptop or desktop is mandatory.
Download Lens Studio from Snapchat’s official website. The software is completely free and regularly updated with new features. Installation takes about five minutes on most machines.
You’ll also need a Snapchat account. This lets you test your lens in real time and publish it when you’re ready. If you don’t have one yet, creating an account takes less than two minutes.
Finally, prepare any custom images, logos, or graphics you want to use. PNG files with transparent backgrounds work best for most effects. Keep file sizes reasonable. Anything over 5MB might slow down your lens or cause loading issues.
Understanding Lens Studio’s Interface
When you first open Lens Studio, the interface might look overwhelming. Don’t panic. The layout is actually pretty logical once you understand the main sections.
The left panel shows your Scene Hierarchy. This is where all your lens components live. Think of it like layers in Photoshop. Each element stacks on top of the previous one.
The center viewport displays what your lens will look like. You can rotate, zoom, and preview effects here. The preview updates in real time as you make changes.
The right panel contains the Inspector. This is your control center for adjusting properties like size, position, color, and animation settings. Every object you select will show different options here.
At the bottom, you’ll find the Resources panel. This holds all your imported assets like images, 3D models, sounds, and scripts. Anything you bring into your project appears here first.
Choosing the Right Template
Lens Studio offers dozens of templates designed for different effects. Starting with a template saves hours of work and helps you understand how lenses are built.
Face templates are the most popular. These track facial features and let you add makeup, masks, accessories, or distortions. The Face Mask template is perfect for beginners because it automatically maps your design onto the user’s face.
World templates place objects in the environment around you. These work great for adding virtual furniture, pets, or decorations to real spaces. The Object template lets you drop 3D models into someone’s room or backyard.
Interactive templates respond to user actions. The Tap to Change template cycles through different looks when someone taps the screen. The Kiss template triggers animations when users pucker their lips.
Landmarker templates attach effects to famous locations. These only work at specific landmarks like the Eiffel Tower or Times Square, so they’re more specialized.
For your first lens, stick with Face Mask or Face Distortion. These templates give you immediate results and teach you the basics without getting too complicated.
Building Your First Face Lens
Let’s walk through creating a simple face lens step by step.
- Open Lens Studio and select the Face Mask template from the welcome screen.
- The template loads with a default mask already applied to the preview face.
- Click on Face Mask in the Scene Hierarchy panel on the left.
- Look at the Inspector panel on the right and find the Face Mask Texture option.
- Click the dropdown next to Face Mask Texture and select Import New.
- Choose your custom image file from your computer.
- The image now wraps around the preview face automatically.
- Adjust the Blend Mode in the Inspector to change how your image interacts with skin tones.
- Try different blend modes like Multiply, Screen, or Overlay to see what looks best.
- Click the Send to Snapchat button at the top to test on your actual phone.
Your lens is now live on your device for testing. Open Snapchat, swipe to the camera, and look for your lens in the carousel. It appears with a purple ring around it, indicating it’s a custom creation.
Customizing Colors and Effects
Basic image overlays are just the beginning. Lens Studio includes powerful color correction and effect tools that make your lens stand out.
The Color Correction post effect changes the entire camera feed. You can make everything look vintage, boost saturation for vibrant colors, or create black and white film looks. Add this by right-clicking in the Scene Hierarchy and selecting Post Effect, then Color Correction.
Particle systems create falling snow, floating hearts, or magical sparkles. Right-click in the Scene Hierarchy, choose Particle System, and select from dozens of presets. Adjust the emission rate, particle size, and lifetime in the Inspector.
Screen Image layers add static graphics that don’t track to faces. These work perfectly for frames, borders, or watermarks. They stay in the same position no matter where users move their heads.
Sound effects make lenses more engaging. Import audio files through the Resources panel, then add a Sound Component to trigger them. You can set sounds to play on lens open, on tap, or when specific animations occur.
Adding 3D Objects and Animations
Three-dimensional objects take your lens from flat to fantastic. Lens Studio supports importing 3D models in FBX or OBJ format.
Head Binding attaches 3D objects to specific face points. Want to add bunny ears? Use Head Binding set to the top of the head. Need a virtual nose ring? Bind it to the nose tip. The object moves perfectly with facial movements.
Animation sequences bring static objects to life. Import animated FBX files or use the built-in animation tools. You can make objects bounce, spin, grow, or transform based on user interactions.
The Asset Library provides free 3D models, animations, and materials. Click the Asset Library icon in the toolbar to browse hundreds of ready-made elements. These range from simple shapes to complex characters.
Scaling and positioning matter more than you’d think. Objects that look good on your preview might be too large or small on different face shapes. Test your lens on multiple people before publishing.
Common Mistakes and How to Fix Them
| Mistake | Why It Happens | Solution |
|---|---|---|
| Lens loads slowly | File sizes too large | Compress images to under 1MB each |
| Face tracking jitters | Too many complex elements | Reduce polygon count on 3D models |
| Colors look wrong | Incorrect blend mode | Switch to Normal or Multiply blend |
| Objects don’t follow face | Wrong binding type | Use Face Binding instead of Head Binding |
| Lens crashes on older phones | Too many particles or effects | Reduce particle count to under 100 |
| Audio doesn’t play | Wrong file format | Convert to MP3 or M4A format |
The preview in Lens Studio sometimes looks different than the actual phone experience. Always test on a real device before sharing widely. What works perfectly on your computer might have performance issues on a three-year-old phone.
Lighting conditions affect how lenses appear. Test your creation in bright sunlight, dim indoor lighting, and everything in between. Some color effects that look amazing in good light become invisible in darker settings.
Testing and Refining Your Lens
Testing isn’t optional. It’s the most important part of the creation process.
Use the Send to Snapchat feature constantly while building. Each time you make a change, push it to your phone and try it out. This catches problems early before you invest too much time in a flawed approach.
Test on different people. Face shapes, skin tones, and facial hair all affect how lenses perform. What looks perfect on one person might have weird gaps or overlaps on another.
Try different expressions. Smile, frown, raise eyebrows, open your mouth wide. Your lens should work smoothly through all normal facial movements without breaking or glitching.
Check performance metrics in Lens Studio. The software shows frame rate and memory usage in the preview window. Aim for 30 frames per second or higher. Anything below 20 feels laggy and unpleasant.
Get feedback from friends before publishing. Send them the lens link and ask specific questions. Does it load fast enough? Do the colors look good? Is the effect clear or confusing?
Publishing Your Lens to the World
Once you’re happy with your creation, it’s time to share it.
Click the Publish Lens button in the top right corner of Lens Studio. This opens a submission form where you’ll add details about your lens.
Give your lens a clear, searchable name. Avoid inside jokes or vague titles. “Birthday Sparkles” works better than “That Thing We Talked About.”
Write a helpful description. Explain what the lens does and when people might want to use it. This helps it appear in Snapchat searches.
Add relevant tags. These categorize your lens and help users find it. Use terms like “birthday,” “party,” “cute,” “funny,” or “celebration” based on your lens’s purpose.
Choose an icon image. This thumbnail appears in the lens carousel, so pick a frame that clearly shows what your lens does. Faces work better than abstract designs.
Select your lens type. Most creators choose Community Lens, which makes it available to all Snapchat users. You can also create unlisted lenses that only people with the link can access.
Submit for review. Snapchat checks all lenses to ensure they meet community guidelines. This usually takes 24 to 48 hours. You’ll get an email when your lens is approved or if changes are needed.
Growing Your Lens Audience
Creating the lens is only half the battle. Getting people to use it requires some strategy.
Share your Snapcode everywhere. This is the unique code that lets people unlock your lens instantly. Post it on Instagram, Twitter, TikTok, and anywhere your audience hangs out.
Create a teaser video showing your lens in action. Record yourself or friends using it and highlight the coolest features. Short videos under 15 seconds perform best on social media.
Time your release strategically. Launch holiday lenses a week before the actual holiday. People search for seasonal content in advance, not on the day itself.
Collaborate with other creators. If you know influencers or content creators, ask them to try your lens. One person with a large following can introduce your creation to thousands of new users.
Track your lens analytics. Snapchat provides detailed stats showing how many people viewed, used, and shared your lens. Pay attention to which lenses perform best and create more content in that style.
“The best lenses solve a specific problem or fill a particular need. Instead of making something that tries to appeal to everyone, focus on one audience or one occasion. A lens designed specifically for graduation photos will perform better than a generic ‘happy’ filter.” – AR creator and Lens Studio educator
Advanced Techniques Worth Learning
Once you’ve mastered the basics, these advanced features will level up your creations.
Scripting adds custom logic and interactivity. Lens Studio uses JavaScript, which is one of the easier programming languages to learn. Even simple scripts can create unique behaviors that templates can’t match.
Machine learning templates enable hand tracking, body tracking, and pet recognition. These newer features let you create lenses that respond to gestures, full body movements, or even detect cats and dogs.
Segmentation separates the user from the background. This lets you change what’s behind someone without affecting their actual appearance. You can transport people to different locations or add dramatic backgrounds.
Custom materials change how surfaces reflect light. Instead of flat colors, you can create metallic finishes, glass effects, or realistic skin textures that respond to environmental lighting.
Multi-target tracking follows several faces simultaneously. This works great for group selfies where you want effects on everyone, not just the person closest to the camera.
Troubleshooting Performance Issues
Slow lenses frustrate users and get abandoned immediately. Keep your creations running smoothly with these optimization tips.
Reduce texture resolution. Most face effects work perfectly with 1024×1024 pixel images. Using 4K textures doesn’t make things look better but definitely makes them run slower.
Limit particle counts. Hundreds of particles look impressive but tank performance on older devices. Stick to 50 to 100 particles maximum for smooth operation across all phones.
Optimize 3D models before importing. Use tools like Blender to reduce polygon counts. Most face accessories work fine with under 5,000 triangles. Anything over 20,000 causes problems.
Disable features you’re not using. If your lens doesn’t need audio, remove the audio component. Unused features still consume memory and processing power.
Test on older devices. If you only test on the latest iPhone or Samsung Galaxy, you’ll miss performance issues that affect most users. Borrow an older phone or use Lens Studio’s device simulation.
Making Lenses That People Actually Want to Use
Technical skills matter, but understanding what makes a lens shareable matters more.
Solve a specific problem. The best lenses help people celebrate moments, express emotions, or create content they couldn’t make otherwise. Think about what your audience actually needs.
Keep effects subtle enough for real use. Lenses that completely obscure faces work for a laugh but don’t get repeated use. People want to look good, not unrecognizable.
Make it easy to understand. Users should instantly grasp what your lens does without reading instructions. Complex interactions confuse people and lead to quick abandonment.
Consider different lighting conditions. Lenses that only work in perfect lighting get used once and forgotten. Design effects that adapt to various environments.
Think about shareability. Will people want to post photos or videos using your lens? Effects that make people look good or add clear value get shared more often.
Your First Lens Awaits
You now have everything you need to create a Snapchat lens that works. Download Lens Studio, pick a template that matches your vision, and start experimenting. Your first attempt won’t be perfect, and that’s completely fine. Every professional AR creator started exactly where you are now, clicking around and figuring things out through trial and error. The difference between someone who talks about making lenses and someone who actually creates them is simply taking that first step and opening the software.