
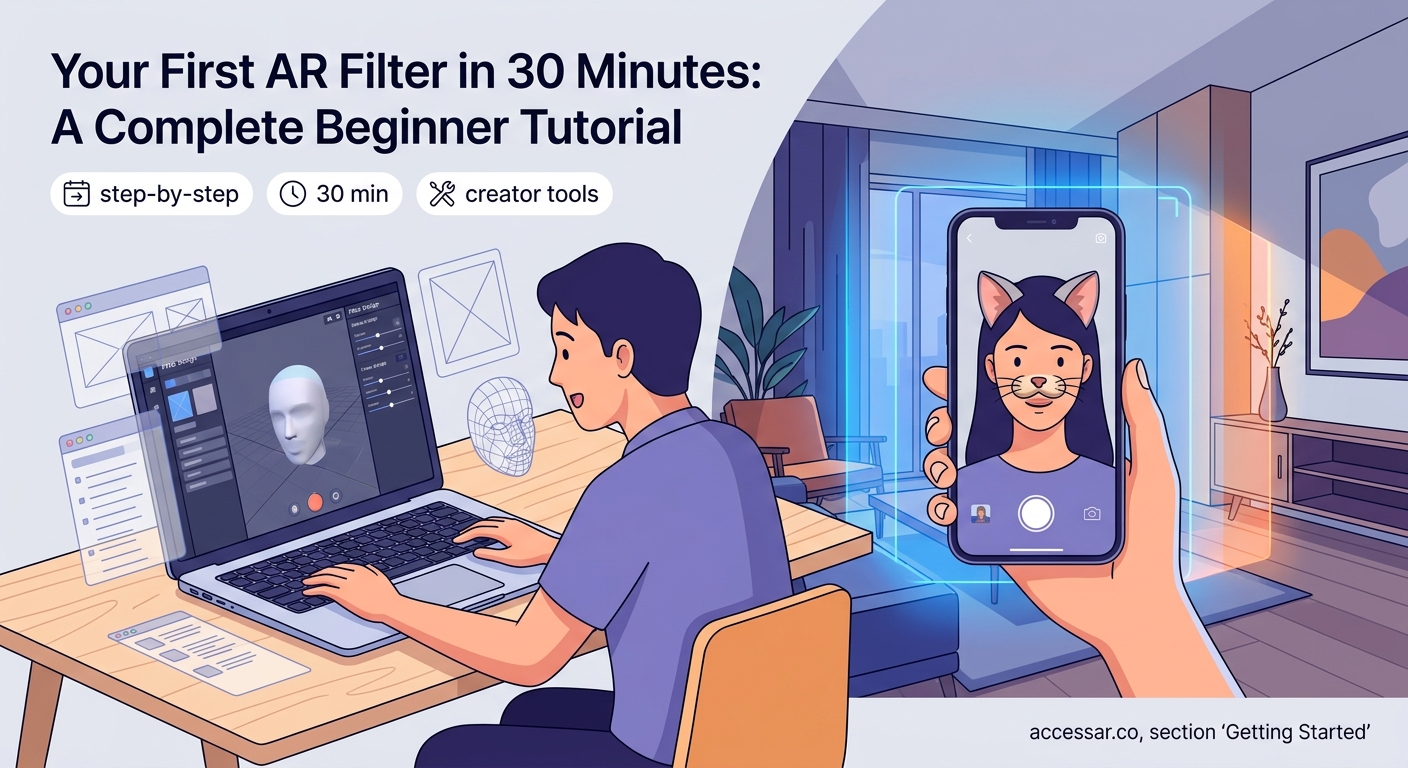
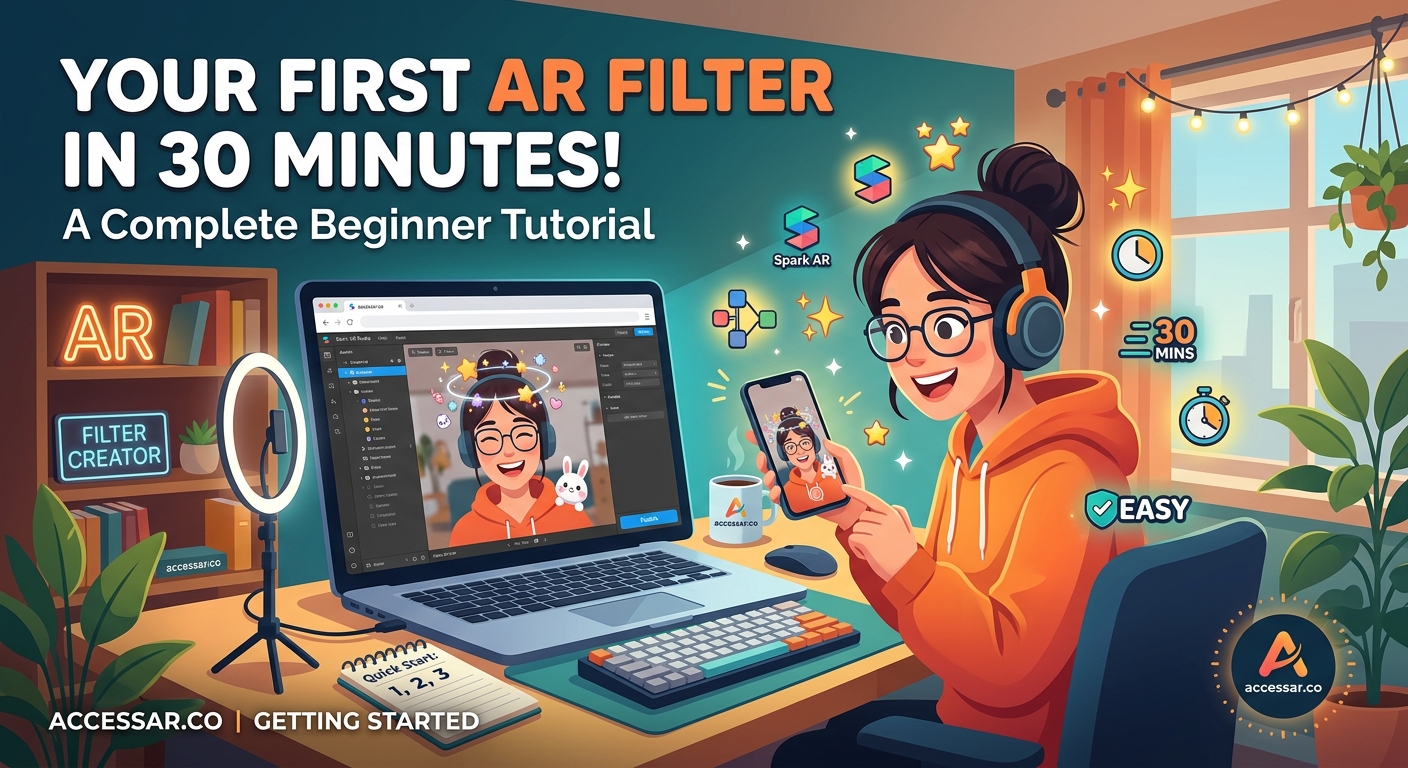
Creating augmented reality filters might sound intimidating, but you don’t need a computer science degree or years of design experience to get started. Thousands of creators are already building AR effects for Instagram, TikTok, and Snapchat using free software that anyone can learn. The best part? You can create your first working filter in less time than it takes to watch a movie.
AR filter creation is accessible to complete beginners using free platforms like Meta Spark Studio, Lens Studio, and Effect House. You can build your first filter in under an hour by choosing the right platform, downloading templates, customizing basic effects, and testing on your phone. No coding required, just creativity and willingness to experiment with visual tools.
Understanding AR filters and why you should make them
AR filters are digital effects that overlay graphics, animations, and interactive elements onto real-world camera views. When someone opens Instagram Stories and adds bunny ears or changes their hair color, they’re using an AR filter.
These effects have become essential for social media engagement. Brands use them for marketing campaigns. Influencers create signature filters to build their personal brand. Regular users make them just for fun.
The barrier to entry has dropped dramatically. What once required programming knowledge now works through visual interfaces where you drag, drop, and adjust settings. You can see changes in real time and test immediately on your phone.
Choosing your platform based on your audience
Three major platforms dominate the AR filter space. Each serves different social networks and offers unique features.
Meta Spark Studio creates filters for Instagram and Facebook. It’s the go-to choice if your audience lives on these platforms. The software offers powerful face tracking, world effects, and interactive games.
Lens Studio builds effects for Snapchat. If you’re targeting a younger demographic or want access to Snapchat’s massive user base, this is your platform. The templates that save hours of design time make it especially beginner-friendly.
Effect House creates filters for TikTok. Since TikTok’s explosive growth, this platform has become increasingly important for creators who want their effects to reach viral audiences.
All three platforms are completely free. You don’t pay subscription fees or licensing costs. The only investment is your time learning the software.
What you need before building your first filter
Your equipment requirements are minimal. A computer that can run the software (Windows or Mac) and a smartphone for testing are the essentials.
Most AR creation tools work on moderately powered computers. You don’t need a gaming rig or professional workstation. A laptop from the last five years will likely handle the job.
Download the software for your chosen platform. Installation takes 10 to 15 minutes depending on your internet speed.
You’ll also want basic image editing skills. Knowing how to resize images or create simple graphics in free tools like GIMP or Canva helps, but you can start with pre-made assets.
The biggest mistake beginners make is overthinking their first project. Start with something simple like changing background colors or adding a basic frame. You can build complexity as you learn the tools.
Step-by-step process for creating your first AR filter
Building your first filter follows a consistent pattern across all platforms. Here’s the fundamental workflow:
-
Download and install your chosen AR software from the official website. Create an account using your social media credentials.
-
Open a template or start a new project. Templates give you working examples you can modify. New projects start from scratch but offer complete creative control.
-
Add your first effect. This might be a face mesh that tracks facial features, a background replacement, or a simple 2D image that floats in space.
-
Customize the appearance. Change colors, adjust sizes, modify textures. The preview window shows changes instantly.
-
Test on your device. Send the filter to your phone through the software’s built-in testing feature. Open your camera app and see how it performs in real conditions.
-
Refine based on testing. Lighting, movement, and different face shapes all affect how filters perform. Make adjustments until it works smoothly.
-
Submit for approval. Each platform reviews filters before making them public. This process takes anywhere from a few hours to several days.
The entire process from opening the software to testing on your phone can happen in 30 minutes for simple effects. More complex filters with animations or interactive elements take longer.
Common filter types and which to try first
Different effect categories suit different skill levels. Starting with the right type builds confidence without overwhelming you.
| Filter Type | Difficulty Level | Best For | Time to Build |
|---|---|---|---|
| Color grading | Beginner | Mood and aesthetic changes | 15-20 minutes |
| Face accessories | Beginner | Fun additions like glasses or hats | 20-30 minutes |
| Makeup effects | Intermediate | Beauty and cosmetic try-ons | 30-45 minutes |
| Background replacement | Intermediate | Environmental changes | 45-60 minutes |
| Interactive games | Advanced | Engagement and virality | 2-4 hours |
| Full face tracking | Advanced | Character transformations | 3-5 hours |
Color grading filters are perfect first projects. They adjust the camera’s color temperature, saturation, and tone without requiring complex assets or animations. You’re essentially applying Instagram-style photo filters in real time.
Face accessories come next. Adding sunglasses, a hat, or floating hearts teaches you about face tracking and 3D positioning. Many creators find success with these because they’re simple to build but still entertaining.
Understanding face tracking and anchor points
Face tracking is the technology that makes filters stick to your features as you move. The software identifies key points on your face like eyes, nose, mouth, and cheekbones.
These anchor points let you attach effects to specific locations. Want to add a virtual nose ring? Attach it to the nose bridge anchor. Creating eyebrow effects? Use the eyebrow anchors.
The software handles the complex math automatically. You just select which anchor point you want and position your graphic. The tracking adjusts for head turns, distance from camera, and facial expressions.
Most platforms provide face mesh templates. These are 3D models that match facial contours perfectly. You can apply textures, colors, or materials to these meshes for effects like face paint or skin smoothing.
Working with assets and where to find them
Assets are the building blocks of your filters. These include 2D images, 3D models, textures, sounds, and animations.
Free asset libraries exist across the internet:
- Sketchfab offers thousands of free 3D models
- Freepik provides graphics and illustrations
- Google Poly (archived but accessible) has simple 3D objects
- Platform-specific asset libraries within each AR software
Creating custom assets gives your filters a unique look. Simple graphics work in free tools like Inkscape or Figma. Export as PNG files with transparent backgrounds for best results.
3D modeling requires more skill but opens creative possibilities. Blender is free and powerful, though it has a steep learning curve. For beginners, modifying existing 3D models is easier than building from scratch.
Audio adds another dimension to filters. Short sound effects (under 3 seconds) work best. Longer audio files increase filter file size and slow down loading times.
Testing strategies that catch problems early
Testing separates working filters from frustrating ones. The preview window in your software shows basic functionality, but real-world testing reveals issues.
Try your filter in different lighting conditions. Bright sunlight, dim rooms, and mixed lighting all affect performance. Face tracking struggles in low light or harsh shadows.
Test with different people. Faces vary in shape, size, and features. A filter that works perfectly on your face might misalign on someone with different proportions.
Movement testing matters too. Turn your head side to side. Look up and down. Move closer and farther from the camera. Effects should stay anchored properly throughout all movements.
Record videos, not just photos. Filters that look great in still images sometimes jitter or lag during video recording. Smooth performance across both formats is essential.
Publishing and getting your filter approved
Each platform has submission guidelines and review processes. Understanding these requirements saves time and prevents rejections.
Instagram and Facebook filters go through Meta’s review team. They check for inappropriate content, copyright violations, and technical performance. Approval usually takes 1 to 3 days.
Snapchat reviews through Lens Studio’s submission portal. Their guidelines are strict about branded content and commercial use. Review times vary from a few hours to a week.
TikTok’s Effect House has the newest review process. They’re actively encouraging creators and often approve effects within 24 hours.
Common rejection reasons include:
- Low performance (filters that lag or crash)
- Copyright violations (using branded characters or logos without permission)
- Inappropriate content (violence, adult themes, hate speech)
- Poor user experience (effects that obscure too much of the screen)
- Technical errors (broken animations or missing assets)
Reading platform guidelines before submitting prevents most rejections. Each platform publishes detailed documentation about what’s allowed and what’s not.
Building skills through practice and community
Your first filter won’t be perfect. That’s completely normal and expected. Every professional AR creator started with basic effects that barely worked.
Improvement comes through repetition. Build multiple simple filters rather than spending weeks on one complex project. Each creation teaches new techniques and reveals different challenges.
Online communities provide support and inspiration. Facebook groups, Discord servers, and Reddit communities focused on AR creation offer feedback and troubleshooting help. Seeing what other beginners create sparks ideas for your own projects.
Following successful AR creators shows what’s possible. Many share their creation process on YouTube or Instagram. You can learn techniques by watching how they build effects.
The comparison between different AR platforms helps you understand which tool fits your goals best as you develop your skills.
Avoiding common beginner mistakes
New creators often make the same errors. Recognizing these patterns helps you skip frustrating learning curves.
Overcomplicating first projects is the most common mistake. Beginners see viral filters with complex animations and try to replicate them immediately. Start simple. Master basic face tracking before adding interactive elements.
Ignoring file size causes performance problems. Large image files and high-polygon 3D models make filters slow and crash-prone. Optimize assets before importing them.
Skipping mobile testing leads to filters that work on desktop preview but fail on actual phones. Always test on the device where users will experience your filter.
Not checking different skin tones creates filters that work for some users but not others. Face tracking and color effects perform differently across various complexions. Test with diverse faces.
Forgetting about accessibility excludes potential users. Filters that require specific facial features or perfect lighting conditions limit who can use them successfully.
The guide on common mistakes every AR beginner makes covers these issues in greater detail with specific solutions.
Making filters people actually want to use
Technical skill matters, but understanding what makes filters shareable determines success. Filters go viral when they offer value beyond novelty.
Utility filters serve practical purposes. Makeup try-ons let people test products. Hair color changes show different styles. These filters get saved and used repeatedly.
Entertainment filters make people laugh or look interesting. Funny face distortions, character transformations, and silly accessories fall into this category. They’re perfect for Stories and casual content.
Interactive filters create engagement. Games, quizzes, and challenges encourage participation and sharing. These often perform best for building follower counts.
Aesthetic filters enhance appearance without dramatic changes. Subtle skin smoothing, flattering lighting, and gentle color grading make people look good, which drives usage.
Studying viral Instagram AR filter ideas reveals patterns in what resonates with audiences. You don’t need to copy these exactly, but understanding why they work informs your creative decisions.
Growing your skills beyond the basics
Once you’ve published several filters and understand the fundamentals, intermediate techniques open new possibilities.
Animation brings filters to life. Objects can float, spin, pulse, or respond to facial expressions. Learning basic animation principles transforms static effects into dynamic experiences.
Scripting adds interactivity without requiring deep programming knowledge. Visual scripting tools in platforms like Lens Studio let you build without coding skills through node-based systems.
Advanced face tracking enables complex transformations. Full face replacement, detailed makeup application, and character masks all use sophisticated tracking features.
World effects place objects in the environment rather than on faces. These AR experiences let users see virtual furniture in their room or play games on their desk.
The no-code AR platforms available today make these advanced features accessible without traditional programming skills.
Turning your AR skills into opportunities
Creating filters can be more than a hobby. Brands pay creators to build custom effects for marketing campaigns. Small businesses need AR try-on experiences for products. Influencers hire filter designers to create signature effects.
Building a portfolio showcases your abilities. Publish diverse filters that demonstrate different skills. Include simple effects that perform flawlessly alongside more complex projects that show creativity.
Networking with other creators leads to collaborations and opportunities. Many professional AR designers started by helping friends with projects before landing paid work.
Case studies like how beauty brands boosted sales with AR filters show the commercial value of these skills. Understanding business applications makes you more marketable.
Staying current with platform updates and new features keeps your skills relevant. AR technology evolves constantly. What works today might be outdated in six months.
Your path forward as an AR creator
You now have the foundational knowledge to create your first AR filter. The technical barriers are lower than ever, and the creative possibilities continue expanding.
Start today with a simple project. Download Meta Spark Studio, Lens Studio, or Effect House. Open a template. Change one thing. Test it on your phone. That’s your first step into AR creation.
Your skills will grow with each filter you build. The awkward first attempts become polished effects faster than you expect. Every creator you admire started exactly where you are now, wondering if they could actually do this.
The answer is yes. You can create AR filters. The tools are free, the tutorials are available, and the community is supportive. Your first filter might not go viral, but it will teach you something valuable. Your tenth filter will be better than your first. Your hundredth might change how thousands of people create content.
Stop reading and start building. Your first AR filter is waiting to be created.