
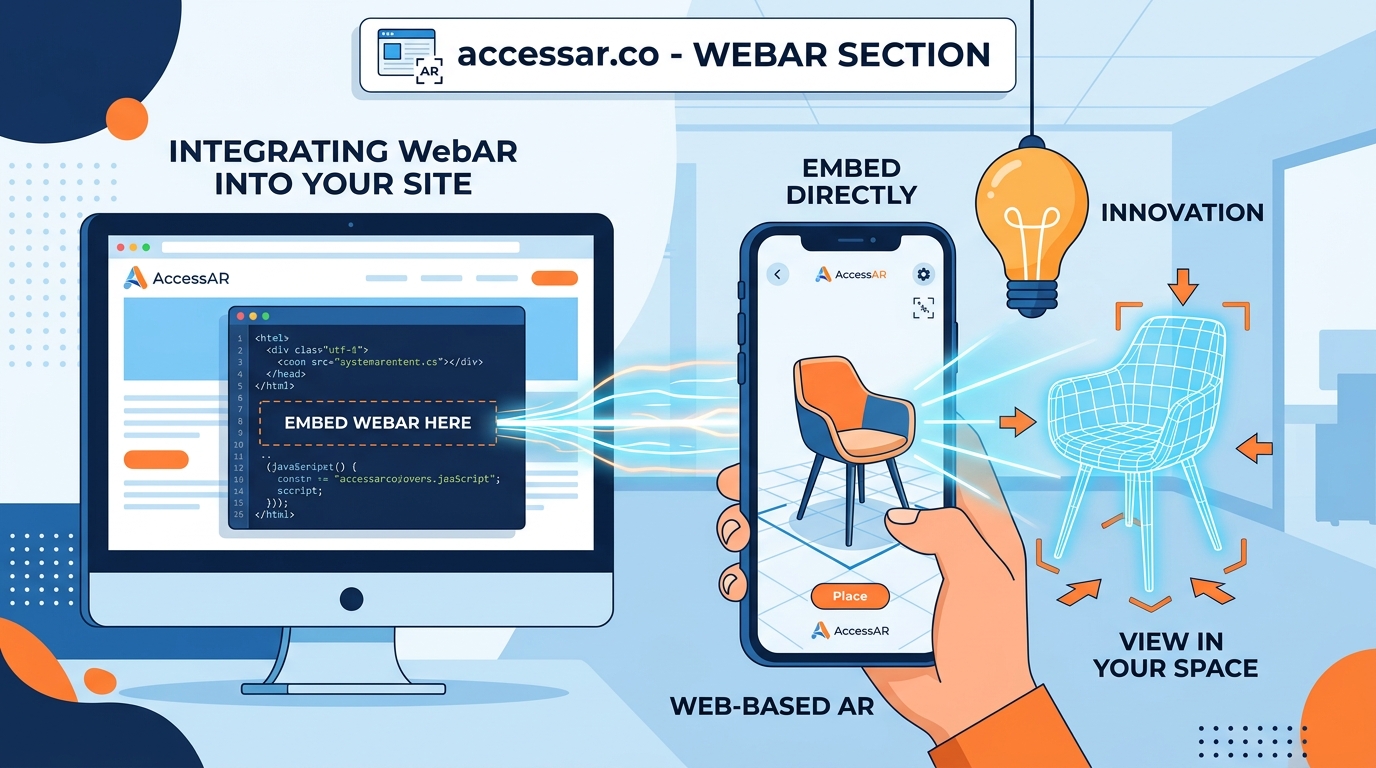
Adding augmented reality to your website used to mean hiring a developer, writing custom code, and hoping everything worked across different browsers. Not anymore. Modern WebAR platforms let you embed interactive 3D experiences directly into your site with just a few lines of code, and sometimes none at all.
Embedding WebAR into your website requires choosing the right platform, preparing your 3D assets, and adding an iframe or JavaScript snippet to your page. Most platforms offer no-code options that work across iOS and Android browsers without requiring app downloads. The entire process takes 15 to 45 minutes depending on your chosen method and existing technical skills.
Why WebAR Works Better Than App-Based AR
WebAR runs directly in mobile browsers. No app store. No downloads. No friction.
When someone scans a QR code or clicks a link, they see your AR experience instantly. This matters because 80% of users abandon downloads that take more than three steps.
Traditional AR apps require approval processes, storage space, and constant updates. WebAR loads like any other webpage. Your customers get immediate access, and you get better conversion rates.
The technology works on modern versions of Safari, Chrome, and Samsung Internet. That covers about 85% of smartphone users worldwide.
Choosing Your WebAR Platform
Different platforms serve different needs. Some prioritize ease of use. Others offer advanced customization.
| Platform Type | Best For | Technical Skill Required | Typical Cost |
|---|---|---|---|
| No-code builders | Product visualization, simple interactions | None | $29 to $299/month |
| JavaScript libraries | Custom experiences, brand integration | Moderate | Free to $99/month |
| Enterprise solutions | Large catalogs, analytics, CRM integration | Low to moderate | $500+/month |
| Open-source frameworks | Full control, unique features | High | Free (hosting costs apply) |
No-code WebAR platforms handle most common use cases without requiring programming knowledge. They provide drag-and-drop interfaces similar to website builders.
JavaScript libraries like 8th Wall and AR.js give you more control over the user experience. You write code to define exactly how your AR content behaves.
Enterprise platforms include features like user analytics, A/B testing, and integration with existing e-commerce systems. These matter more as your AR strategy scales.
Preparing Your 3D Assets
Your AR experience needs 3D models. These files come in formats like GLB, GLTF, or USDZ.
File size matters enormously. A 10MB model takes 30 seconds to load on a 3G connection. Users leave. Aim for 2MB or less per model.
Optimization techniques include:
- Reducing polygon count to 50,000 or fewer triangles
- Compressing textures to 1024×1024 pixels
- Removing hidden geometry that users never see
- Baking lighting into textures instead of calculating it in real time
- Using Draco compression for GLB files
Free tools like Blender handle most optimization tasks. Paid options like Sketchfab offer automatic compression when you upload models.
Test your models on actual phones before embedding them. What looks fine on your desktop might crawl on a three-year-old Android device.
Method 1: Embedding With an iFrame

The simplest approach uses an iframe, just like embedding a YouTube video.
- Upload your 3D model to your chosen WebAR platform
- Configure the viewing settings (background color, lighting, interaction controls)
- Copy the embed code provided by the platform
- Paste it into your website’s HTML where you want the AR viewer to appear
The code looks something like this:
The allow attribute gives the iframe permission to access device sensors needed for AR tracking.
This method works on any website platform including WordPress, Shopify, Squarespace, and Wix. You need zero coding knowledge.
Limitations include less control over styling and behavior. The AR experience lives inside a box on your page rather than integrating seamlessly with your design.
Method 2: Using JavaScript Snippets
JavaScript embedding offers more flexibility. You control exactly when and how the AR experience launches.
- Add the platform’s JavaScript library to your page header
- Create a button or link that triggers the AR viewer
- Configure the viewer parameters in your JavaScript code
- Test across different devices and browsers
Here’s what the implementation looks like:
This approach lets you match the AR viewer’s appearance to your brand. You decide button colors, loading animations, and user instructions.
The tradeoff is complexity. You need basic JavaScript knowledge or a developer’s help.
Method 3: Using QR Codes for AR Access
QR codes work brilliantly for physical marketing materials, packaging, and retail displays.
Generate a QR code that points to a dedicated AR landing page. When customers scan it with their phone camera, they land on a page optimized for launching the AR experience.
The landing page should:
- Load in under two seconds
- Show a clear call-to-action button
- Provide fallback content for unsupported devices
- Track analytics for scans and interactions
Most WebAR platforms generate these landing pages automatically. You just download the QR code and add it to your print materials.
Beauty brands using AR filters often combine QR codes on product packaging with WebAR try-on experiences. Customers scan the code, see the product on themselves, and complete purchases without leaving the AR interface.
Optimizing for Mobile Performance
Mobile devices have less processing power than desktop computers. Your WebAR experience must account for this.
Start with the lowest-end device your customers use. If it runs smoothly on a three-year-old budget Android phone, it will work everywhere.
Performance optimization strategies:
- Load 3D models progressively (low resolution first, high resolution after)
- Limit simultaneous AR objects to three or fewer
- Use simple materials without complex reflections
- Disable shadows on lower-end devices
- Preload assets while users read instructions
Monitor your analytics. If users abandon the experience within five seconds, performance is probably the issue.
Battery drain matters too. AR uses the camera, GPU, and sensors simultaneously. Design experiences that last 30 to 90 seconds rather than requiring five minutes of continuous use.
Handling Browser Compatibility
Not all browsers support WebAR equally well.
iOS Safari supports AR through WebXR and USDZ files. Android Chrome uses WebXR and GLB models. Samsung Internet has its own implementation.
Build detection into your page:
if (navigator.xr) {
// Show AR button
} else {
// Show 3D viewer or static images
}
Provide fallbacks for unsupported browsers. A 360-degree product viewer works when AR doesn’t. Static images with detailed descriptions serve users on older devices.
Test on actual hardware. Browser emulators don’t accurately represent AR performance or compatibility.
Adding Analytics and Tracking
You need data to improve your AR experiences.
Track these metrics:
- Load time from click to first AR frame
- Interaction duration
- Screenshot captures
- Add-to-cart events triggered from AR
- Device types and browser versions
- Geographic locations
Most WebAR platforms include basic analytics. For deeper insights, integrate Google Analytics or Mixpanel using custom event tracking.
Set up conversion tracking if your AR experience connects to e-commerce. Measure how many users who interact with AR complete purchases compared to those who don’t.
This data tells you whether WebAR actually improves your business outcomes or just looks cool.
Common Embedding Mistakes to Avoid
First mistake: not testing on real devices. Desktop browsers with AR emulators don’t show real performance issues.
Second mistake: ignoring loading states. Users need to know something is happening while the 3D model downloads. Show a progress indicator.
Third mistake: poor lighting in AR scenes. Virtual objects should match the real-world lighting to look believable. Most platforms offer automatic environment lighting.
Fourth mistake: no instructions. Users need to know they can move their phone, tap to place objects, or pinch to resize. Add simple on-screen guidance.
Fifth mistake: requiring perfect conditions. AR tracking fails in low light or on blank walls. Provide helpful error messages when tracking doesn’t work.
Common AR beginner mistakes often stem from assumptions about user behavior rather than technical problems.
Real Examples That Work
Furniture retailers use floor-placement AR to show sofas and tables in customers’ homes. The embed code sits on product pages next to the “Add to Cart” button.
Jewelry brands let customers see rings and necklaces on their hands and necks. The AR viewer launches from a small button below product images.
Automotive companies show car customization in AR. Users pick colors and wheel styles, then see the configured vehicle in their driveway.
Nike’s AR campaign used WebAR for sneaker try-ons, generating millions of interactions without requiring an app download.
Education sites embed 3D models of historical artifacts, anatomy, or molecules. Students manipulate and examine objects from any angle.
Integrating With E-Commerce Platforms
Shopify, WooCommerce, and BigCommerce all support WebAR through apps or custom code.
For Shopify:
- Install a WebAR app from the app store
- Upload 3D models for your products
- The app automatically adds AR buttons to product pages
- Customize the button appearance in the app settings
For WooCommerce:
- Add a WebAR plugin or custom code to your theme
- Upload models to your media library or external hosting
- Link models to products using custom fields
- Style the AR trigger button with CSS
Custom implementations give you more control but require developer knowledge. Apps and plugins get you running faster with less technical overhead.
Making WebAR Accessible
Accessibility matters for AR experiences too.
Provide text descriptions of 3D objects for screen readers. Include keyboard navigation for users who can’t use touch gestures.
Offer alternatives for users who can’t access AR:
- High-quality photos from multiple angles
- 360-degree product viewers
- Detailed dimension specifications
- Video demonstrations
Some users experience motion sickness from AR. Include a warning and make the experience optional rather than required.
Color contrast matters even in 3D environments. Ensure virtual objects remain visible against different real-world backgrounds.
Measuring Success and Iterating
Define success metrics before launching your WebAR feature.
For e-commerce, track conversion rate changes, average order value, and return rates. AR should reduce returns by helping customers make better purchasing decisions.
For marketing campaigns, measure engagement time, social shares, and brand recall. Viral AR campaigns often generate organic social media buzz.
For education, assess learning outcomes and student engagement compared to traditional methods.
Run A/B tests. Show half your visitors the AR option and half the standard product page. Compare results after collecting statistically significant data.
Iterate based on user feedback. Add features users request. Remove friction points where users abandon the experience.
Scaling Your WebAR Implementation
Start with one or two high-value products. Learn what works before creating AR experiences for your entire catalog.
Build a production pipeline for creating and optimizing 3D models. Standardize file formats, polygon counts, and texture resolutions.
Document your process. When you scale to dozens or hundreds of products, consistent quality matters.
Consider hiring specialists for 3D modeling if you need many assets. Freelance 3D artists cost $50 to $200 per model depending on complexity.
WebAR’s role in mobile shopping continues growing as more businesses recognize its impact on conversion rates and customer satisfaction.
Getting Started Today
You don’t need to be a developer to add WebAR to your website. Pick a platform that matches your technical comfort level and budget.
Start with a single product or use case. Create the 3D model, embed it on a test page, and share it with colleagues or friends for feedback.
Refine the experience based on real user testing. Then roll it out to your live site and monitor the results.
The technology is ready. The platforms are accessible. The only thing stopping you from offering AR experiences to your customers is taking that first step.
Your website can offer immersive, interactive experiences starting today. Choose your platform, prepare your first 3D asset, and add that embed code. Your customers are already used to AR from social media filters and gaming. Now they can experience it with your products too.