
You’ve seen those mind-bending TikTok effects that transform faces, add sparkles, or place users in surreal environments. Now you want to create your own. The good news? You don’t need a computer science degree or expensive software. TikTok’s Effect House platform makes it possible for complete beginners to design and publish custom AR effects that millions of people can use.
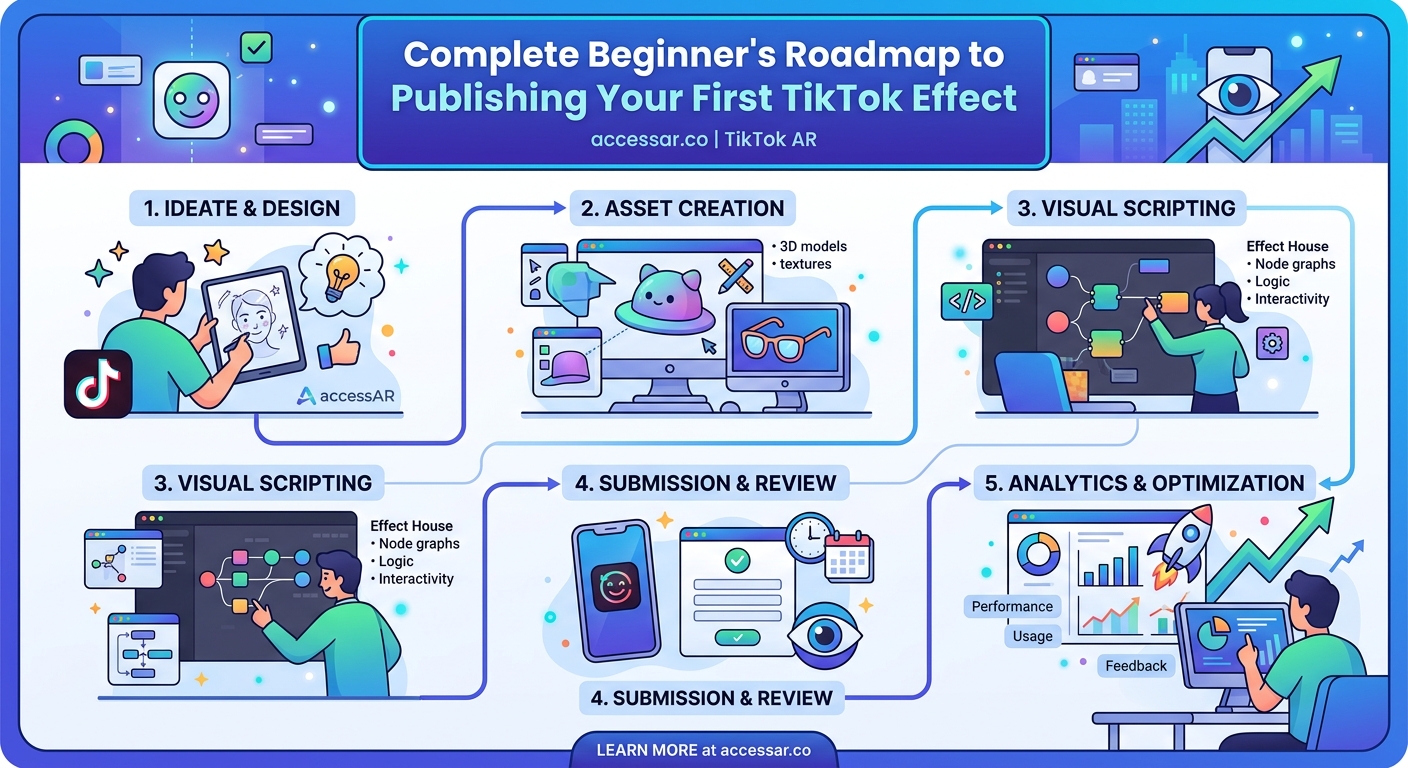
Creating TikTok effects requires downloading Effect House, choosing a template, customizing visual elements, testing on your device, and submitting for review. The entire process takes 30 minutes to several hours depending on complexity. No coding skills are required for basic effects, though advanced features benefit from scripting knowledge. Once approved, your effect becomes available to TikTok’s global user base.
Understanding Effect House Before You Start
Effect House is TikTok’s official AR development platform. Think of it as Photoshop meets game design, but specifically built for creating face filters, background effects, and interactive experiences.
The platform runs on Windows and macOS. You’ll need at least 8GB of RAM and a decent graphics card. Most laptops from the past five years handle it fine.
Effect House uses a visual interface. You drag and drop elements instead of writing code. This makes it accessible to artists, designers, and creators who’ve never touched programming.
The platform includes templates for common effect types. Face beautification, color filters, 3D objects, and segmentation effects all have starting points. You customize these templates rather than building from zero.
Setting Up Your Effect House Account
Visit the Effect House website and create an account using your TikTok credentials. This links your creator profile to any effects you publish.
Download the software for your operating system. The installer is about 500MB. Installation takes five to ten minutes.
Launch Effect House and sign in. You’ll see the project dashboard where all your effects live. This is your home base.
The interface has three main sections. The viewport shows your effect in real time. The hierarchy panel lists all objects in your scene. The inspector panel displays properties for selected objects.
Spend a few minutes clicking around. Open a template project to see how effects are structured. This familiarization saves confusion later.
Choosing Your First Effect Type
Start with something achievable. Face beautification effects are the easiest entry point. They smooth skin, adjust colors, and add subtle enhancements.
Color grading effects come next in difficulty. These change the overall mood of videos through color adjustments. Think vintage film looks or neon aesthetics.
3D object effects place virtual items in the scene. Sunglasses, hats, or floating objects around the user. These require understanding 3D positioning but templates handle the hard parts.
Segmentation effects separate the person from the background. You can replace backgrounds, add effects only to the person, or create green screen-style results.
“Start with face tracking effects. They’re forgiving, widely used, and teach you the fundamentals without overwhelming you with technical concepts.” – AR Creator with 50+ published effects
Building Your Effect Step by Step
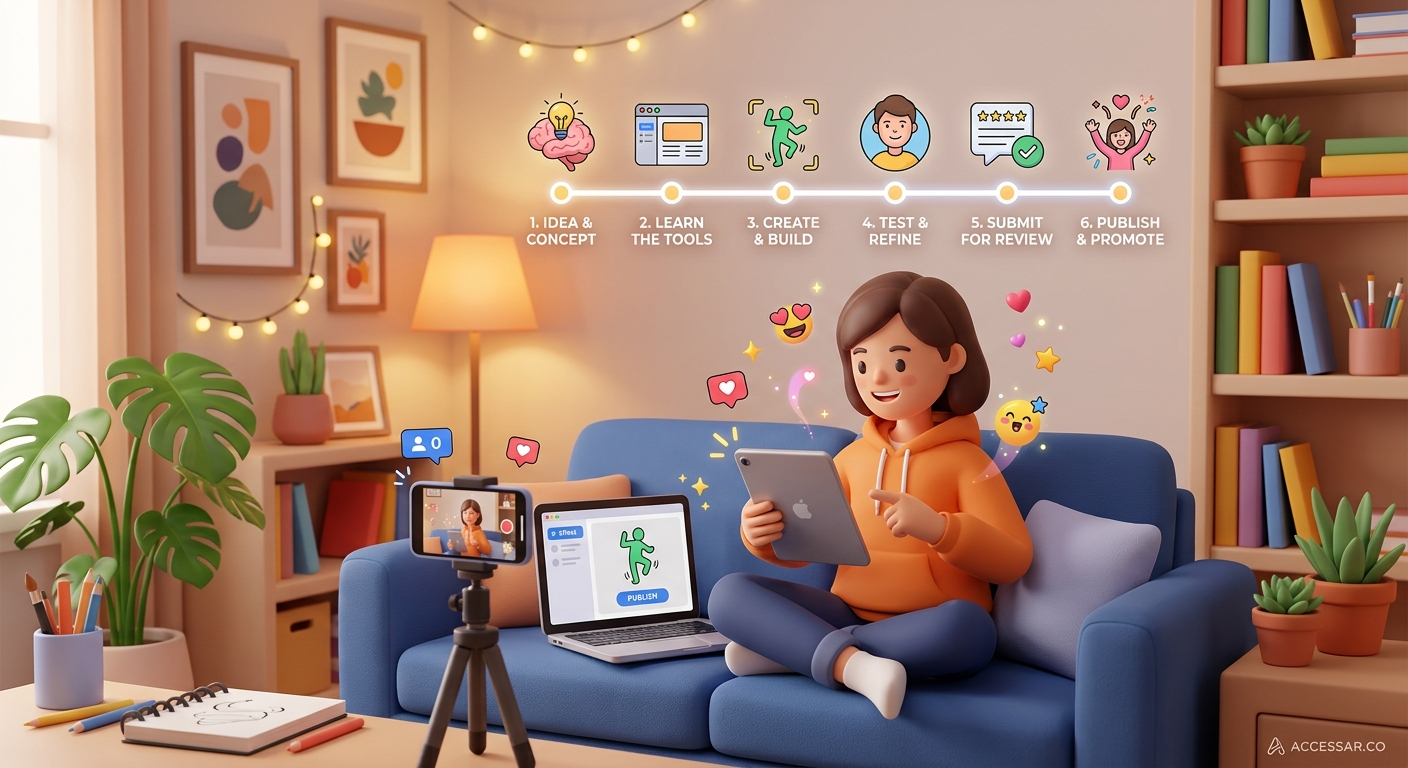
Here’s the complete process for creating your first TikTok effect:
-
Open a template that matches your vision. Browse the template library inside Effect House. Select one and click “Use Template.”
-
Import your assets if you’re adding custom elements. These might be images, 3D models, or textures. Effect House accepts PNG, JPG, FBX, and GLB files.
-
Modify the visual elements in the hierarchy panel. Click on objects to select them. Change colors, sizes, positions, and other properties in the inspector.
-
Add face tracking if your effect interacts with facial features. The face tracker automatically detects eyes, nose, mouth, and face shape. Attach your objects to these anchor points.
-
Adjust timing and animations using the animation panel. Set keyframes for properties that change over time. This creates movement and dynamic effects.
-
Test in the preview window constantly. The live preview shows how your effect looks in real time. Use different faces and lighting conditions to spot issues.
-
Test on your actual device by scanning the QR code Effect House generates. This reveals problems that don’t show up in desktop preview. Camera quality, lighting, and device performance all affect the final result.
-
Submit for review once you’re satisfied. Fill out the effect information form with a clear title, description, and appropriate tags. TikTok reviews submissions within a few days.
Many creators wonder if they need coding skills. For basic effects, no. Templates and visual tools handle most scenarios. Advanced effects benefit from scripting, but you can create impressive results without writing a single line of code. If you’re curious about building filters without technical skills, the principles apply across platforms.
Common Mistakes and How to Avoid Them
| Mistake | Why It Happens | Solution |
|---|---|---|
| Effect looks great on desktop but fails on phone | Desktop preview doesn’t match real camera conditions | Always test on actual devices before submitting |
| Face tracking jitters or loses position | Too many complex calculations per frame | Simplify your effect or optimize assets |
| Effect rejected for policy violations | Unclear understanding of TikTok guidelines | Read submission guidelines thoroughly before building |
| File size too large | Unoptimized textures and models | Compress images and reduce polygon counts |
| Effect doesn’t work in low light | Face tracker needs sufficient lighting | Add fallback behavior or warn users in description |
The file size limit is 10MB. Large effects take longer to download and may frustrate users. Optimize everything.
Test with different skin tones, face shapes, and lighting conditions. Your effect should work for everyone, not just one type of face.
Pay attention to performance metrics in Effect House. The software shows frame rate and resource usage. Keep frame rates above 30fps on mid-range devices.
Making Your Effect Stand Out
Thousands of effects exist on TikTok. Yours needs a hook that makes people want to try it.
Timing matters. Create effects around holidays, viral trends, or cultural moments. A Halloween effect published in October gets more traction than one released in March.
The icon and preview video are crucial. Users scroll through effects rapidly. Your thumbnail needs to communicate the effect’s purpose in a split second.
Name your effect clearly. “Sparkle Glow” tells users what to expect. “Effect 23” doesn’t. Include relevant keywords in the description for searchability.
Trends on TikTok move fast. If you’re building something based on current viral effects, move fast too. The window for trend-based effects is often just a few weeks.
Understanding the Approval Process
TikTok reviews every effect before publication. This ensures quality and policy compliance.
The review typically takes 24 to 72 hours. Complex effects may take longer. You’ll receive an email when your effect is approved or rejected.
Common rejection reasons include:
- Inappropriate content or imagery
- Copyright violations using unlicensed assets
- Poor performance or technical issues
- Misleading descriptions or tags
- Effects that don’t work as described
If rejected, the email explains why. Fix the issues and resubmit. Most effects get approved on the second attempt.
Once approved, your effect goes live immediately. Users can find it by searching or browsing categories. Your creator profile shows all published effects.
Promoting Your Effect After Launch
Publishing is just the beginning. You need to drive usage to gain traction.
Create videos using your own effect. Post them to your TikTok account with the effect tagged. This shows people what’s possible and encourages them to try it.
Reach out to creators in your niche. If you’ve built something relevant to their content style, they might use it. A single video from a popular creator can generate thousands of uses.
Share on other platforms. Post screenshots or demo videos to Instagram, Twitter, or YouTube. Include a link to the effect.
Monitor your effect’s analytics in Effect House. You’ll see usage statistics, user demographics, and performance data. This informs what to build next.
The equipment you need is minimal. A computer that runs Effect House and a smartphone for testing. That’s it. No fancy cameras or specialized hardware required. For a complete breakdown of AR creation equipment, the basics remain consistent across platforms.
Learning From Other Platforms
Skills transfer between AR platforms. If you master Effect House, you can apply similar concepts to Snapchat Lens Studio or Meta Spark Studio.
Each platform has quirks, but the fundamentals stay the same. Face tracking, 3D positioning, textures, and animations work similarly everywhere.
Cross-platform thinking expands your reach. Build an effect for TikTok, then adapt it for Instagram. The same creative idea serves multiple audiences.
Many successful AR creators work across platforms. They’re not loyal to one app. They go where their audience is and where opportunities exist.
Resources for Continued Learning
Effect House includes built-in tutorials. These walk through common effect types step by step. Start here before looking elsewhere.
The Effect House community forum connects creators. People share tips, troubleshoot problems, and showcase work. It’s valuable for solving specific issues.
YouTube has countless Effect House tutorials. Search for specific effect types you want to create. Video tutorials often clarify concepts better than text.
TikTok’s Creator Portal publishes best practices and case studies. These show what works and why. Learn from successful effects.
Practice matters more than theory. Build ten simple effects rather than planning one perfect effect. You’ll learn faster through doing.
Your First Effect Is Just the Beginning
You now have the complete roadmap for creating TikTok effects. Download Effect House, choose a template, customize it, test thoroughly, and submit for review.
Your first effect won’t be perfect. That’s fine. Every creator starts somewhere. The important thing is publishing something and learning from the process.
Start today. Pick a simple effect type, open a template, and make one small change. That’s your first step. Each effect you create builds your skills and confidence. Before long, you’ll be creating the effects that others want to recreate.