
Creating your own AR filter feels like magic when you see your design come to life on someone’s face. That sparkle effect, that animated hat, that color shift you imagined is now real and shareable across Instagram or Snapchat. The best part? You don’t need years of coding experience or expensive equipment to make it happen.
Creating AR filters requires free software like Meta Spark Studio or Snapchat Lens Studio, a decent computer, and basic design skills. You can build face filters, world effects, and interactive experiences without coding knowledge. The process involves designing assets, building in AR software, testing on your device, and publishing through official platforms for millions to use.
Understanding what AR filters actually are
AR filters overlay digital elements onto the real world through your phone camera. They track faces, recognize surfaces, and respond to movement in real time.
Face filters are the most common type. They add makeup, change hair color, place virtual glasses on your nose, or transform you into animals. These filters use facial recognition to map 68 points on your face and track them as you move.
World effects work differently. They place objects in your environment. Think dancing characters on your kitchen table or virtual furniture in your living room. These use plane detection to understand where surfaces exist in your space.
Target tracking filters activate when your camera sees specific images. Point your phone at a movie poster and watch a trailer play. Scan a product package and see a 3D model pop up.
The technology behind all this combines computer vision, 3D graphics, and machine learning. But you don’t need to understand the complex math. The software handles that part.
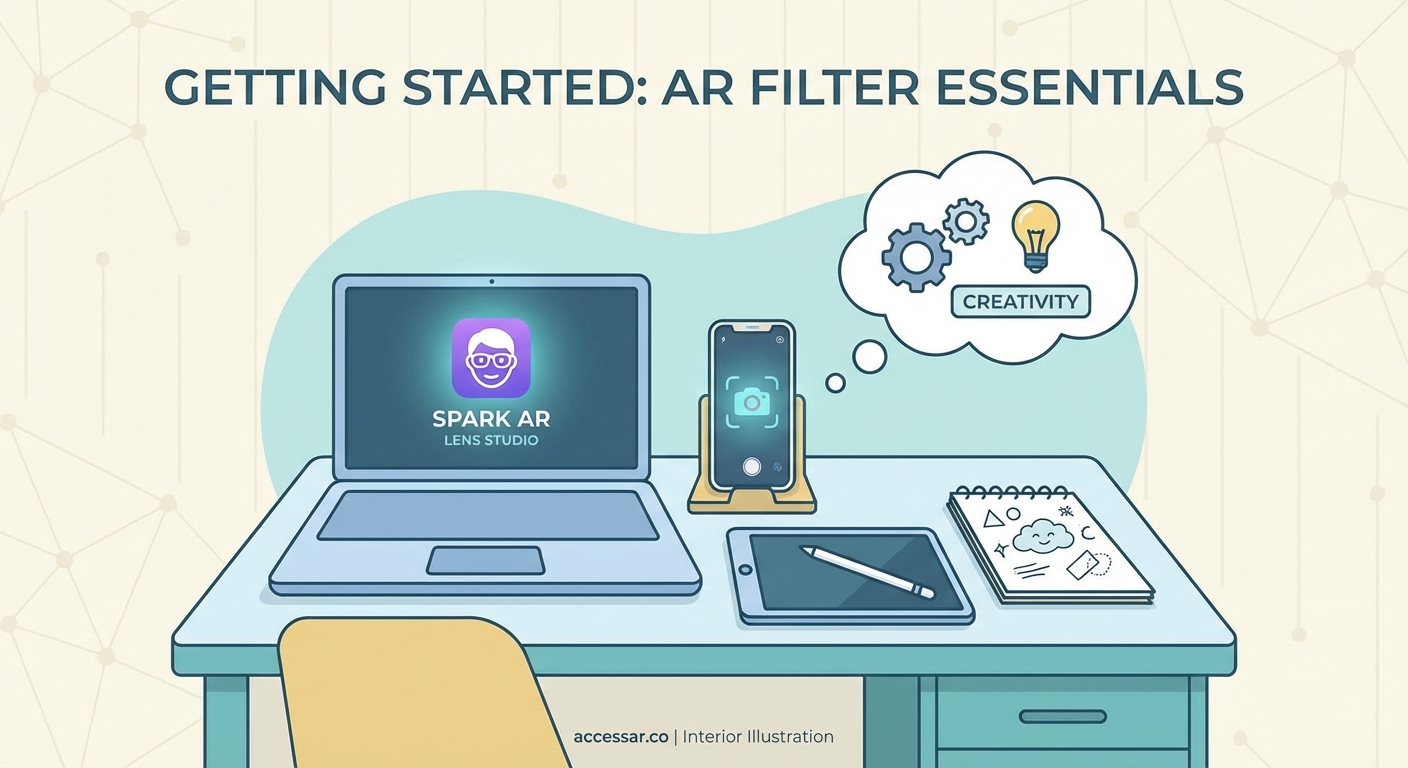
Choosing your AR creation platform
Three main platforms dominate the AR filter space right now.
Meta Spark Studio powers Instagram and Facebook filters. It offers the largest potential audience since billions of people use these apps daily. The interface feels approachable for beginners, with drag and drop functionality and visual scripting. You can create effects without writing a single line of code.
Snapchat Lens Studio gives you access to Snapchat’s 300+ million daily users. The platform offers more advanced features than Meta Spark, including custom shaders and deeper 3D capabilities. The learning curve sits slightly higher, but the documentation remains excellent.
TikTok Effect House targets the fastest growing platform. If your audience skews younger, this platform makes sense. The tools feel similar to Meta Spark, with templates that help you get started fast.
Each platform requires different approval processes and has unique content guidelines. Pick based on where your audience spends time, not which tool looks easiest.
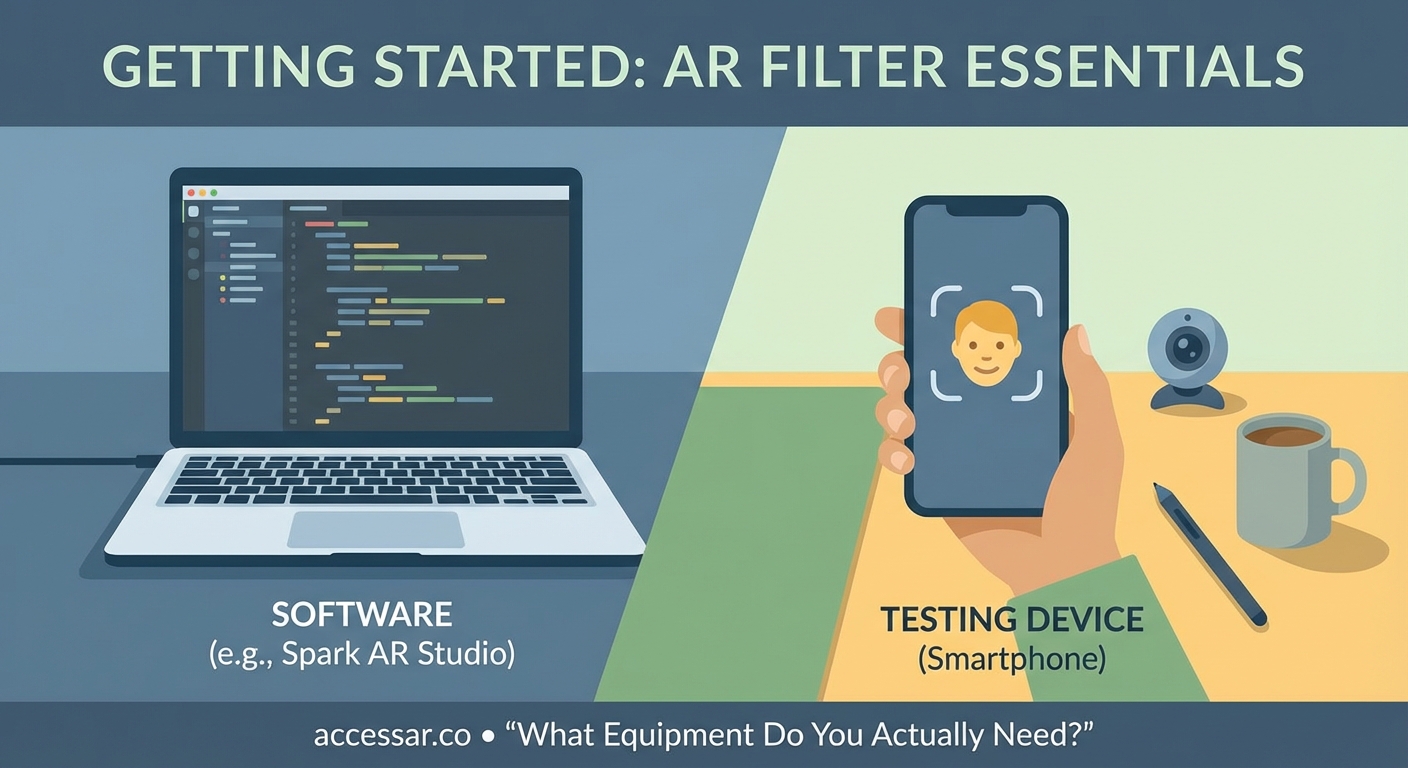
Equipment you need to get started
Your equipment list stays surprisingly short.
A computer with decent specs forms your foundation. Mac or Windows both work fine. You need at least 8GB of RAM, though 16GB makes the experience smoother. Your graphics card matters more than you think since AR software renders 3D objects in real time.
A smartphone for testing is mandatory. You cannot publish a filter without testing it on an actual device. Both iOS and Android work, but newer phones (from the last three years) perform better with face tracking.
Design software helps you create custom assets. Free options like GIMP or Blender work perfectly fine. Many creators use Photoshop and Cinema 4D, but these cost money and add complexity you might not need yet.
A basic understanding of layers, transparency, and file formats will save you hours of frustration. PNG files for graphics with transparent backgrounds. FBX or OBJ files for 3D models. MP4 or MOV for video textures.
That’s it. No special cameras. No green screens. No expensive hardware.
Your first filter from start to finish
Let’s walk through creating a simple face filter that adds sparkles around your head.
-
Download and install Meta Spark Studio from the official website. Create a Facebook account if you don’t have one, since you’ll need it for publishing.
-
Open Meta Spark and select “Create New” then choose the “Face Tracking” template. This gives you a project with face tracking already configured.
-
Look at the left panel called “Scene.” You’ll see a face tracker object already in your project. This tracks the user’s face automatically.
-
Add a particle emitter by clicking the “Add Object” button and selecting “Particle System.” This creates your sparkle effect.
-
Position the particle emitter above the head by adjusting the Y position value in the properties panel. Start with a value around 20 and adjust based on how it looks.
-
Import a sparkle texture by dragging a PNG file into the Assets panel. You can find free sparkle images on sites that offer public domain graphics.
-
Apply your sparkle texture to the particle emitter by clicking on the particle system, finding “Material” in the properties, and selecting your imported texture.
-
Adjust the particle settings to control how many sparkles appear, how fast they move, and how long they last. Play with these values until it feels right.
-
Test your filter by clicking the “Test on Device” button. Follow the prompts to install the Meta Spark Player app on your phone and view your effect live.
-
Refine based on what you see. Maybe the sparkles are too big. Maybe they need to move slower. Go back and adjust the values.
-
Submit for review once you’re happy. Click “Upload” and fill out the required information about your effect. Meta reviews most filters within 48 hours.
This basic process applies to most AR filter creation, regardless of platform. You set up tracking, add objects, apply textures, test, and refine.
Common mistakes that trip up beginners
| Mistake | Why it happens | How to avoid it |
|---|---|---|
| File sizes too large | Adding high resolution images without compression | Optimize all images to 1024×1024 or smaller |
| Poor performance on older phones | Using too many particles or complex 3D models | Test on multiple devices before publishing |
| Filters that don’t work in different lighting | Only testing in perfect lighting conditions | Test in bright sun, dim rooms, and mixed lighting |
| Ignoring platform guidelines | Not reading the content policies | Review guidelines before building anything |
| Overcomplicating your first project | Trying to build something too advanced | Start with one simple effect and master it |
The file size issue causes the most rejections. Each platform has strict limits. Instagram filters cannot exceed 4MB. Snapchat allows 8MB. Compress your assets aggressively.
Performance testing matters more than visual perfection. A beautiful filter that crashes on 40% of phones will get poor ratings and low usage. A simple filter that works everywhere will get shared more.
Adding interactivity to your filters
Static filters look nice, but interactive ones get shared more.
Tap interactions let users change elements by touching the screen. You might switch between different makeup looks or cycle through color options. In Meta Spark, you use the Patch Editor to connect tap gestures to property changes.
Mouth open triggers activate effects when users open their mouths. This works great for effects that come out of the mouth like fire, hearts, or speech bubbles. The face tracker already detects mouth state, so you just connect it to your effect.
Head rotation triggers respond when users turn their heads left or right. You could reveal hidden elements or change the background based on head position.
Time based animations play automatically without user input. These work well for subtle effects that enhance rather than dominate the experience.
“The best filters balance visual interest with simplicity. Users should understand how to interact with your filter within two seconds of seeing it. If they need instructions, you’ve made it too complex.” – AR creator with 50+ published filters
Design principles that make filters shareable
Color choice impacts shareability more than you’d expect. Filters that enhance natural skin tones perform better than those that drastically change appearance. People want to look good, not weird.
Subtlety wins for everyday use. The filters people use repeatedly add a small enhancement, not a complete transformation. Think light glow, slight color correction, or minimal makeup looks.
Trend awareness helps your filter gain traction. If a specific aesthetic is popular right now (like Y2K graphics or cottagecore vibes), incorporating those elements increases discovery.
Brand alignment matters if you’re creating filters for business purposes. The effect should feel cohesive with other brand materials while still being fun enough that people want to use it.
Testing with your target audience before publishing saves time. Show your filter to five people who match your audience profile. Watch how they interact with it without giving instructions. Their confusion points are your design problems.
Publishing and promoting your filter
Each platform has its own submission process, but they all follow similar patterns.
You’ll need to provide a name, description, and preview video. The name should be searchable and clear. “Sparkle Glow” beats “My First Filter” every time. The description should explain what the filter does in simple terms.
The preview video shows your filter in action. Record yourself or someone else using the filter for 5 to 10 seconds. Show the key features and interactions. This video determines whether people try your filter, so make it count.
Categories and tags help users find your filter. Choose accurately. Don’t tag your filter as “Beauty” if it’s actually a game or face distortion effect.
After approval, promotion determines success. Share your filter link on all your social channels. Create content using your filter and post it regularly. Engage with people who use your filter by commenting and sharing their content.
Collaborate with other creators who have larger audiences. Many creators will try new filters if you reach out respectfully and show them why their audience would enjoy it.
Track your analytics through the platform’s creator portal. You’ll see how many people used your filter, how many times, and which demographics engaged most. Use this data to inform your next filter.
Advanced techniques worth learning next
Once you master basic face filters, several paths open up.
Custom 3D models let you create unique objects that don’t exist in template libraries. Learning basic 3D modeling in Blender opens up endless possibilities. You can create custom glasses, hats, or entire environments.
Scripting adds logic that visual programming can’t handle. Both Meta Spark and Lens Studio support JavaScript. You can create games, complex interactions, and data driven effects.
Shader programming gives you control over how surfaces render. You can create custom materials, unique visual effects, and optimized graphics that perform better than standard options.
Machine learning integration lets your filters respond to more than just faces. You could detect hand gestures, recognize objects, or respond to body poses.
Multi user effects allow multiple people in the same space to share an AR experience. These work great for brand activations and events.
Each of these skills takes time to develop. Pick one based on what excites you most, not what seems most impressive.
Building your AR filter portfolio
Creating one filter teaches you the basics. Creating ten filters makes you competent. Creating fifty filters makes you an expert.
Start with simple projects and increase complexity gradually. Your first five filters should focus on mastering the fundamentals. Face tracking, particle systems, basic animations, and simple interactions.
Document your process for each filter. Take screenshots, write notes about what worked and what didn’t. This documentation becomes valuable when you’re stuck on a future project.
Study successful filters in your niche. Don’t copy them, but understand why they work. What makes people share them? How do they balance visual appeal with usability?
Join AR creator communities on Discord, Reddit, or Facebook. These groups share tips, provide feedback, and often collaborate on projects. The AR creation community remains surprisingly welcoming to beginners.
Consider creating filters for small businesses or local brands. Many companies want AR filters but don’t know how to create them. This gives you real world experience and potentially some income.
Turning your filter skills into opportunities
AR filter creation has become a legitimate career path for many creators.
Freelance work exists on platforms like Upwork and Fiverr. Brands need filters for product launches, events, and ongoing social media campaigns. Rates range from $500 for simple filters to $5,000+ for complex branded experiences.
Agency positions are growing as marketing agencies add AR capabilities. These roles combine creative design with technical implementation. Many agencies prefer hiring people with proven filter portfolios over traditional developers.
Creator partnerships with platforms offer another path. Both Snapchat and Meta run programs that fund creators building innovative effects. These programs provide money, promotion, and direct support from platform teams.
Building your own brand as an AR creator can lead to sponsorships and collaborations. If your filters consistently get millions of impressions, brands will pay you to create effects featuring their products.
Teaching others through courses, YouTube tutorials, or workshops creates passive income while establishing you as an expert. The AR creation space still needs more quality educational content.
Making your first filter today
You now know the complete process for creating AR filters. You understand the platforms, the equipment, the workflow, and the opportunities.
The gap between knowing and doing stops most people. They read articles, watch tutorials, and plan their perfect first filter. But they never actually open the software and start building.
Your first filter will be imperfect. It might be too simple or slightly buggy. The colors might not look quite right. That’s completely normal and expected.
Download Meta Spark Studio or Lens Studio right now. Spend 30 minutes following the official getting started tutorial. By the end of today, you can have a working filter on your phone.
Each filter you create teaches you something new. That knowledge compounds. Your tenth filter will be exponentially better than your first, and your hundredth will be better still.
The AR filter space continues to grow. More platforms are adding AR capabilities. More brands are investing in AR marketing. More users are comfortable with AR experiences. Getting started now positions you ahead of this curve.
Stop reading about creating AR filters and start actually making them. Your first filter is waiting to be built.