
Creating augmented reality experiences used to require a computer science degree and months of development time. Not anymore. Today’s no code WebAR builders put powerful AR creation tools in the hands of marketers, small business owners, and creative professionals who’ve never written a line of code. You can build, test, and launch web-based AR experiences in an afternoon, and your customers can access them with nothing more than a smartphone camera and a browser.
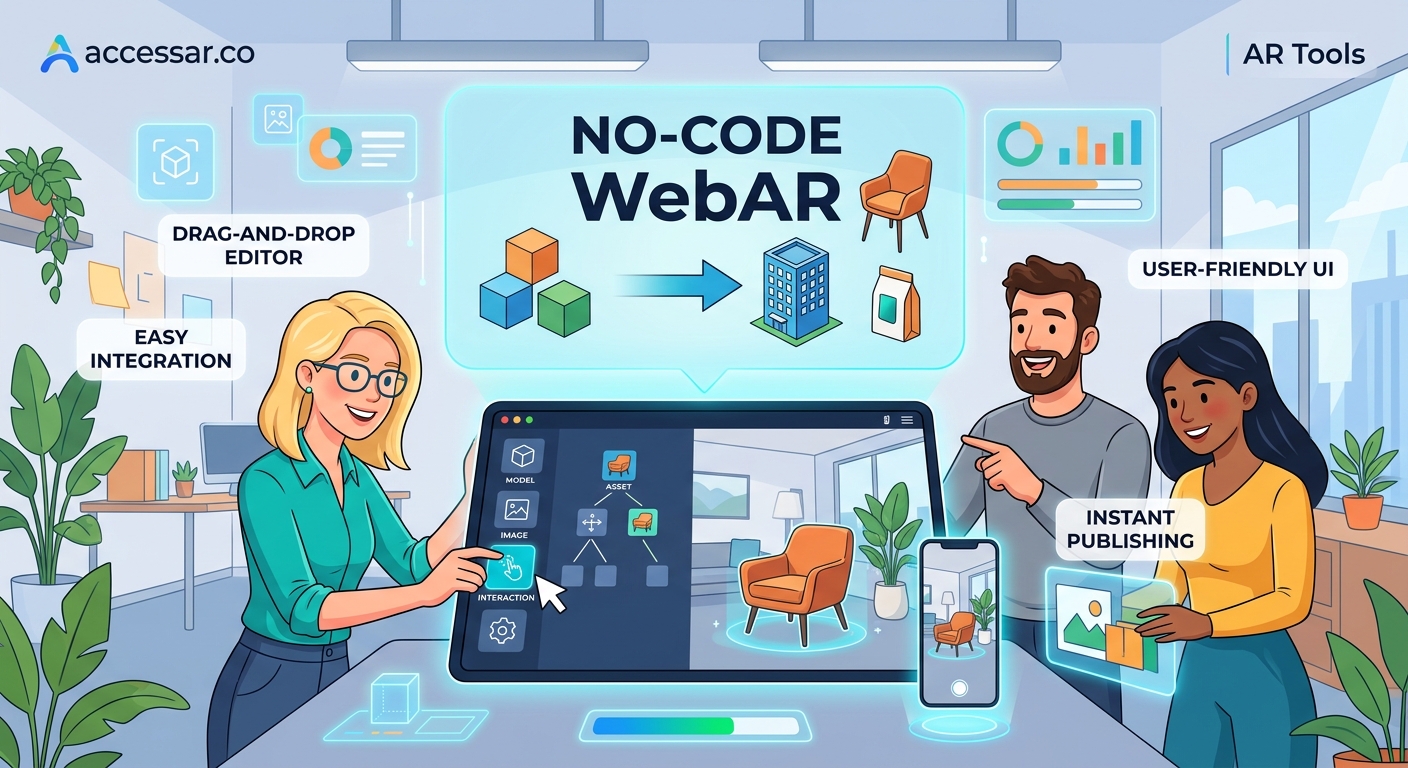
No code WebAR builders let you create browser-based augmented reality experiences without programming skills. These platforms offer drag-and-drop interfaces, pre-built templates, and instant publishing. You can build product visualizations, virtual try-ons, and interactive campaigns that work across devices. Most platforms provide free tiers, making professional AR accessible to businesses of any size. Setup takes minutes, not months.
What makes WebAR different from social AR filters
WebAR lives directly in your web browser. No app downloads. No platform restrictions. No waiting for approval from Meta or Snap.
When someone scans a QR code or clicks a link, the AR experience launches immediately. This matters because 80% of users abandon an experience if they need to download an app first.
Social AR filters like those on Instagram or Snapchat are fantastic for viral reach. But they lock you into a single platform’s ecosystem. WebAR gives you complete control over the experience, the data, and the customer journey.
You can embed WebAR directly on product pages, in email campaigns, or on digital billboards. The experience belongs to you, not to a social media platform.
Top no code WebAR builders compared
| Platform | Best For | Free Tier | Learning Curve | Export Options |
|---|---|---|---|---|
| 8th Wall | Product visualization | Trial only | Medium | Web embed, QR |
| Zappar | Marketing campaigns | Yes | Low | Web, app, print |
| Blippar | Retail experiences | Limited | Low | Web, social |
| AR.js | Custom projects | Yes (open source) | Medium | Full control |
| Vectary | 3D product displays | Yes | Very low | Web embed |
Each platform serves different needs. Zappar excels at marketing campaigns with built-in analytics. Vectary makes 3D product visualization incredibly simple. 8th Wall offers the most robust feature set but comes with a higher price tag.
For most small businesses starting out, Zappar or Vectary provide the best balance of features and affordability.
Building your first WebAR experience in five steps
Creating a working AR experience takes less time than you think. Here’s the proven process:
- Choose your AR format (product visualization, face filter, world effect, or image target)
- Upload your 3D model or assets to your chosen platform
- Configure the AR behavior using the visual editor
- Test on multiple devices (iOS Safari and Android Chrome minimum)
- Generate your shareable link or QR code
Most platforms provide sample projects you can clone and customize. Start there instead of building from scratch.
Testing matters more than most beginners realize. An experience that works perfectly on your iPhone might break on certain Android devices. Always test on both operating systems before launching.
“The biggest mistake I see is brands skipping mobile testing. Your AR experience needs to work flawlessly on a three-year-old Android phone, not just the latest iPhone. Test on old devices, slow connections, and different lighting conditions.” – Sarah Chen, AR Creative Director
Features that separate basic builders from professional platforms
Not all no code WebAR builders offer the same capabilities. Here’s what to look for:
- 3D model optimization: Automatic file compression and polygon reduction
- Multi-target tracking: Ability to track faces, surfaces, images, or GPS locations
- Analytics integration: Built-in tracking for views, interactions, and conversions
- Custom branding: Remove platform watermarks and add your logo
- Collaboration tools: Team access and version control
- Template library: Pre-built experiences you can customize
The free tiers usually limit one or two of these features. Most commonly, you’ll see watermarks on free plans or caps on monthly views.
For testing and learning, free tiers work perfectly fine. Once you’re running client campaigns or product launches, the paid tiers become worth the investment.
Common mistakes that tank WebAR projects
Even with no code tools, beginners make predictable errors:
- Massive file sizes: 3D models over 5MB cause loading failures on mobile networks
- Ignoring lighting: AR objects that look great indoors fail in bright sunlight
- Skipping instructions: Users need clear guidance on where to point their camera
- Forgetting fallbacks: Always provide a 2D experience for unsupported devices
- No clear call-to-action: Users finish the AR experience and don’t know what to do next
File size kills more AR projects than any other issue. A product visualization that takes 30 seconds to load on 4G will never get used. Keep total experience size under 3MB when possible.
If you’re working with 3D models, learn basic optimization techniques or hire a 3D artist for a few hours. The investment pays off immediately in user completion rates.
Setting up analytics to measure AR campaign performance
You built an AR experience. Now you need to know if anyone’s actually using it.
Most no code WebAR builders include basic analytics. You’ll see:
- Total scans or activations
- Average session duration
- Device breakdown (iOS vs Android)
- Geographic distribution
- Drop-off points
The platforms that integrate with Google Analytics give you much deeper insights. You can track AR interactions as custom events, build conversion funnels, and measure ROI against other marketing channels.
Set up goal tracking before you launch. Define what success looks like. Is it time spent in the experience? Product page visits after AR interaction? Actual purchases?
Without clear metrics, you’re just making cool tech demos instead of running effective campaigns.
Choosing between template-based and custom WebAR builds
Templates get you live faster. Custom builds give you exactly what you want.
For your first three projects, use templates. Seriously. The learning curve drops dramatically when you start with a working example.
Clone a template, swap in your 3D model, adjust the colors, and publish. You’ll have a functioning AR experience in an hour instead of a week.
Once you understand how the platform works, you can start customizing. Add interactive buttons. Build multi-step experiences. Create branching narratives.
The 7 no-code WebAR platforms that let you build AR experiences in minutes article breaks down which platforms offer the best template libraries.
Custom builds make sense when:
- You need specific brand interactions
- The template library doesn’t match your use case
- You’re building for a major campaign with budget
- You want to stand out from competitors using the same templates
Integrating WebAR into your existing marketing stack
WebAR doesn’t replace your current marketing tools. It enhances them.
The best implementations weave AR into existing customer touchpoints:
- Email campaigns: QR codes that launch AR product demos
- Product pages: “View in your space” buttons next to images
- Social ads: Links to AR experiences instead of static landing pages
- Packaging: Print QR codes that activate AR instructions or games
- Trade shows: Business cards with AR portfolio experiences
The key is making AR feel like a natural next step, not a gimmick. If someone’s already interested in your product, AR helps them visualize it better. If they’re not interested yet, AR alone won’t change their mind.
Integration also means connecting your AR platform to your CRM, email system, and analytics tools. Most professional WebAR builders offer webhooks or Zapier connections.
When someone interacts with your AR experience, that data should flow into your marketing automation. Tag them as AR-engaged. Send follow-up emails. Track them through your funnel.
Understanding WebAR technical requirements and browser support
Not every browser supports WebAR equally well. Here’s the current landscape:
Full support:
– Safari on iOS 12 and newer
– Chrome on Android 8 and newer
– Samsung Internet Browser
Partial support:
– Firefox (limited features)
– Edge (improving rapidly)
No support:
– Internet Explorer (obviously)
– Many in-app browsers
This means your AR experience needs a fallback. When someone opens your link in Instagram’s in-app browser, show them a message to open in Safari or Chrome instead.
Most no code platforms handle this detection automatically. They’ll show a prompt with instructions when needed.
The technical requirements are surprisingly light. Users need:
- A smartphone with a camera
- A modern browser
- Decent lighting
- A stable internet connection for initial load
No special sensors. No expensive devices. Just a regular phone from the last five years.
Pricing models and what you actually get at each tier
Free tiers let you learn and experiment. Paid tiers let you run real campaigns.
Here’s what typically changes as you move up pricing tiers:
Free (usually $0/month):
– Platform watermark on experiences
– Limited monthly views (often 100-1,000)
– Basic templates only
– Community support
Starter ($29-99/month):
– Remove watermarks
– Higher view limits (5,000-25,000)
– Full template access
– Email support
– Basic analytics
Professional ($199-499/month):
– Custom branding
– Unlimited or very high view limits
– Advanced features (animations, interactions)
– Priority support
– Team collaboration
– Analytics integrations
Enterprise (custom pricing):
– White-label options
– Dedicated support
– Custom development
– SLA guarantees
– Advanced security
Most businesses start with free tiers for testing, move to starter plans for their first real campaign, then upgrade to professional when AR becomes a regular marketing channel.
Don’t pay for enterprise features until you’re consistently hitting the limits of professional tiers.
Optimizing 3D models for WebAR performance
Your 3D model makes or breaks the user experience. A beautiful, detailed model that takes 45 seconds to load is worse than a simple model that appears instantly.
Target these specifications:
- Under 5,000 polygons for simple objects
- Under 15,000 polygons for complex products
- Textures compressed to 1024×1024 or smaller
- Total file size under 2MB
- GLB or GLTF format
If your designer hands you a model with 500,000 polygons, it won’t work. Send it back for optimization.
Free tools like Blender can reduce polygon counts. Paid services like Sketchfab offer automatic optimization. Many WebAR platforms include built-in compression.
Test your model on a three-year-old phone over 4G before calling it done. If it loads in under 5 seconds there, you’re good.
Color and texture matter more than geometric detail. A 3,000 polygon model with great textures looks better than a 50,000 polygon model with basic materials.
Connecting WebAR experiences to conversion goals
AR for AR’s sake is just a tech demo. AR that drives business results is marketing.
Define your conversion goal before building:
- Product page visits
- Add to cart actions
- Email signups
- Store visits
- Social shares
Then build your AR experience to guide users toward that goal. If you want email signups, include a “Get notified when this launches” button inside the AR interface.
If you want store visits, show the nearest location with directions after the AR interaction. If you want social shares, make the AR experience so delightful that sharing is the natural next step.
Track the full funnel. How many people scan the QR code? How many complete the AR experience? How many take the desired action afterward?
A campaign with 10,000 scans and 50 conversions performs worse than a campaign with 1,000 scans and 200 conversions. Optimize for conversion rate, not just reach.
Learning resources and communities for WebAR creators
You don’t need to figure this out alone. Strong communities exist around every major platform.
Official resources:
- Platform documentation and tutorials
- YouTube channels with step-by-step guides
- Official Discord or Slack communities
- Weekly office hours or webinars
Third-party resources:
- Reddit communities (r/augmentedreality, r/WebAR)
- LinkedIn groups for AR creators
- Twitter hashtags (#WebAR, #NoCodeAR)
- Online courses on Udemy or Skillshare
The best no-code AR platforms for social media creators in 2024 guide covers additional learning paths.
Join at least one community. Ask questions. Share your work. The AR creator community is surprisingly helpful and welcoming to beginners.
When you get stuck (and you will), someone in these communities has solved your exact problem before.
Real campaign examples that drove measurable results
Theory is nice. Results are better.
A furniture retailer added “View in your room” AR to product pages using a no code WebAR builder. Conversion rates increased 22% for products with AR enabled. Return rates dropped 15% because customers knew exactly what they were getting.
A cosmetics brand created an AR lipstick try-on experience. They promoted it through Instagram ads linking to the WebAR experience. The campaign generated 45,000 AR sessions and 3,200 product purchases directly attributed to AR interaction.
A real estate developer used WebAR to show off-plan properties. Potential buyers could see full-scale room layouts in empty lots. The AR experience shortened the sales cycle by an average of three weeks.
These weren’t massive corporations with unlimited budgets. They were small to medium businesses using affordable no code platforms.
The why WebAR is the future of mobile shopping experiences article includes more case studies with specific metrics.
Publishing and distributing your WebAR experience
You built it. Now people need to find it.
Distribution channels that work:
- QR codes on packaging: Every product box becomes an AR trigger
- Email campaigns: “See this in AR” calls-to-action
- Social media posts: Links that open directly to AR
- Paid ads: AR experiences as landing pages
- Website integration: Buttons on product pages
- Print advertising: Magazine ads with scannable codes
The how to embed WebAR experiences directly into your website guide walks through technical implementation.
QR codes work better than most marketers expect. People are comfortable scanning them now after years of pandemic-era menus and contact tracing.
Make your QR codes large enough to scan from 2-3 feet away. Include a short text instruction like “Scan to see in AR” or “Point your camera here.”
Test your distribution method before the big launch. Send the link to friends on different devices. Print test QR codes and scan them in various lighting conditions.
When WebAR makes sense versus native AR apps
WebAR isn’t always the right answer. Sometimes you need a full native app.
Choose WebAR when:
- You want instant access without downloads
- You’re testing AR for the first time
- Budget is limited
- You need cross-platform compatibility
- The experience is relatively simple
Choose native AR apps when:
- You need advanced features like persistent AR
- Users will return to the experience repeatedly
- You want offline functionality
- You need deep device integration
- You’re building a complex game or tool
For most marketing campaigns, product visualizations, and one-time experiences, WebAR wins. The friction of app downloads kills 80% of potential users.
The WebAR vs native AR apps comparison breaks down the decision framework in detail.
Getting started today with zero budget
You don’t need money to start learning WebAR creation. Several platforms offer genuinely useful free tiers.
Your zero-budget starter plan:
- Sign up for Zappar’s free tier or try Vectary’s free plan
- Download a free 3D model from Sketchfab (filter for Creative Commons licenses)
- Follow the platform’s getting started tutorial
- Build a simple product visualization
- Test it on your phone
- Share it with five people and ask for feedback
Spend three hours on this. By the end, you’ll have a working AR experience and understand the basic workflow.
Then decide if you want to invest in paid tools, hire a 3D artist, or keep building with free resources.
The your first AR filter in 30 minutes tutorial provides a step-by-step walkthrough perfect for absolute beginners.
Many successful AR creators started with free tools and free 3D models. You can too.
Building AR experiences that work for your specific industry
Different industries need different AR approaches.
Retail and ecommerce:
– Product visualization in customer spaces
– Virtual try-on for apparel and accessories
– Size comparison tools
– Color and finish options
Real estate:
– Virtual property tours
– Furniture placement in empty rooms
– Neighborhood information overlays
– Before and after renovation previews
Education:
– Interactive 3D models of complex concepts
– Historical site reconstructions
– Anatomy and biology visualizations
– Chemistry molecule viewers
Entertainment:
– Movie poster activations
– Album cover experiences
– Event previews and teasers
– Character interactions
Think about your customer’s specific pain point. What decision are they struggling to make? What information would help them move forward?
AR should solve a real problem, not just show off technology.
Making your WebAR accessible to all users
Accessibility matters in AR just like it does everywhere else.
Best practices:
- Provide text alternatives for all visual information
- Include audio descriptions for key interactions
- Design for one-handed use
- Offer high contrast modes
- Test with screen readers where possible
- Provide clear instructions in simple language
Not everyone can hold a phone steady while pointing at a surface. Offer alternative interaction methods.
Some users have limited vision. Make sure text is large enough and contrasts well with backgrounds.
Consider users with motor control challenges. Don’t require precise gestures or perfect camera positioning.
The more accessible your AR experience, the larger your potential audience.
Measuring success beyond vanity metrics
Total scans look impressive in reports. But they don’t pay the bills.
Track metrics that matter:
- Completion rate: Percentage who finish the full experience
- Interaction depth: How many features they use
- Time to conversion: How long from AR to purchase
- Return visits: Do they come back?
- Share rate: Organic distribution through user sharing
A campaign with 1,000 scans and 60% completion beats a campaign with 10,000 scans and 10% completion.
If users are dropping out after 5 seconds, your experience isn’t engaging enough. If they complete it but don’t convert, your call-to-action needs work.
Set up proper event tracking in Google Analytics. Tag each interaction point. Build funnels that show exactly where users succeed and where they struggle.
Staying current as WebAR technology advances
WebAR capabilities improve every few months. New browser features. Better device support. Faster loading.
Stay current by:
- Following platform update blogs
- Joining beta programs for new features
- Testing new capabilities as they launch
- Rebuilding old experiences with new tools
- Attending virtual AR conferences
What seemed impossible six months ago might be standard today. Hand tracking. Better occlusion. Improved lighting estimation.
Don’t let your AR experiences stagnate. Refresh them annually at minimum. Update 3D models. Improve interactions. Add new features.
The platforms you choose today might not be the best options next year. Stay flexible and willing to migrate if better tools emerge.
Your path from beginner to confident WebAR creator
You’ve got the knowledge. Now you need the practice.
Start small. Build something simple this week. A single product visualization. A basic face filter. An image target that reveals a 3D model.
Share it with ten people. Get feedback. Notice what confuses them. Watch where they struggle.
Build something slightly more complex next week. Add an interaction. Include a call-to-action. Track some metrics.
After a month of weekly projects, you’ll have more practical WebAR experience than 90% of marketers.
The technology is ready. The tools are accessible. The only thing missing is your first project. Build it today, not someday.