You’re ready to create AR filters, but you’re stuck at the starting line.
Two platforms dominate the social AR space. Spark AR powers Instagram and Facebook. Lens Studio runs Snapchat. Both let you build face filters, world effects, and interactive experiences. But they work differently, serve different audiences, and require different approaches.
Choosing the wrong one wastes weeks of learning time.
This guide breaks down exactly what each platform offers, who should use which tool, and how to make the right call based on your goals.
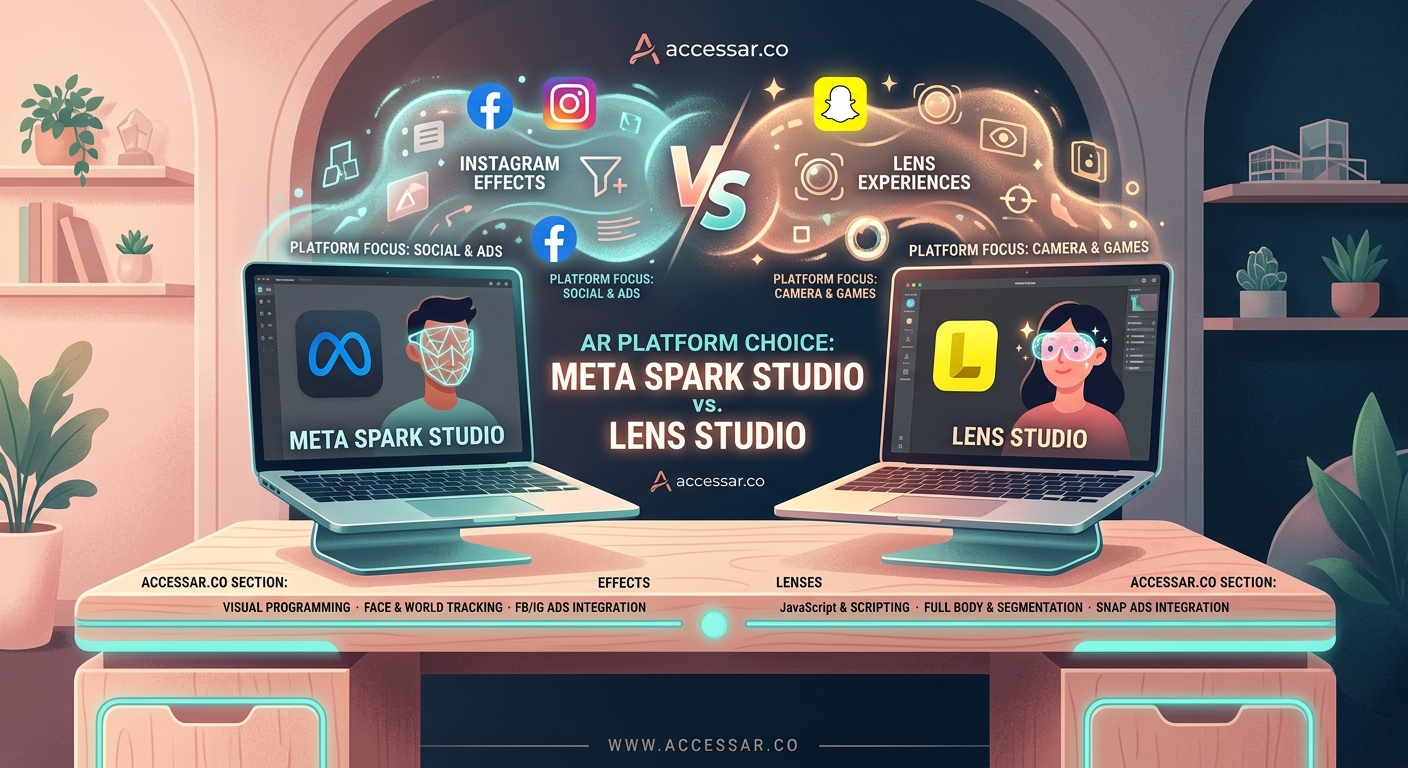
Spark AR connects you to 3 billion Instagram and Facebook users but has stricter approval rules. Lens Studio reaches 375 million daily Snapchat users with more creative freedom and better documentation. Your choice depends on your target audience, technical comfort level, and whether you prioritize reach or flexibility. Most creators benefit from starting with Lens Studio, then expanding to Spark AR once comfortable.
Platform reach and audience demographics
Spark AR publishes to Instagram and Facebook.
That’s over 3 billion monthly active users combined. Instagram skews toward millennials and Gen Z, with strong representation across ages 18 to 44. Facebook brings in older demographics, including users over 45 who rarely touch Snapchat.
If your brand targets a broad age range, Spark AR gives you that span.
Lens Studio serves Snapchat exclusively.
Snapchat has 375 million daily active users. The platform dominates the 13 to 24 age bracket. Over 75% of users fall into Gen Z. If you’re marketing to college students, high schoolers, or young professionals, Snapchat is where they spend hours every day.
The audience difference matters more than the raw numbers.
A beauty brand targeting teens will see better engagement on Snapchat. A B2B service targeting professionals aged 30 to 50 will perform better on Instagram and Facebook.
Know your audience before you pick your tool.
Interface and learning curve comparison
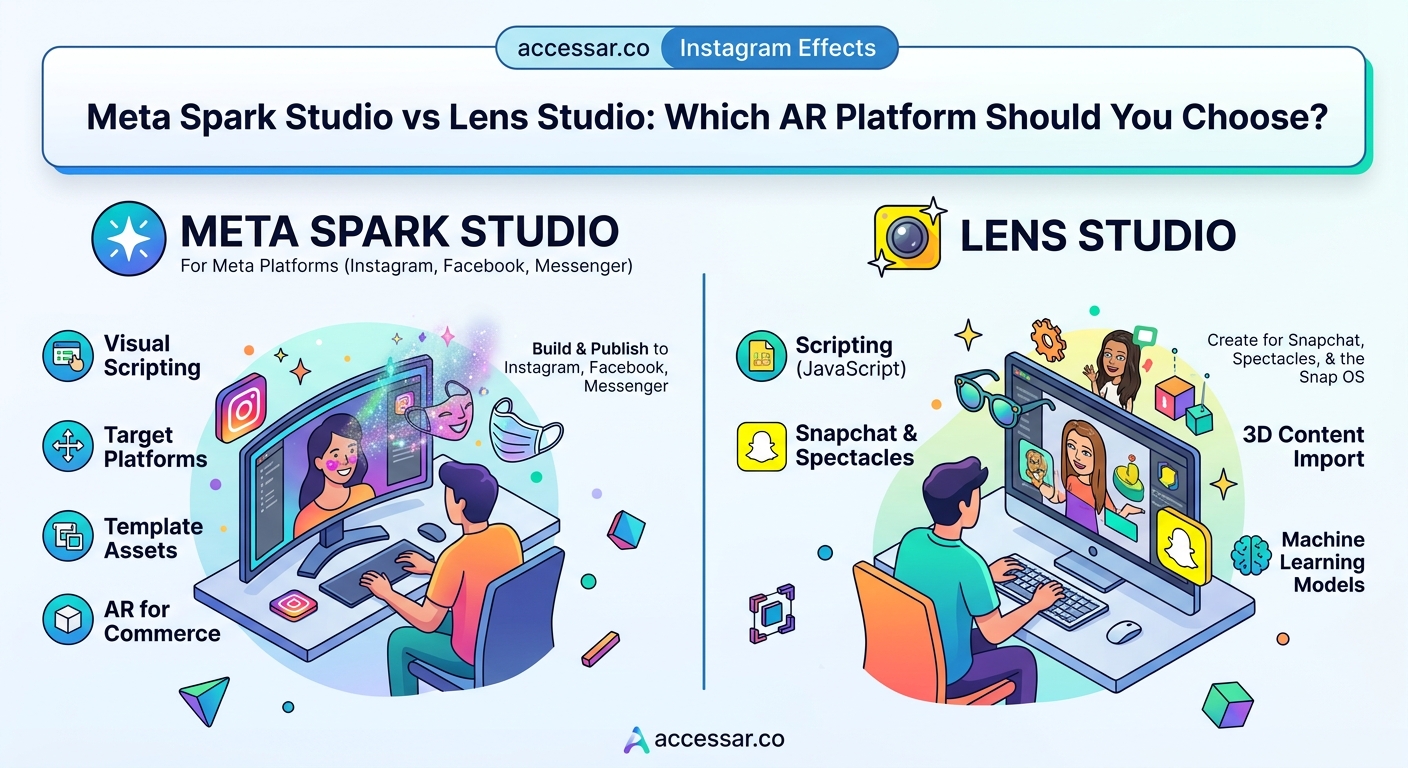
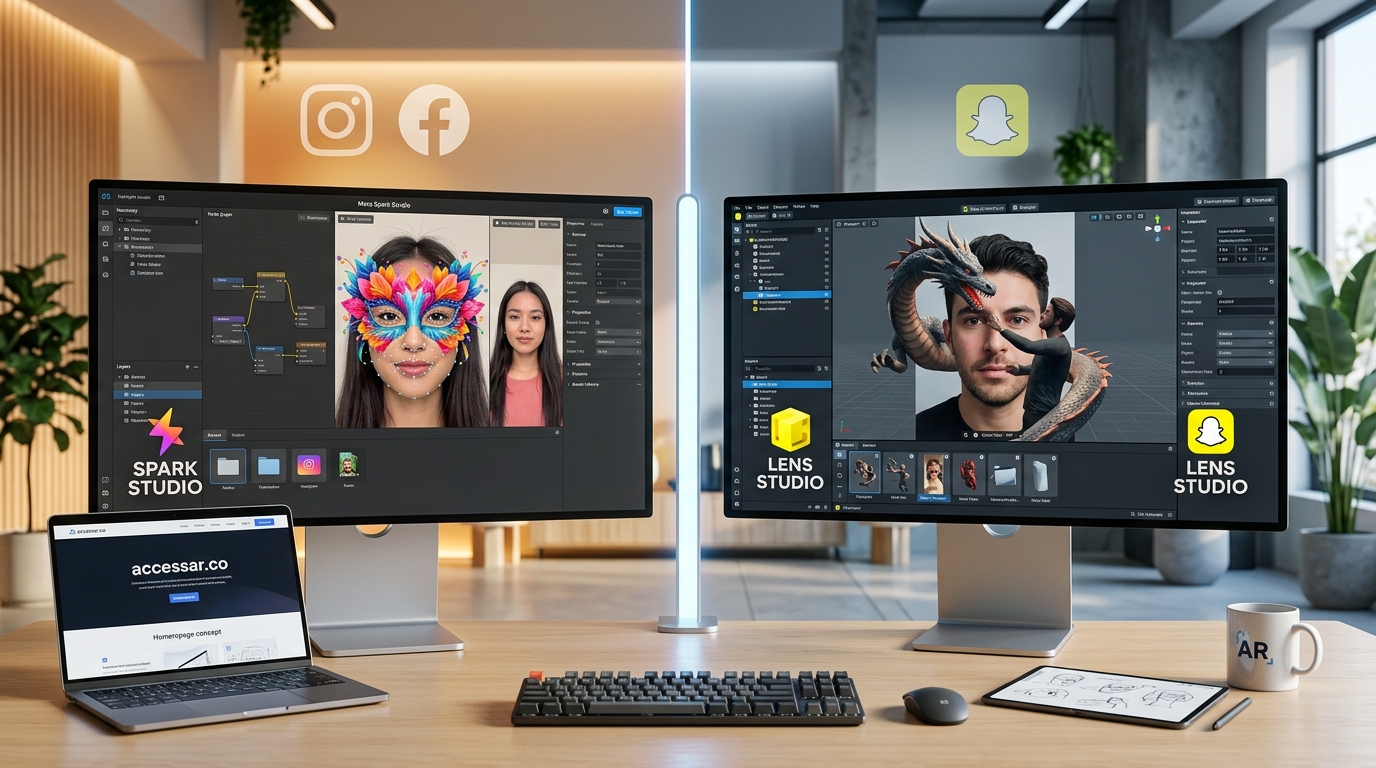
Spark AR uses a node-based visual scripting system called Patch Editor.
You connect boxes to create logic. Each box represents a function like “add,” “multiply,” or “face tracker.” The interface feels clean but can get overwhelming when patches stack up. New users often struggle to find the right patch or understand how data flows between nodes.
The platform also supports JavaScript for advanced users.
Lens Studio offers multiple workflow options.
Beginners can use templates and guided workflows that require zero coding. Intermediate users can work with the visual scripting system. Advanced creators can write custom scripts in JavaScript. This flexibility means you can start simple and grow into complexity at your own pace.
Lens Studio’s interface feels more intuitive out of the box.
The left panel shows your scene hierarchy. The center displays your preview. The right panel holds properties. Everything sits where you expect it. Spark AR’s layout takes longer to internalize, especially if you’ve never used node-based editors before.
Both platforms require learning, but Lens Studio has the gentler slope.
If you want to build Snapchat filters without coding skills, Lens Studio gives you more hand-holding early on.
Feature sets and creative capabilities
Both platforms handle the basics well.
Face tracking, world tracking, segmentation, and image tracking work smoothly on both. You can add 3D objects, animations, particle effects, and audio. Color correction, beauty effects, and custom shaders are available in both tools.
The differences emerge in the details.
Lens Studio offers more advanced features for experienced creators. Hand tracking works better. Body tracking includes more skeleton points. The physics engine lets you build interactive games inside lenses. You can create persistent AR experiences that remember user data across sessions.
Spark AR focuses on simplicity and brand safety.
The platform limits certain features to prevent misuse. You can’t access as much device data. Some experimental features require approval. The review process is stricter, which protects users but constrains creativity.
Here’s a direct comparison:
| Feature | Spark AR | Lens Studio |
|---|---|---|
| Face tracking points | 468 landmarks | 468+ landmarks |
| Hand tracking | Basic gestures | Full hand mesh |
| Body tracking | Limited | Full skeleton |
| Physics engine | None | Full 2D/3D physics |
| Persistent data | Limited | Full Cloud Storage |
| Custom shaders | Yes | Yes |
| Audio reactive | Yes | Yes |
| Machine learning | Limited | TensorFlow support |
Lens Studio gives you more tools to experiment with.
Spark AR keeps things controlled and brand-friendly.
Templates and learning resources
Lens Studio ships with over 1,000 templates.
You can browse by category: face effects, world effects, games, utility lenses. Each template includes comments explaining how it works. You can customize colors, swap 3D models, and publish without touching code.
The templates save hours of design time when you’re starting out.
Spark AR offers fewer templates but better official documentation.
Meta maintains detailed guides, video tutorials, and a structured learning path. The documentation explains concepts clearly. You can find answers to specific questions without digging through forums.
Community resources differ significantly.
Lens Studio has an active creator community. The official forums, Discord servers, and YouTube channels provide constant support. Creators share scripts, troubleshooting tips, and creative techniques freely.
Spark AR’s community feels smaller and less responsive.
Questions take longer to get answered. Fewer creators share advanced techniques publicly. You’ll rely more on official documentation and less on peer support.
If you learn best from community interaction, Lens Studio wins.
Publishing process and approval times
Getting your first effect live tests your patience differently on each platform.
Lens Studio lets you publish immediately for personal use.
You submit your lens for review only if you want it in the public lens carousel or if you’re creating for a brand. Personal lenses go live instantly. You get a Snapcode that anyone can scan. No waiting, no approval process.
This instant feedback loop helps beginners learn faster.
You can make your first Snapchat lens in under 30 minutes and share it with friends immediately.
Spark AR requires approval for everything.
Every effect must pass review before anyone can use it. Meta checks for brand safety, performance, user experience, and policy compliance. Approval times vary from 24 hours to two weeks. Rejections come with vague explanations that make fixing issues frustrating.
The strict review protects users but slows down learning.
You can’t test with real users until Meta approves your effect. This delay breaks the creation cycle. You build, submit, wait, get feedback, rebuild, and wait again.
Here’s what each platform checks:
Spark AR review criteria:
– No misleading effects
– No copyright violations
– No excessive data collection
– Meets performance benchmarks
– Clear user instructions
– No inappropriate content
Lens Studio review criteria (for public lenses):
– No spam or low-quality content
– No copyright violations
– Meets technical requirements
– Appropriate for all ages
Both platforms reject effects that crash, lag, or confuse users.
But Spark AR applies stricter interpretation of “brand safety” and “user confusion.” Effects that pass on Lens Studio might fail on Spark AR.
If you want to publish your first Instagram filter and get it approved fast, expect to follow detailed guidelines and wait longer than you’d like.
Performance optimization and technical requirements
Both platforms run on mobile devices with limited processing power.
You need to optimize for battery life, heat, and frame rate. Heavy effects drain batteries and make phones hot. Users close effects that lag or stutter.
Spark AR enforces strict performance limits.
The platform caps your effect size, texture resolution, and polygon count. You can’t publish effects that exceed these limits. The restrictions protect user experience but limit creative ambition.
Lens Studio gives you more headroom.
Performance targets exist, but they’re guidelines rather than hard limits. You can push boundaries if you optimize well. Advanced creators can build complex experiences that would never pass Spark AR review.
Both platforms provide performance profilers.
You can see frame rates, memory usage, and processing load in real time. The tools help you identify bottlenecks and optimize accordingly.
System requirements for development:
Spark AR Studio:
– macOS 10.14 or Windows 10
– 4GB RAM minimum
– Dedicated graphics card recommended
– iPhone 6s or Android 8.0 for testing
Lens Studio:
– macOS 10.13 or Windows 10
– 8GB RAM recommended
– Dedicated graphics card recommended
– iPhone 6s or Android 7.0 for testing
Lens Studio runs smoother on older hardware.
The software feels more responsive during editing. Preview updates happen faster. Testing on device works more reliably.
Monetization and career opportunities
Neither platform pays creators directly for views.
You can’t earn ad revenue like YouTube. Your income comes from brand partnerships, freelance projects, or using effects to promote your own business.
Lens Studio offers the Snap Creator Marketplace.
Brands post projects looking for lens creators. You can apply, pitch ideas, and get paid for approved work. Rates vary from a few hundred to several thousand dollars per lens. The marketplace gives beginners a path to paid work without existing clients.
Spark AR has no official marketplace.
You find clients through freelance platforms, social media, or direct outreach. Brand budgets for Instagram effects tend to be larger because of the platform’s reach. A single campaign might pay $5,000 to $20,000 for custom effects.
The job market differs by platform.
More agencies and brands request Instagram effects because of audience size. But Snapchat projects often pay better per effect because of the platform’s younger, more engaged user base.
Learning both platforms maximizes opportunities.
Clients often want effects across multiple platforms. Knowing Spark AR and Lens Studio lets you offer complete packages. You can adapt effects between platforms, multiplying the value of each project.
If you’re comparing all your options, check out Spark AR vs Lens Studio vs Effect House to see how TikTok’s platform fits into the picture.
Common mistakes beginners make on each platform
New Spark AR users often ignore file size limits.
They import high-resolution textures and complex 3D models. The effect works in preview but fails review. You need to compress textures, reduce polygon counts, and test on actual devices early.
Another mistake: not reading Meta’s policies carefully.
Effects get rejected for subtle policy violations. Using brand names without permission, creating effects that look like system UI, or making effects that could mislead users all trigger rejections. Read the guidelines twice before submitting.
Lens Studio beginners struggle with scene organization.
They add everything to the root level instead of using groups. Projects become messy and hard to edit. Use the hierarchy panel to organize objects logically from the start.
New Lens Studio users also skip templates.
They try building from scratch when a template would save hours. Browse the template library first. Find something close to your vision and customize it.
Both platforms trip up beginners with lighting.
Effects look great in the editor but terrible in real-world conditions. Test in bright sunlight, dim rooms, and mixed lighting. Your effect needs to work everywhere.
Start with one platform, master the basics, then expand. Trying to learn both simultaneously splits your focus and slows progress. Pick based on your target audience, build three complete effects, then consider adding the second platform.
For more guidance on avoiding early pitfalls, read about common mistakes every AR beginner makes.
Which platform matches your goals
Choose Lens Studio if:
- Your audience is under 25
- You want to learn AR creation with gentle guidance
- You need instant publishing for testing
- You value creative freedom over maximum reach
- You want access to advanced features like physics and hand tracking
- You learn best from community support and templates
Choose Spark AR if:
- Your audience spans multiple age groups
- You’re creating for brands that prioritize Instagram and Facebook
- You’re comfortable with longer approval times
- You want access to 3 billion potential users
- You prefer official documentation over community resources
- You’re okay with stricter creative limitations
Choose both if:
- You’re building a career as an AR creator
- You work with agencies that need multi-platform campaigns
- You have time to learn two different workflows
- You want maximum flexibility for client projects
The platforms aren’t competitors in the traditional sense.
They serve different audiences on different platforms. Most successful AR creators eventually learn both. But starting with both splits your attention and slows mastery.
Start with the platform that matches your immediate goals.
Build three effects that get real usage. Understand the workflow deeply. Then expand to the second platform. The concepts transfer even though the interfaces differ.
Getting started with your chosen platform
Here’s how to launch your first project on each platform.
For Lens Studio:
- Download Lens Studio from the official Snap website.
- Open the software and browse the template library.
- Pick a face filter template that interests you.
- Customize the colors, text, or 3D objects.
- Test on your face using your webcam.
- Pair your phone using the Snapchat app.
- Test the lens on your actual device.
- Publish for personal use immediately.
- Share the Snapcode with friends for feedback.
- Iterate based on what works and what doesn’t.
For Spark AR:
- Download Spark AR Studio from Meta’s developer site.
- Create a Meta developer account if you don’t have one.
- Start with a template or blank project.
- Add a face tracker and simple effect.
- Test in the preview window.
- Connect your phone using the Spark AR app.
- Test on device to check performance.
- Submit for review through the Hub.
- Wait for approval (typically 1 to 7 days).
- Share your effect link once approved.
The first effect won’t be perfect.
It might be simple, derivative, or technically rough. That’s fine. Finishing projects teaches more than endless tutorials. Build something small, publish it, see how people use it, then build something better.
Your second effect will be twice as good as your first.
Your tenth will be ten times better than your second. Progress comes from completing projects, not from consuming more tutorials.
If you want specific ideas to build, check out viral Instagram AR filter ideas you can build this weekend or face tracking effects that will make your Snapchat lenses go viral.
You don’t need expensive equipment to start creating AR filters. A laptop and smartphone are enough for your first dozen projects.
Making the platform decision stick
Pick one platform today.
Download the software. Open a template. Change one thing. Publish or preview it. Do this before you research more, watch another comparison video, or read another guide.
Analysis paralysis kills more AR careers than wrong platform choices.
Both tools can launch successful careers. Both have creators earning five figures monthly. Both have beginners who learned in weeks and professionals who’ve mastered advanced techniques.
The platform matters less than your commitment to finishing projects.
Start with the one that matches your audience. Build until you’re comfortable. Then expand if your goals require it. Your first platform choice isn’t permanent. It’s just your starting point.
The best AR creators aren’t the ones who picked the perfect platform.
They’re the ones who picked a platform and kept building until they got good.