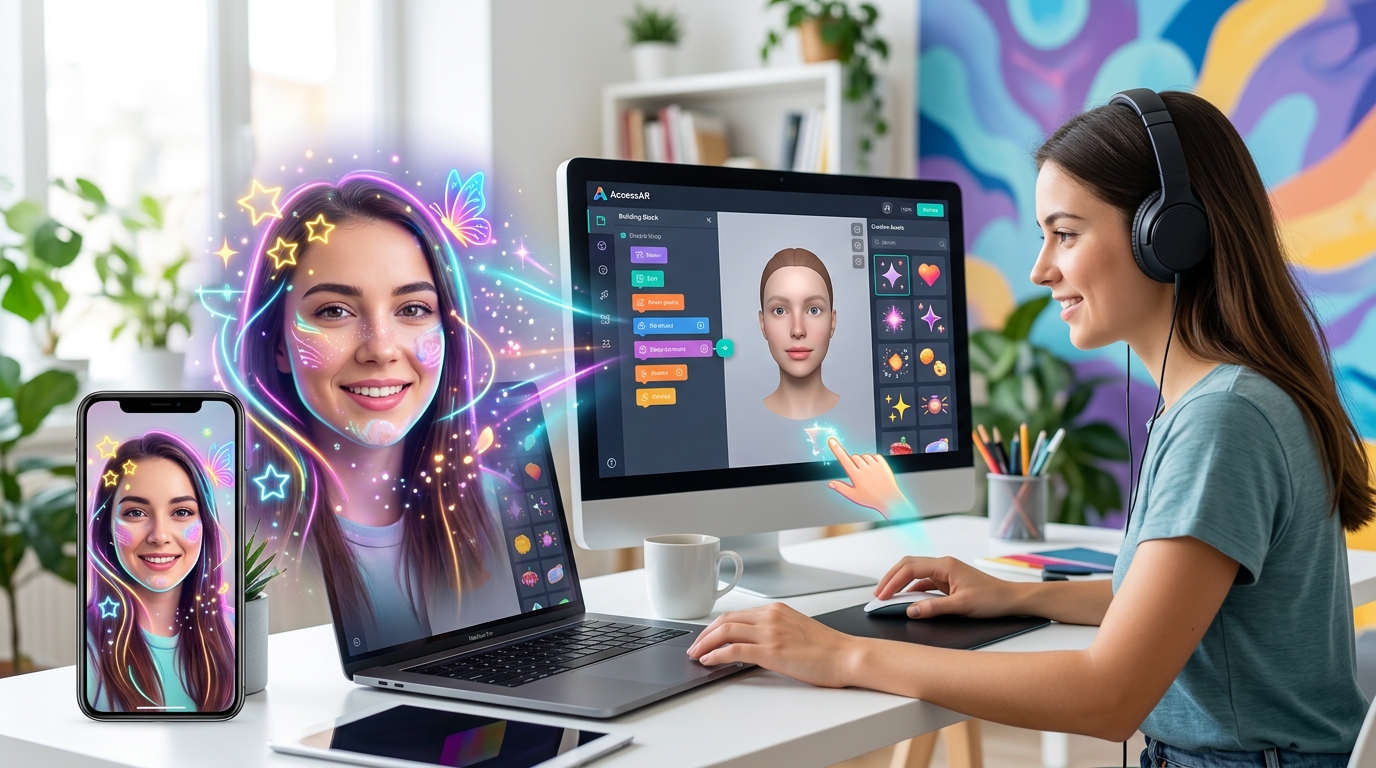
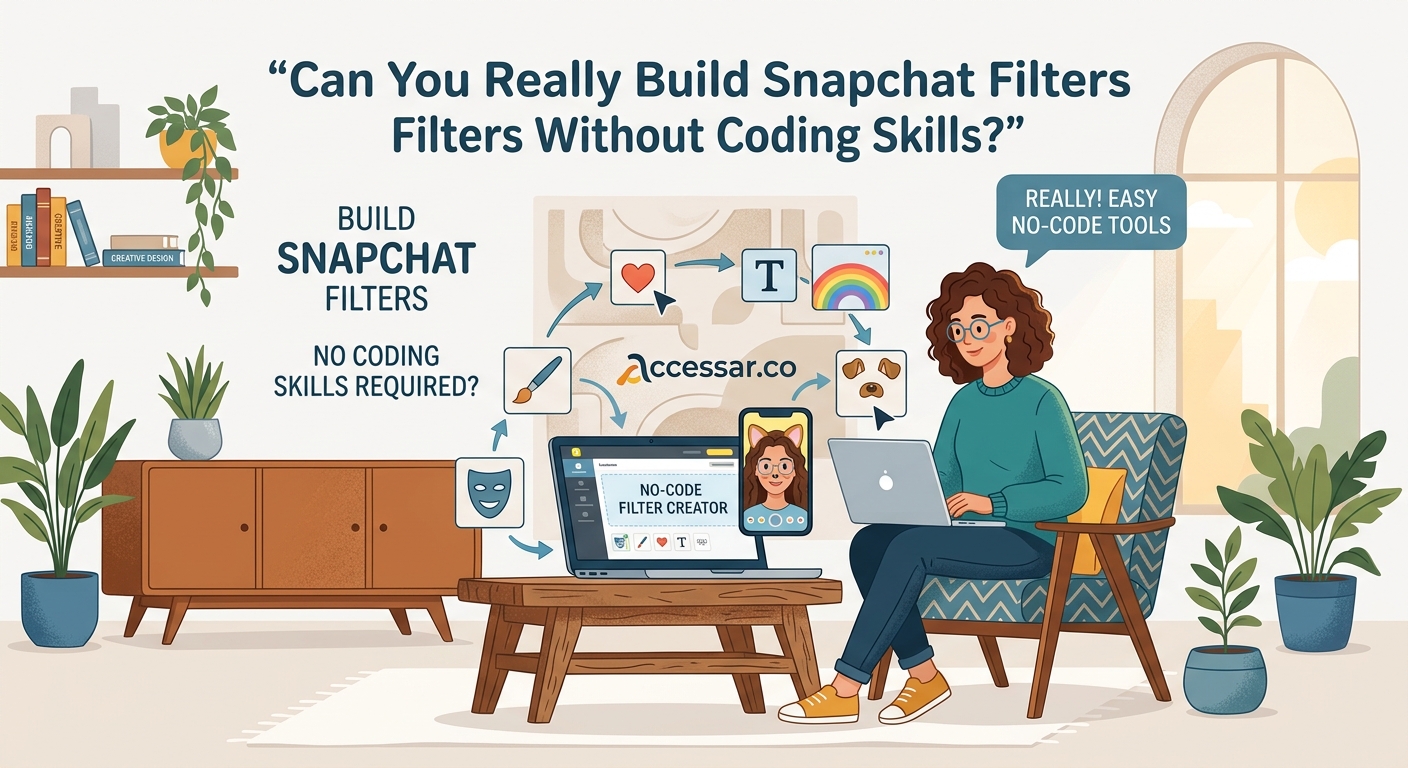
Creating custom Snapchat filters might sound like something only developers can do, but that’s not true anymore. Snapchat’s Lens Studio puts powerful AR tools in your hands without requiring a single line of code. Whether you’re a small business owner wanting branded filters or a creator looking to build something fun, you can start making filters today.
You can create Snapchat filters without coding by using Lens Studio, Snapchat’s free desktop tool. It offers drag-and-drop templates, pre-built effects, and visual editors that let beginners build [AR filters](https://en.wikipedia.org/wiki/Augmented_reality) in minutes. Download the software, choose a template, customize your design, test on your phone, and publish. No programming knowledge required.
What Makes Lens Studio Perfect for Beginners
Lens Studio is Snapchat’s official tool for creating AR filters, and it’s designed with non-coders in mind.
The software is free to download for both Mac and Windows. Once installed, you’ll find a library of templates that handle all the technical work. These templates come pre-configured with tracking, animations, and interactive elements.
You simply swap in your own images, adjust colors, and modify text. The visual interface means you can see changes in real time. No need to understand JavaScript or Python.
The template library covers common filter types:
- Face filters that add makeup, accessories, or effects
- World filters that place 3D objects in your environment
- Face paint templates for artistic designs
- Distortion effects that warp facial features
- Segmentation filters that change backgrounds
Each template includes helper panels that guide you through customization. You’ll see options for uploading images, changing colors, adjusting positions, and modifying animations.
Getting Started With Your First Filter
Let me walk you through the exact process of building your first Snapchat filter.
- Download Lens Studio from the official Snapchat website and install it on your computer.
- Open the software and browse the template library on the welcome screen.
- Select a template that matches your vision (start with something simple like a face accessory).
- Import your custom graphics by dragging image files into the Resources panel.
- Replace the template’s default images with your own by selecting objects in the scene.
- Adjust sizing and positioning using the Inspector panel on the right side.
- Preview your filter using the built-in camera or by pairing your phone with Lens Studio.
- Test different facial expressions and movements to ensure your filter works properly.
- Submit your lens through the publish menu when you’re satisfied with the result.
The entire process can take as little as 15 minutes for simple filters. More complex designs might require an hour or two as you learn the interface.
Understanding the Lens Studio Interface
The workspace is divided into four main areas that work together seamlessly.
The Scene panel on the left shows all objects in your filter as a hierarchy. Think of it like layers in photo editing software. You can click any item to select it and see its properties.
The Preview panel in the center displays how your filter looks in real time. You can rotate the view, zoom in, or switch between different preview modes. This is where you’ll spend most of your time watching your filter come to life.
The Resources panel at the bottom holds all your imported files. Images, 3D models, audio files, and scripts live here. Drag assets from this panel into your scene to use them.
The Inspector panel on the right shows detailed settings for whatever you’ve selected. This is where you adjust colors, positions, sizes, and special effects without touching any code.
Customizing Templates to Match Your Brand

Templates are starting points, not limitations. You can modify every aspect to create something unique.
Start by importing your brand colors. Click on any colored element in your filter and use the color picker in the Inspector panel. You can enter exact hex codes to match your brand guidelines perfectly.
Replace default graphics with your logo or custom artwork. The software accepts PNG files with transparency, which is perfect for overlaying elements. Make sure your images are high resolution (at least 1024×1024 pixels) for crisp results.
Adjust text elements by selecting them and changing the font, size, and content. Lens Studio includes several fonts, but you can also import custom typefaces that match your brand identity.
Modify animations by selecting animated objects and adjusting their behavior settings. You can change speed, direction, and trigger conditions without writing animation code.
The best filters feel native to Snapchat while still expressing your unique style. Don’t overthink it. Start simple and add complexity as you learn what works.
Common Filter Types You Can Build Without Coding
Different templates serve different purposes. Here’s what you can create right away.
Face accessories add virtual items like glasses, hats, or jewelry that track your face movements. These are perfect for branded merchandise previews or fun character transformations.
Beauty filters apply makeup effects, skin smoothing, or color adjustments. Small businesses in the beauty industry use these to showcase products virtually.
Background replacements use segmentation to separate you from your environment and place you in new settings. Great for travel brands or event promotions.
3D objects let you place virtual items in the real world through your camera. Furniture stores and product brands use these for “try before you buy” experiences.
Games and interactions turn your face or surroundings into playable experiences. These generate high engagement and sharing.
Tools and Features That Replace Coding
Lens Studio includes built-in systems that handle complex programming tasks automatically.
The Face Effects panel gives you one-click access to features like eye color changes, face smoothing, and teeth whitening. Toggle these on and adjust intensity with sliders.
The Animation Editor lets you create movement without keyframe programming. Set start and end positions, choose an animation curve, and the software handles the math.
The Behavior system adds interactivity through visual scripting. Connect triggers (like mouth opening or eyebrow raising) to actions (like playing sounds or showing objects) using a flowchart interface.
The Material Editor changes how surfaces look without shader code. Adjust properties like shininess, transparency, and texture mapping through visual controls.
Here’s how different approaches compare:
| Feature | Traditional Coding | Lens Studio No-Code |
|---|---|---|
| Face tracking | Write tracking algorithms | Automatic in all templates |
| Adding 3D objects | Import and position via code | Drag and drop into scene |
| Animations | Script keyframes and timing | Visual timeline editor |
| Color adjustments | Write shader code | Slider controls |
| Testing | Deploy to device manually | Live preview or phone pairing |
Testing Your Filter Before Publishing
Testing catches problems before your audience sees them.
Use the built-in preview first. Try different facial expressions, head angles, and lighting conditions. Your filter should work smoothly in all scenarios.
Pair your phone with Lens Studio for real-world testing. The software generates a QR code you can scan with Snapchat. This lets you test the filter on your actual device before publishing.
Test with different people if possible. Face shapes, skin tones, and facial features vary widely. A filter that works perfectly on you might have issues on someone else.
Check performance by monitoring the frame rate indicator. If your filter runs slowly, simplify the design by reducing the number of objects or lowering image resolutions.
Common issues to watch for:
- Objects not staying attached to faces during movement
- Graphics appearing too large or small on different devices
- Text being hard to read against various backgrounds
- Animations playing at wrong speeds
- Filters not working in low light conditions
Adding Polish With Built-In Effects
Small touches make filters feel professional.
Add particle effects like sparkles, confetti, or smoke using the particle system. Choose from presets and customize colors and behavior through visual controls.
Include sound effects to make your filter more engaging. Import short audio files and set them to trigger based on user actions. A satisfying sound when someone opens their mouth can boost interaction.
Use post effects to adjust the overall look. Add vignettes, color grading, or blur effects that apply to the entire camera view. These create mood and atmosphere.
Layer multiple effects for depth. Combine face accessories with background changes and particle effects. Just be careful not to overwhelm users with too much happening at once.
If you want to create something that really stands out, consider incorporating face tracking effects that will make your Snapchat lenses go viral. These advanced features are still accessible through templates.
Publishing and Sharing Your Creation
Once you’re happy with your filter, it’s time to share it.
Click the publish button in the top right corner. You’ll need to create a Snapchat account if you don’t have one already. Fill out the submission form with a name, description, and preview icon.
Choose your distribution method. You can create a public lens that anyone can find, or generate a private Snapchat code for limited sharing. Public lenses go through a review process that typically takes 24 to 48 hours.
Create a Snapchat code for easy sharing. This is a scannable image people can use to unlock your filter instantly. Download the code and share it on social media, websites, or printed materials.
Track performance through Lens Studio’s analytics. You’ll see how many people use your filter, how long they engage with it, and how often they share it. This data helps you improve future designs.
Learning Resources That Don’t Require Coding
You don’t need to figure everything out alone.
Snapchat’s official tutorials inside Lens Studio are excellent. Each template includes a guided tour explaining how it works. Watch these before making changes.
The Lens Studio YouTube channel publishes regular video tutorials. These cover everything from basic concepts to advanced techniques, all explained for non-programmers.
The Lens Studio community forum connects you with other creators. Search for solutions to common problems or ask questions when you’re stuck. Many experienced creators help beginners regularly.
Template remix culture makes learning easier. Download filters created by others (when permitted), open them in Lens Studio, and see how they’re built. This reverse engineering teaches you techniques you can apply to your own work.
Mistakes That Slow Down Beginners
Avoid these common pitfalls to progress faster.
Don’t start with overly ambitious projects. Your first filter should be simple. Add complexity gradually as you understand the tools better.
Don’t ignore the preview panel. Many beginners make changes without watching the live preview, then wonder why things don’t work. Keep an eye on that center screen constantly.
Don’t skip testing on real devices. The desktop preview is helpful but doesn’t perfectly replicate how filters perform on phones. Always test before publishing.
Don’t use low-quality images. Blurry or pixelated graphics make your filter look unprofessional. Invest time in creating or sourcing high-resolution assets.
Don’t forget about different face types. Test your filter on various people or use Lens Studio’s face model library to see how it performs across different features.
When to Consider Learning Code
Most creators never need to write code, but knowing when it might help is useful.
Stick with no-code tools if you’re creating standard filters for personal use, small business marketing, or social media content. Templates and visual tools cover 90% of common use cases.
Consider learning scripting if you want to create complex games, advanced interactions, or completely novel effects that don’t exist in templates. Lens Studio uses JavaScript for custom behaviors.
The good news is you can mix approaches. Use templates as your foundation and add small scripts for specific features. You don’t need to become a full programmer to add custom touches.
Many successful Snapchat filter creators never write code. They focus on creativity, design skills, and understanding their audience. Technical ability matters less than knowing what people want to use and share.
Your Filter Creation Journey Starts Now
Building Snapchat filters without coding is completely achievable. The tools exist, the templates are ready, and the community is supportive.
Start with one simple filter this week. Download Lens Studio, pick a face accessory template, and swap in your own graphic. Publish it and share it with friends. That first success will give you confidence to try more complex projects.
The skills you build creating Snapchat filters transfer to other platforms too. Instagram, TikTok, and Facebook all use similar AR creation tools. Master Lens Studio and you’ll find other platforms easier to learn.
Your unique perspective matters more than technical skills. Think about what would make your friends laugh, what your customers would find useful, or what story you want to tell. Then use these no-code tools to bring that vision to life.