
Choosing the right AR creation platform can feel overwhelming when you’re staring at a dozen different software options, each promising to be the best. The truth is, most platforms share similar core capabilities, but the way they implement those features makes all the difference between a smooth creative process and a frustrating one.
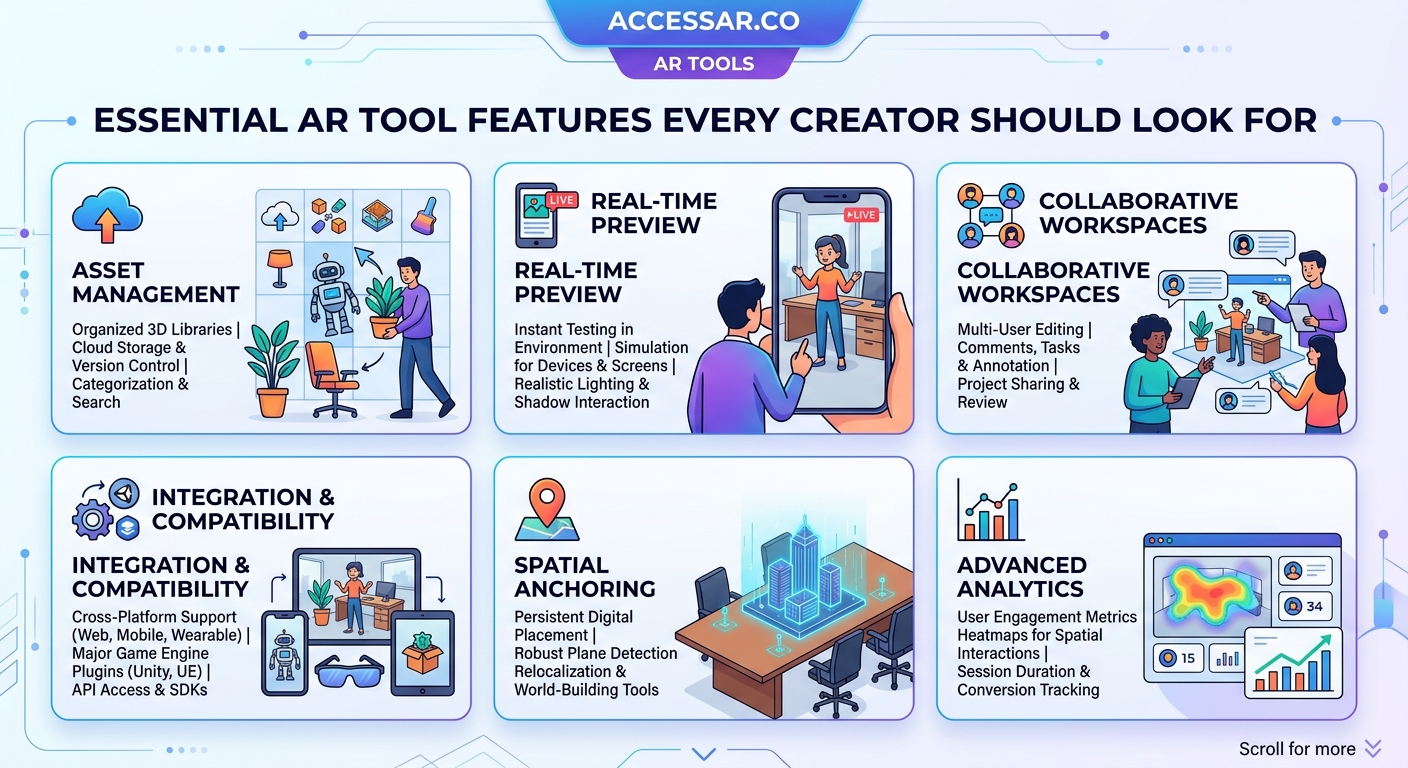
The best AR creator tools combine intuitive visual editors with robust tracking capabilities, comprehensive asset libraries, real-time preview systems, and flexible export options. Understanding these essential features helps you select software that matches your skill level and project goals, whether you’re building face filters for social media or interactive world effects for brand campaigns. Prioritize platforms that balance power with accessibility.
Visual editing interface that makes sense
Your AR tool’s interface determines how fast you can work and how steep the learning curve will be.
A good visual editor lets you see exactly what you’re building without writing code. Drag and drop functionality should feel natural, not like you’re fighting the software. The best platforms organize their workspace into logical sections: scene hierarchy, properties panel, asset library, and preview window.
Look for software that shows you real-time changes as you adjust parameters. When you move a slider to change color or size, you should see the result immediately. This instant feedback loop speeds up your creative process significantly.
Node-based editors offer incredible power for advanced effects, but they can intimidate beginners. Some platforms like Meta Spark Studio vs Lens Studio strike a balance by hiding complex node systems behind simpler interfaces until you need them.
The interface should also adapt to different screen sizes. Creating AR on a laptop versus a desktop monitor requires flexible panel layouts you can customize.
Tracking capabilities that actually work
Tracking is what makes AR feel magical instead of clunky.
Face tracking remains the most popular feature for social media filters. Your chosen platform should detect facial features accurately across different skin tones, lighting conditions, and face shapes. Poor face tracking creates filters that slide around or fail to recognize users properly.
World tracking lets you place virtual objects in real environments. This feature needs reliable plane detection to anchor objects on floors, walls, and tables. The best tools maintain tracking even when users move their phones around.
Hand tracking opens up interactive possibilities, from virtual try-on experiences to gesture-based games. Not every platform offers this yet, but it’s becoming increasingly important for creating virtual try-on experiences.
Body tracking enables full-body effects and clothing try-ons. This technology is still developing, but platforms that include it give you a competitive advantage for certain client projects.
Target image tracking recognizes specific images or logos and triggers AR content. This feature is essential for marketing campaigns and product packaging activations.
Asset libraries and import options
The materials you can work with determine what you can create.
Built-in asset libraries save enormous amounts of time. Good platforms include 3D models, particle effects, audio files, and animation presets you can customize. These ready-made assets help you prototype ideas fast without modeling everything from scratch.
Import flexibility matters just as much. Your tool should accept common 3D formats like FBX, OBJ, and GLTF. Some platforms are picky about polygon counts or texture sizes, which can force you to optimize assets in external software before importing.
Texture and material support varies widely between platforms. Look for tools that handle PBR (physically based rendering) materials properly. These materials respond realistically to lighting, making your AR effects look more convincing.
Audio import capabilities often get overlooked until you need them. Your platform should support multiple audio formats and let you trigger sounds based on user interactions or animations.
Snapchat Lens Studio templates demonstrate how pre-built assets can accelerate your workflow, especially when you’re learning.
Real-time preview and testing tools
You can’t fix what you can’t see.
Desktop preview windows show you what your effect looks like before publishing. The best ones simulate different devices, lighting conditions, and user interactions. This saves you from constantly exporting to your phone for testing.
Device mirroring lets you see your phone’s camera feed on your computer screen while you build. This feature is incredibly valuable for adjusting face tracking effects or world anchors precisely.
Multiple face testing helps you see how filters perform with different users. Some platforms include AI-generated faces with varying features, ages, and expressions.
Performance monitoring shows you frame rates and resource usage in real time. AR effects that drain batteries or cause lag won’t get used, no matter how creative they are. Good tools warn you when you’re approaching performance limits.
Recording and screenshot tools built into the editor help you document your work and create promotional content. This becomes important when you start monetizing Instagram filters.
Animation and interaction systems
Static AR is boring. Movement and interactivity make effects memorable.
Timeline-based animation editors let you choreograph movements precisely. You should be able to keyframe object positions, rotations, scales, and material properties. Good animation tools include easing curves to make movements feel natural rather than robotic.
Trigger systems respond to user actions. Tap triggers, smile triggers, mouth open triggers, and other interaction points turn passive filters into engaging experiences. The best platforms make setting up these triggers straightforward.
Physics simulation adds realism to objects that fall, bounce, or collide. Not every effect needs physics, but having the option expands your creative possibilities.
Particle systems create effects like sparkles, smoke, rain, or confetti. Customizable particle emitters with control over size, color, velocity, and lifespan let you build unique visual effects.
Scripting capabilities take interactions further. Even if you can build Snapchat filters without coding skills, having access to scripting unlocks advanced features when you’re ready.
Export and publishing workflows
Creating the effect is only half the battle. Getting it published smoothly matters too.
Direct publishing integration with social platforms streamlines your workflow. Tools that let you upload directly to Instagram, Snapchat, or TikTok save time and reduce friction. You should be able to add effect names, descriptions, and preview videos within the same interface.
Multi-platform export capabilities give you flexibility. Some creators build once and publish everywhere. Look for tools that can export to different platform specifications without requiring you to rebuild from scratch.
File size optimization helps your effects load faster and reach more users. Good platforms automatically compress assets while maintaining visual quality. They should also warn you if your effect exceeds platform size limits before you try publishing.
Version control features help you track changes and revert to previous versions if something breaks. This becomes critical when you’re iterating based on client feedback or testing different variations.
Analytics integration shows you how your effects perform after publishing. Instagram filter analytics can inform your creative decisions for future projects.
Learning resources and community support
Even the best tool is frustrating without good documentation.
Official tutorials should cover basics through advanced techniques. Video tutorials work better than text-only documentation for visual learners. The best platforms organize learning materials by skill level and project type.
Template galleries provide starting points for common effect types. Rather than building from a blank canvas every time, you can customize templates and learn by examining how they work.
Community forums connect you with other creators solving similar problems. Active communities share tips, troubleshoot issues, and inspire new ideas. Platform-specific Facebook groups, Discord servers, and Reddit communities extend beyond official support channels.
Regular updates and new features show that the platform is actively maintained. AR technology evolves rapidly, and your chosen tool should keep pace with new capabilities and platform requirements.
Customer support responsiveness matters when you’re stuck on a deadline. Check whether the platform offers email support, live chat, or dedicated creator support teams.
Performance optimization features
Beautiful effects that crash phones won’t succeed.
Automatic optimization tools analyze your project and suggest improvements. They might recommend reducing polygon counts, compressing textures, or simplifying particle systems.
Performance budgets show you resource limits for different devices. Good platforms display how much of your allowed processing power, memory, and file size you’re using.
Level of detail systems adjust effect quality based on device capabilities. This ensures your AR works on both high-end and budget phones.
Texture compression options balance visual quality with file size. Different compression formats work better for different types of images.
Draw call monitoring helps identify performance bottlenecks. Too many separate objects or materials can slow down rendering significantly.
Platform-specific considerations
Different creation tools excel at different use cases.
Social media filter tools like Meta Spark Studio and Lens Studio prioritize face tracking and viral shareability. They include features specifically designed for Instagram, Snapchat, and Facebook distribution.
WebAR platforms focus on browser-based experiences without app downloads. These tools emphasize compatibility across devices and easy embedding into websites. WebAR builders that don’t require coding make this technology accessible to beginners.
Professional AR development environments like Unity with AR Foundation offer maximum flexibility but require more technical knowledge. These platforms suit complex applications, games, and commercial projects.
No-code platforms democratize AR creation for non-technical users. Best no-code AR platforms prove you don’t need programming skills to create impressive effects.
Comparing essential features across platforms
| Feature Category | What to Look For | Common Mistakes to Avoid |
|---|---|---|
| Visual Editor | Intuitive layout, real-time preview, customizable workspace | Choosing tools with cluttered interfaces that hide important features |
| Tracking | Accurate face/world/hand tracking across devices | Assuming all tracking works equally well on all phones |
| Assets | Large built-in library, flexible import options | Overlooking file format compatibility until you’ve already created assets |
| Animation | Timeline editor, trigger systems, particle effects | Building static effects that don’t engage users |
| Publishing | Direct platform integration, size optimization | Ignoring platform-specific requirements until submission fails |
| Performance | Real-time monitoring, automatic optimization | Creating effects that look great but run poorly on most devices |
Getting started with the right tool
The perfect AR platform matches your current skills and project goals.
Beginners should prioritize user-friendly interfaces and comprehensive tutorials over advanced features they won’t use yet. Starting with your first AR filter in 30 minutes builds confidence before tackling complex projects.
Intermediate creators benefit from platforms offering both visual editing and scripting options. This combination lets you work visually for most tasks while accessing code for specific customizations.
Advanced users need maximum flexibility and performance optimization tools. Professional projects often require features like custom shaders, advanced physics, or integration with external data sources.
Consider your target platform before choosing creation software. If you’re focused on TikTok effects, Effect House vs Spark AR helps you understand platform-specific advantages.
Testing features before committing
Most AR platforms offer free versions or trials.
Download multiple tools and build the same simple effect in each one. This hands-on comparison reveals which interface feels most natural to you. Pay attention to how long it takes to complete basic tasks.
Join platform-specific communities before you invest serious time. Ask creators about their biggest frustrations and favorite features. Real user experiences often differ from marketing materials.
Check platform update frequency and changelog. Tools that haven’t been updated in months might not support the latest AR capabilities or device models.
Review publishing success rates. Some platforms have stricter approval processes than others. Understanding why your Snapchat lens isn’t getting approved helps you choose tools with clear guidelines.
Building your AR creation toolkit
One platform rarely handles every project type perfectly.
Many professional AR creators use multiple tools. You might prototype in a beginner-friendly platform, then rebuild complex projects in more powerful software.
Complementary tools extend your capabilities. 3D modeling software like Blender creates custom assets. Photo editors prepare textures. Audio software produces sound effects.
Learning resources matter as much as the software itself. Platforms with strong educational content help you grow faster. Understanding AR terminology builds the foundation for using any tool effectively.
Matching features to project types
Different AR projects demand different capabilities.
Face filters for social media need excellent face tracking, animation tools, and social platform integration. They prioritize shareability over complexity.
Product visualization requires accurate world tracking, realistic materials, and lighting systems. Performance on various devices becomes critical for reaching broad audiences.
Interactive games demand physics systems, trigger-based interactions, and score tracking. Advanced Effect House techniques show what’s possible with game-focused features.
Brand campaigns often need custom branding options, analytics integration, and multi-platform deployment. Commercial projects justify investing in premium features or professional-grade tools.
The right AR creation tool doesn’t just let you build effects. It gets out of your way so you can focus on creativity rather than fighting software limitations. Choose platforms that match how you think and work, not just which one has the longest feature list.
Common feature priorities by creator type
Your background influences which capabilities matter most.
Graphic designers appreciate visual editors, extensive asset libraries, and strong material systems. They often prefer platforms that feel similar to Adobe products.
3D artists need flexible import options, advanced lighting controls, and material editing. They’re comfortable with technical interfaces if the rendering quality is high.
Developers value scripting capabilities, API access, and integration options. They’re willing to trade visual simplicity for programmatic control.
Social media creators prioritize ease of use, trending effect templates, and direct publishing. Speed from concept to published effect matters more than advanced features.
Future-proofing your platform choice
AR technology evolves constantly.
Choose platforms backed by major companies with long-term AR investments. Meta, Snap, and ByteDance aren’t abandoning their AR tools anytime soon.
Look for tools embracing new standards like WebXR and OpenXR. These open standards ensure your skills transfer as the industry evolves.
Platforms supporting emerging technologies like AI-powered effects and spatial computing position you for future opportunities.
Regular feature additions indicate active development. Tools that innovate keep you competitive as AR capabilities expand.
Making your final decision
Start with free tools to build foundational skills.
How to choose AR software based on your skill level provides a framework for matching platforms to your experience.
Build three different effects: a simple face filter, a world effect, and an interactive element. This process reveals which platform feels most comfortable for your workflow.
Consider where you want to publish. Platform-specific tools often provide the smoothest path to that platform’s audience.
Think about your six-month goals. Choose software that supports where you’re headed, not just where you are now.
Features that matter most right now
Focus on core capabilities before worrying about advanced features.
- Reliable tracking that works across different devices and lighting conditions
- Visual editing that lets you see changes immediately
- Asset import flexibility for bringing in your own creations
- Real-time preview on actual devices
- Straightforward publishing to your target platform
- Clear documentation when you get stuck
- Active community for learning and troubleshooting
These fundamentals matter more than exotic features you might never use. Master the basics before seeking out advanced capabilities.
Your next steps in AR creation
The best way to evaluate AR creator tools features is by using them.
Pick one platform and commit to building five effects. This hands-on experience teaches you more than reading specifications. You’ll discover which features you actually use versus which ones sound impressive but sit unused.
Document what frustrates you and what feels natural. These observations guide your long-term platform choices.
Remember that switching tools later is always possible. Many successful AR creators started on one platform and migrated as their skills grew. Your first choice doesn’t lock you in forever.
The AR creation landscape offers more accessible tools than ever before. Whether you’re building your first Snapchat lens or planning complex brand campaigns, understanding essential features helps you choose software that supports your creative vision instead of limiting it.
Start building today. The features that matter most are the ones that help you bring your ideas to life.