
Getting started with augmented reality feels exciting until you hit your first roadblock. You download a platform, start building, and suddenly nothing works the way you expected. Your filter crashes. Your effect looks amateur. You waste hours troubleshooting problems that could have been avoided from day one.
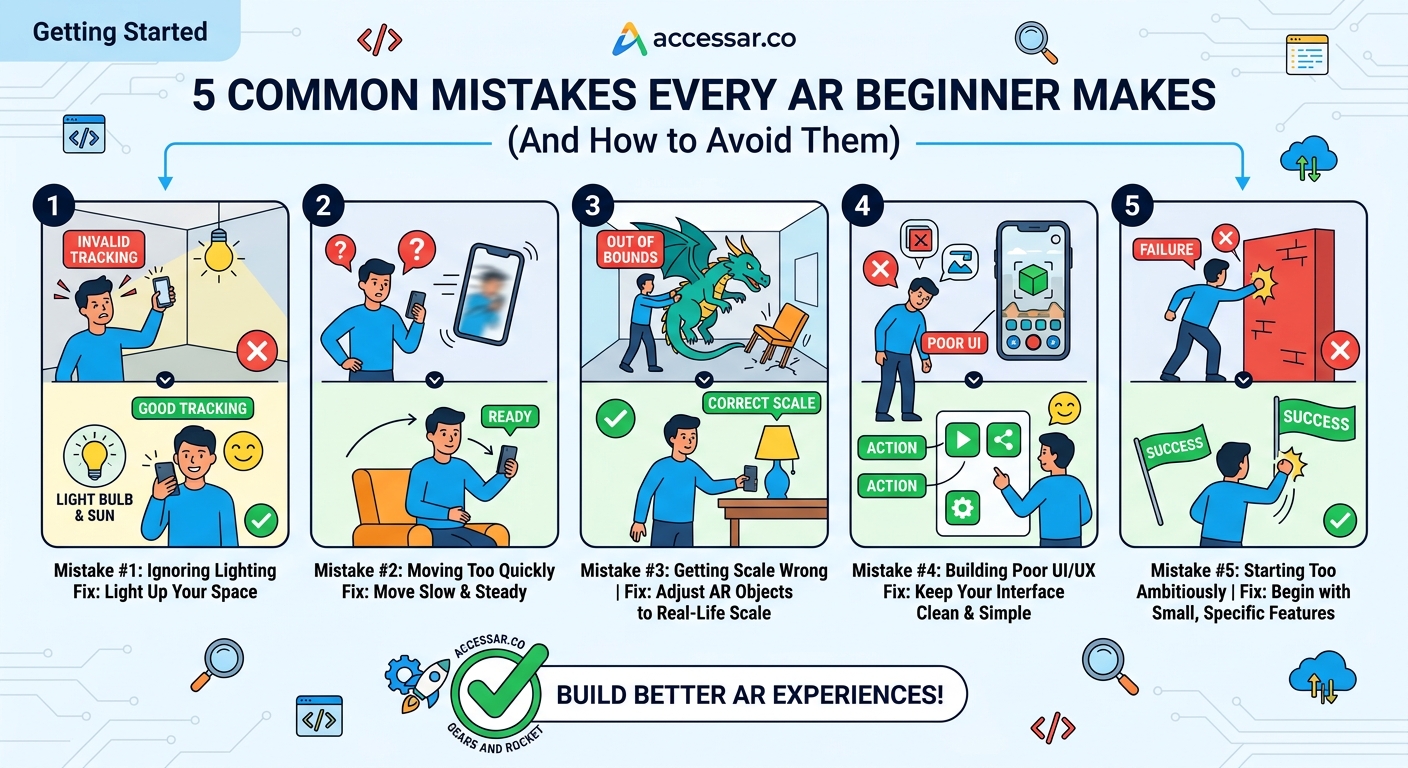
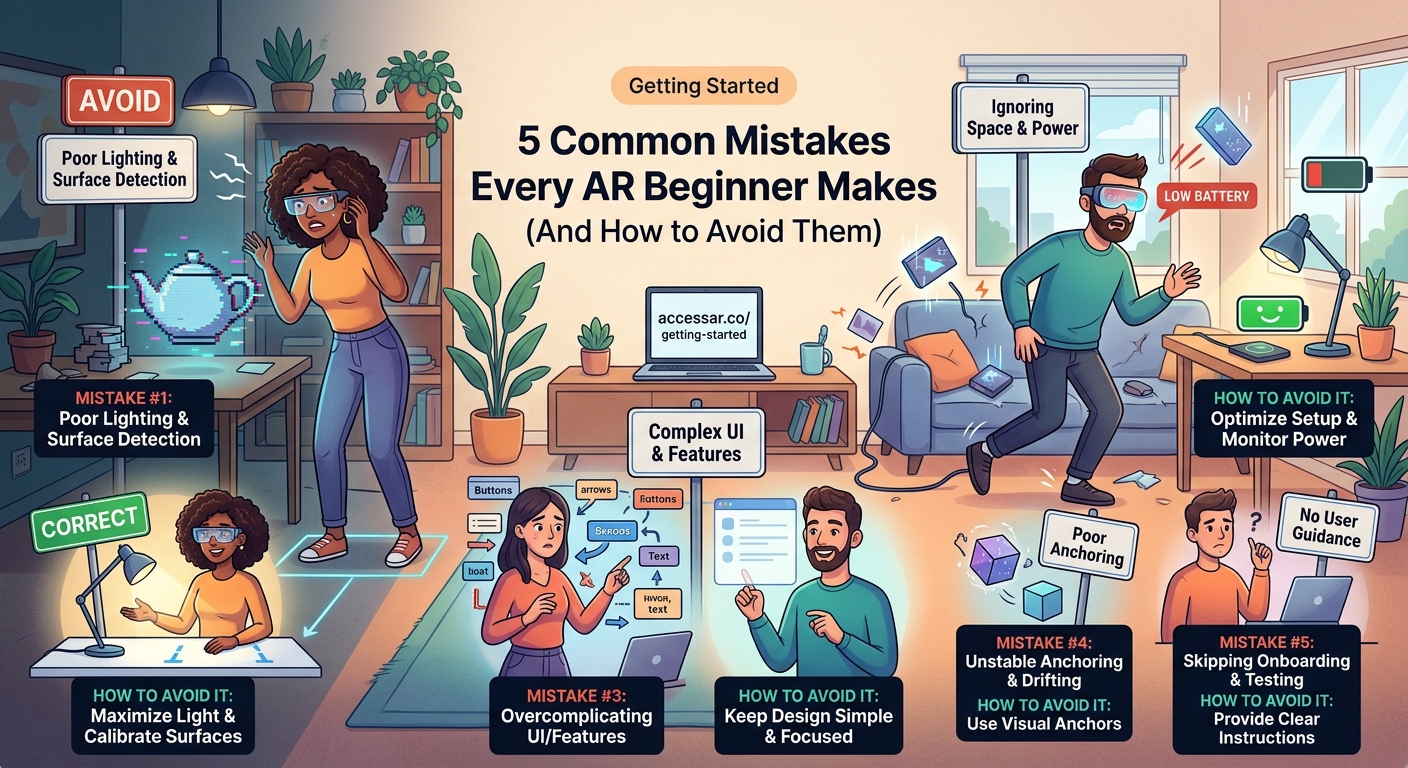
Most AR beginners make the same five mistakes: choosing the wrong platform for their goals, skipping fundamental tutorials, ignoring performance optimization, neglecting user testing, and building without a clear concept. Avoiding these pitfalls saves you weeks of frustration and helps you create effects that actually get shared. This guide shows you exactly what to watch for and how to fix each problem before it derails your first project.
Picking the Wrong Platform Before Understanding Your Goals
The biggest mistake new AR creators make happens before they even open software. They pick a platform based on what sounds cool or what a friend recommended, not based on what they actually want to build.
Each AR platform serves different purposes. Snapchat Lens Studio excels at face filters and world effects for a younger audience. Instagram Spark AR focuses on beauty and lifestyle content. TikTok Effect House prioritizes viral trends and music integration. WebAR platforms handle e-commerce and browser-based experiences.
Choosing the wrong tool means learning a system you’ll eventually abandon. That wastes your most valuable resource as a beginner: time.
Before downloading anything, answer three questions:
- Who is your target audience?
- What type of effect do you want to create?
- Where will people use your filter?
A makeup artist targeting Instagram users needs different tools than a brand building a virtual try-on experience for their website. The platform decision shapes everything else, from the tutorials you follow to the assets you create.
| Platform | Best For | Audience Age | Learning Curve |
|---|---|---|---|
| Snapchat Lens Studio | Face effects, world lenses | 13-24 | Moderate |
| Instagram Spark AR | Beauty filters, lifestyle | 18-34 | Beginner-friendly |
| TikTok Effect House | Trend-based effects, music | 16-30 | Moderate |
| WebAR Platforms | Shopping, product demos | 25-45 | Advanced |
Many beginners also assume they need coding skills to start. That misconception stops creators before they begin. Modern AR platforms offer visual scripting and templates that eliminate most coding requirements. If you can build filters without traditional programming, you save months of learning time and get to creation faster.
Skipping the Foundation Tutorials
New creators want to jump straight into building their dream filter. They skip the boring basics and try to figure things out through trial and error.
This approach backfires every time.
AR platforms have specific workflows, naming conventions, and hierarchies. Missing these fundamentals means you’ll hit walls that make no sense. Your objects won’t track correctly. Your textures won’t apply. Your animations won’t trigger.
The solution feels counterintuitive: slow down and complete the official tutorials first.
Every major platform offers starter lessons designed to teach core concepts. These tutorials cover:
- How the scene hierarchy works
- How to import and apply assets
- How tracking systems function
- How to preview and test effects
- How to export and publish
Spending two hours on foundation tutorials saves you twenty hours of confused troubleshooting later. The concepts you learn apply to every project you build afterward.
“I wasted three weeks trying to build a face filter before I realized I didn’t understand how face mesh worked. After completing the basic tutorials, I rebuilt the same effect in four hours.” — AR creator with 2M+ impressions
Many platforms also provide ready-made templates that demonstrate best practices. Starting from a template teaches you proper structure while letting you customize the visual elements.
The fastest learners follow this pattern:
- Complete all official beginner tutorials
- Recreate an existing popular effect
- Modify that effect with your own style
- Build something original from scratch
This progression builds confidence and competence simultaneously.
Ignoring Performance Optimization From the Start
Beginners focus entirely on how their filter looks. They add particles, animations, 3D models, and effects until their creation looks amazing on their computer.
Then they test it on a phone and everything falls apart. The filter lags. The tracking stutters. The app crashes.
Performance matters more in AR than almost any other medium. Your filter runs on phones with varying capabilities, often while the camera streams live video. Every extra polygon, texture, and particle costs processing power.
Most platforms have strict technical limits:
- Maximum polygon count for 3D models
- Texture size restrictions
- Particle system caps
- Draw call limitations
- File size maximums
Exceeding these limits gets your effect rejected during submission or causes poor user experience after publication. Neither outcome helps your goals.
Build performance awareness into your workflow from project one. Check your stats panel regularly. Monitor your polygon count. Compress your textures. Test on older devices.
Common performance killers for beginners:
- Using unoptimized 3D models downloaded from generic sites
- Applying 4K textures when 1K would work fine
- Running multiple particle systems simultaneously
- Adding too many simultaneous animations
- Forgetting to combine meshes and materials
The best AR creators optimize as they build, not after. They choose efficient assets, compress appropriately, and test constantly on target devices.
Think of it like packing a suitcase for a flight. You can’t just throw everything in and hope it works. You need to plan, measure, and make smart choices about what to include.
Building Without Testing on Real Users
You finish your filter. It looks perfect in the preview window. You test it on yourself and everything works beautifully. You publish it and wait for the views to roll in.
Nothing happens.
This scenario repeats constantly because creators forget a crucial truth: you are not your audience.
What makes sense to you might confuse everyone else. What looks good on your face might fail on different face shapes. What works in your lighting might break in bright sunlight or dim rooms.
Real user testing reveals problems you’d never find alone:
- Instructions that don’t make sense
- Triggers that aren’t obvious
- Effects that don’t work on different skin tones
- Animations that feel too fast or too slow
- Text that’s hard to read
Get your effect in front of at least five people before you publish. Watch them use it without giving instructions. Note where they get confused. Listen to their feedback.
Testing doesn’t require fancy setups. Ask friends, family members, or online communities to try your filter. Record their reactions. Pay attention to their first impressions.
The feedback might sting. Your carefully crafted effect might not land the way you hoped. But finding out before you publish lets you fix problems while you still can.
| Testing Stage | What to Check | Minimum Testers |
|---|---|---|
| Initial concept | Does the idea make sense? | 3 people |
| First build | Does the tracking work? | 5 people |
| Polish phase | Does it feel finished? | 10 people |
| Pre-launch | Would they share it? | 20 people |
Professional AR creators test continuously throughout development. They gather feedback early and often, adjusting based on real reactions rather than assumptions.
User testing also helps you understand which effects resonate. You might think your complex animation is impressive, but users might prefer your simple color-changing filter. Data from real people guides better creative decisions.
Starting Without a Clear Concept
Beginners often open their AR software with nothing more than a vague idea. They want to “make something cool” or “try out the platform.” They start adding features randomly, hoping inspiration strikes.
This approach produces mediocre results that nobody shares.
Successful AR effects start with a clear concept that answers specific questions:
- What emotion should this create?
- What action should users take?
- What makes this shareable?
- What problem does this solve?
The most viral filters have simple, focused concepts. A filter that makes you look like a cartoon character. An effect that puts you in a specific movie scene. A game that tests your reaction time.
Complexity doesn’t equal quality. Clarity does.
Before you build anything, write down your concept in one sentence. If you can’t explain it simply, you don’t understand it well enough yet.
Strong concept examples:
- “A filter that shows what you’d look like with different hair colors”
- “An effect that puts animated sunglasses on your face that react to your expressions”
- “A game where you catch falling objects by moving your head”
Weak concept examples:
- “Something fun with particles”
- “A cool face effect”
- “An AR experience”
A clear concept guides every decision during creation. It tells you which assets to create, which features to include, and which elements to cut. It keeps you focused when you’re tempted to add unnecessary complexity.
Many successful creators actually limit themselves intentionally. They pick one platform feature to master per project. One project focuses on face tracking effects. The next explores world effects. The third experiments with hand tracking.
This focused approach builds skills systematically while producing polished results. Trying to learn everything at once produces scattered, unfinished projects.
Your concept should also consider current trends without copying them directly. Study what’s working on your target platform. Notice patterns in viral effects. Then create your own variation that adds something new.
If Instagram filters focused on specific themes are trending, think about how your unique style or audience might inspire a fresh take. If TikTok effects centered on music are popular, consider how you could build something similar but different.
Understanding the Technical Requirements Before You Build
Many beginners start creating assets before checking platform specifications. They design beautiful 3D models, create elaborate textures, and prepare animations, only to discover their files don’t meet technical requirements.
This wastes enormous amounts of time.
Each AR platform publishes detailed technical specifications. These documents outline exactly what file formats, sizes, and structures the platform accepts. Reading these specifications before you create anything prevents costly mistakes.
Critical specifications to check first:
- Supported 3D file formats (.fbx, .obj, .gltf)
- Maximum texture dimensions (usually 2048×2048 or lower)
- Polygon count limits per model
- Supported audio formats and lengths
- Total project file size limits
- Required asset naming conventions
Some platforms also have specific requirements for how you structure your 3D models. They might require specific pivot points, particular UV mapping approaches, or certain material setups.
Learning these requirements takes an hour. Fixing assets that don’t meet them takes days.
Smart creators bookmark their platform’s technical documentation and reference it constantly. They check specifications before starting each new project. They verify their assets meet requirements before importing them.
This habit prevents the frustrating cycle of import, fail, troubleshoot, fix, and repeat that plagues most beginners.
You also need to understand what equipment and tools you actually need. Many beginners assume they need expensive software and powerful computers. In reality, most AR platforms run on average laptops and offer free creation tools.
Learning From Successful Campaigns Instead of Guessing
Beginners often create in a vacuum. They build what they think will work without studying what actually works. They guess at best practices instead of learning from proven successes.
Professional creators take the opposite approach. They study successful campaigns obsessively. They analyze viral filters. They reverse-engineer popular effects. They learn from brands that achieved real results.
Looking at how major brands use AR reveals patterns you can apply to your own projects. These campaigns succeed because they understand user psychology, platform algorithms, and creative execution.
Notice what these successful effects have in common:
- Clear, immediate value for users
- Simple interaction models
- Shareable results
- Timely themes or trends
- Polished visual quality
You don’t need a brand’s budget to apply these principles. You need their strategic thinking.
Study effects in your niche that achieved high engagement. Ask yourself why they worked. What emotion did they create? What made people share them? How did they balance creativity with usability?
This analytical approach develops your creative instincts faster than random experimentation. You learn what works by studying success, then apply those lessons to your unique concepts.
Choosing the Right Tools for Your Skill Level
The AR creation landscape offers dozens of tools, from beginner-friendly platforms to professional-grade software. New creators often pick tools that don’t match their current skill level.
Starting with advanced software when you’re a beginner creates unnecessary frustration. You spend more time fighting the interface than learning core concepts. Conversely, staying with overly simple tools limits your growth once you master the basics.
The right tool matches your current abilities while providing room to grow. Beginner-friendly platforms let you create impressive effects without overwhelming complexity. As your skills develop, you can graduate to more powerful options.
Most successful creators follow a progression:
- Start with template-based tools to understand AR concepts
- Move to visual scripting platforms to add custom logic
- Learn basic coding to unlock advanced features
- Master professional tools for complex projects
This path builds confidence and competence simultaneously. You create finished projects at each stage, maintaining motivation while expanding capabilities.
Don’t let tool complexity stop you from starting. The best AR platform for you right now is the one you’ll actually use. You can always switch later as your skills grow.
Making Your First Effect Matter
Every mistake covered here stems from the same root cause: starting without enough information. Beginners rush into creation before understanding the fundamentals, the platforms, or their audience.
The solution isn’t complicated. Spend time learning before building. Study your chosen platform thoroughly. Understand technical requirements. Define clear concepts. Test with real users. Learn from successful examples.
These steps feel slow at first. They delay the exciting moment when you start creating. But they ensure that when you do start building, you create something worth sharing.
Your first AR effect sets the foundation for everything that follows. Make it count by avoiding these common mistakes. Learn the right way from the beginning, and you’ll progress faster than creators who learned through painful trial and error.
Start with one platform. Complete the tutorials. Build something simple but polished. Get feedback. Improve. Then build something bigger. That’s how every successful AR creator began, and that’s how you’ll succeed too.